Radio for Grandma
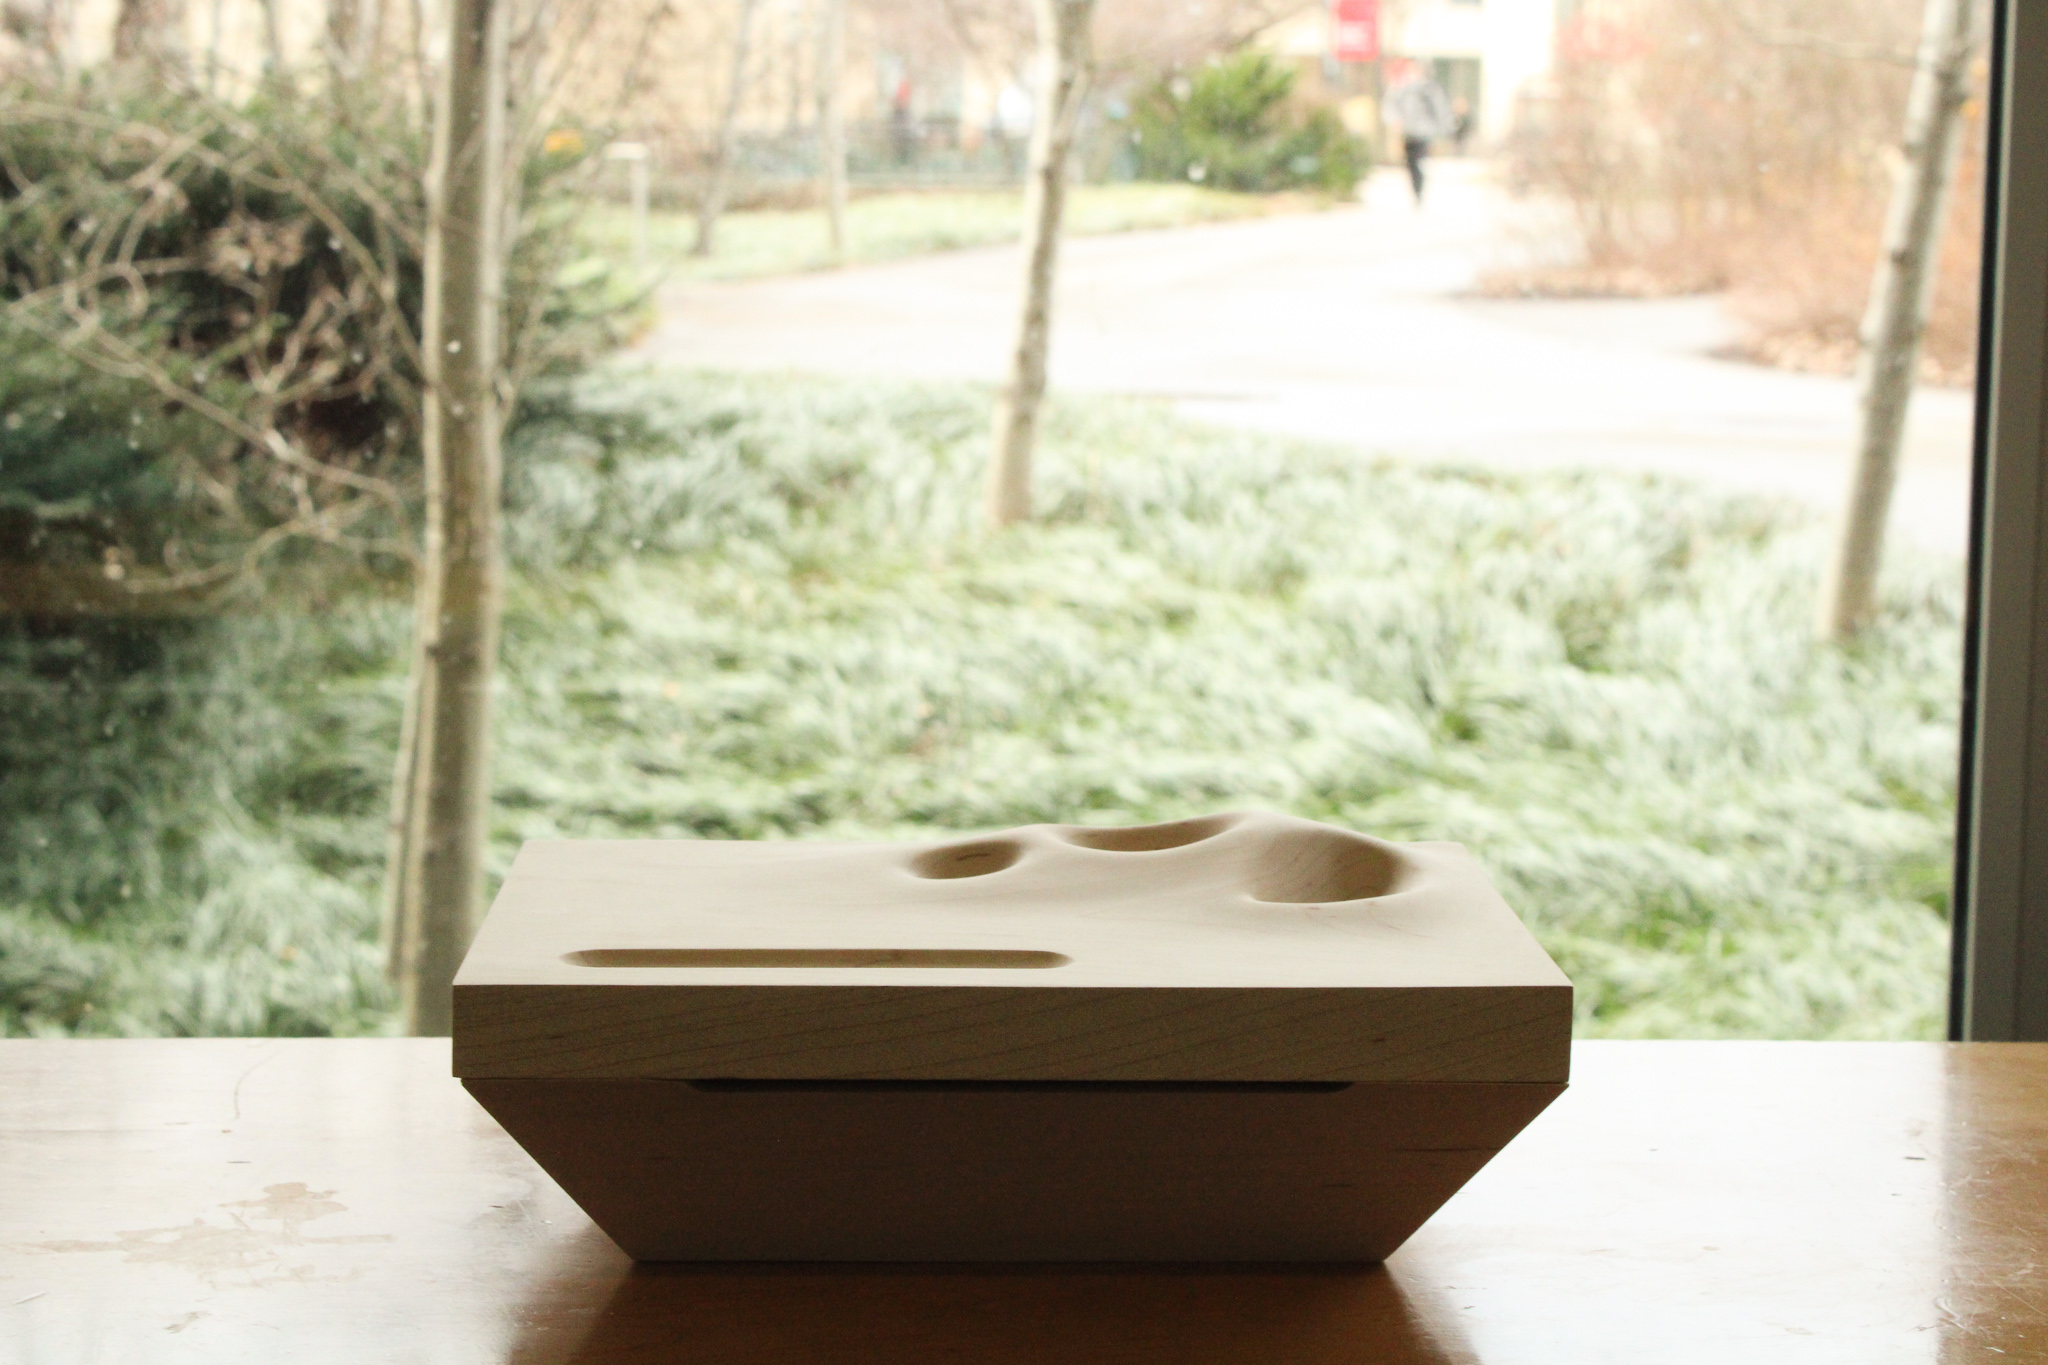
I made this radio for my grandma with the goal of bringing new life to a familiar and standard interaction, celebrating the nature she so loves, and to help her feel both more at home and connected to the outside world. Inspired by the natural objects she collects, her paintings, and the quote,
“Technology should look like something in your grandmother’s room” (Oki Sato).
Duration
November - Deccember 2022 (4 Weeks)Course
Experimental FormMaterials
Hard Maple, Found Objects, Magnets, Conductive Fabric, Arduino (Uno, FM Tuner, CAP1188 Breakout, 9V Battery, Speaker, Audio Amp, Reed Switches)Tools
SolidWorks, CNC, Air Grinder, Table Saw, Mill, Drill Press, Soldering, Arduino IDEWood-Working
CAD Modeling
Physical Computing
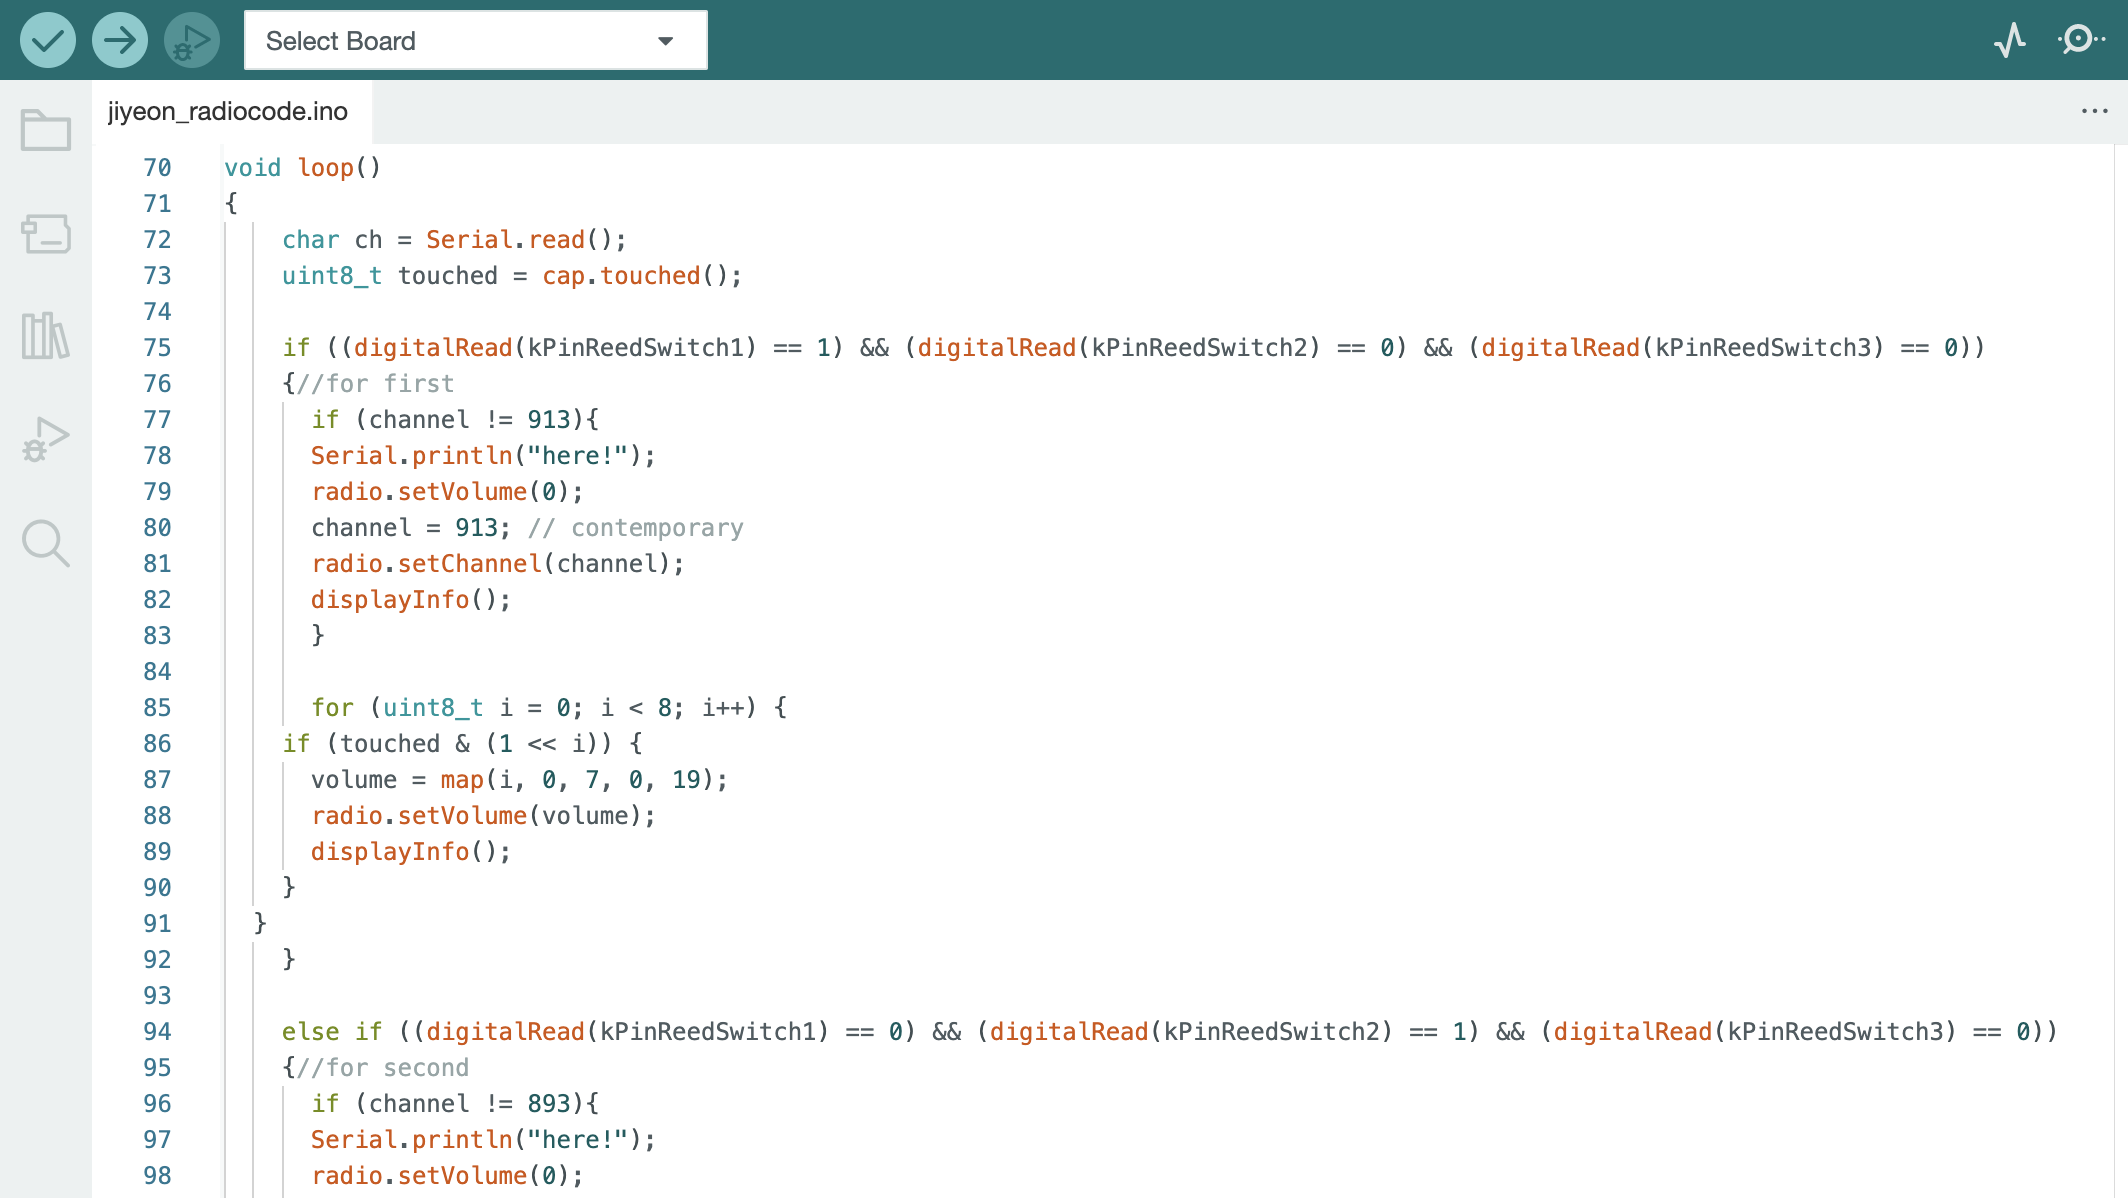
Arduino C++

 Video
Video“How can I make technology really special for someone?”
When ideating, I wondered the question, how can I make the now-obsolete radio more special— perhaps specifically for one person? In a world of technology growing more alienating and cold to many, how could it look a little more like something in “our grandmothers’ rooms”? Naturally, I turned to my own grandmother’s home and objects for inspiration:
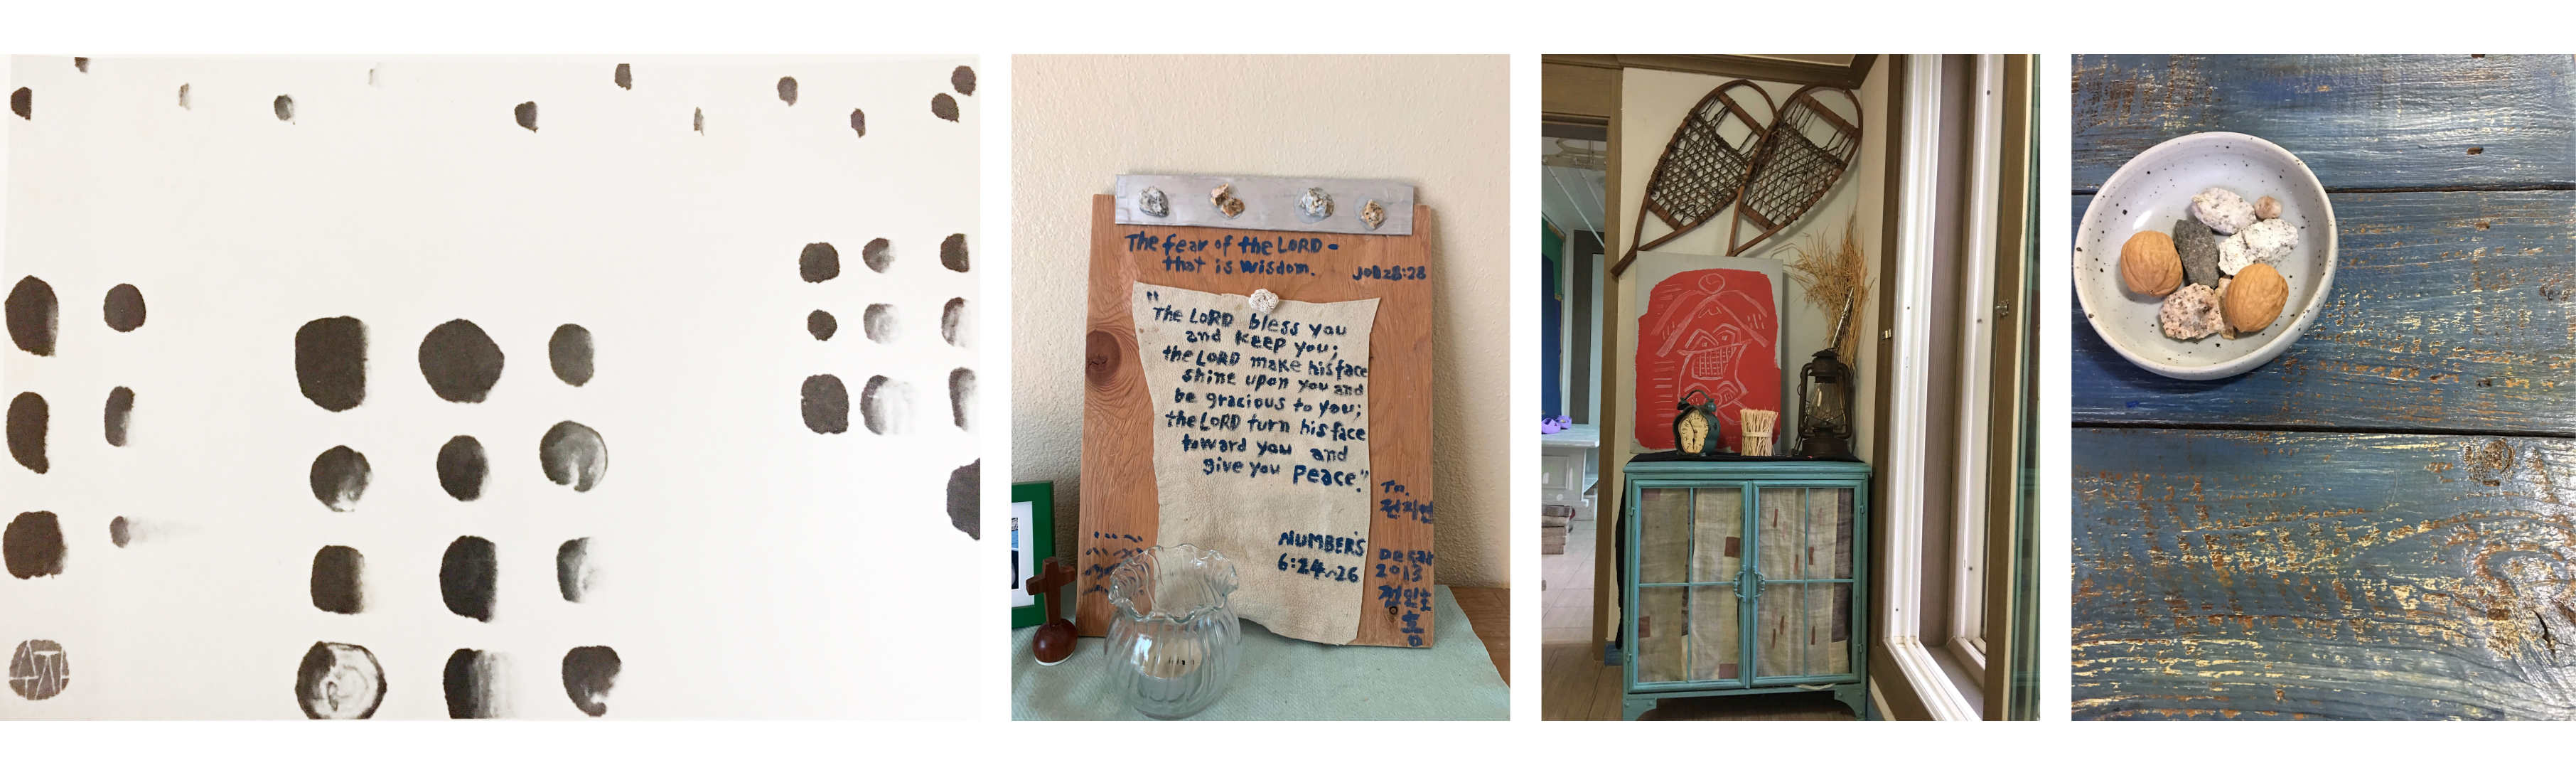
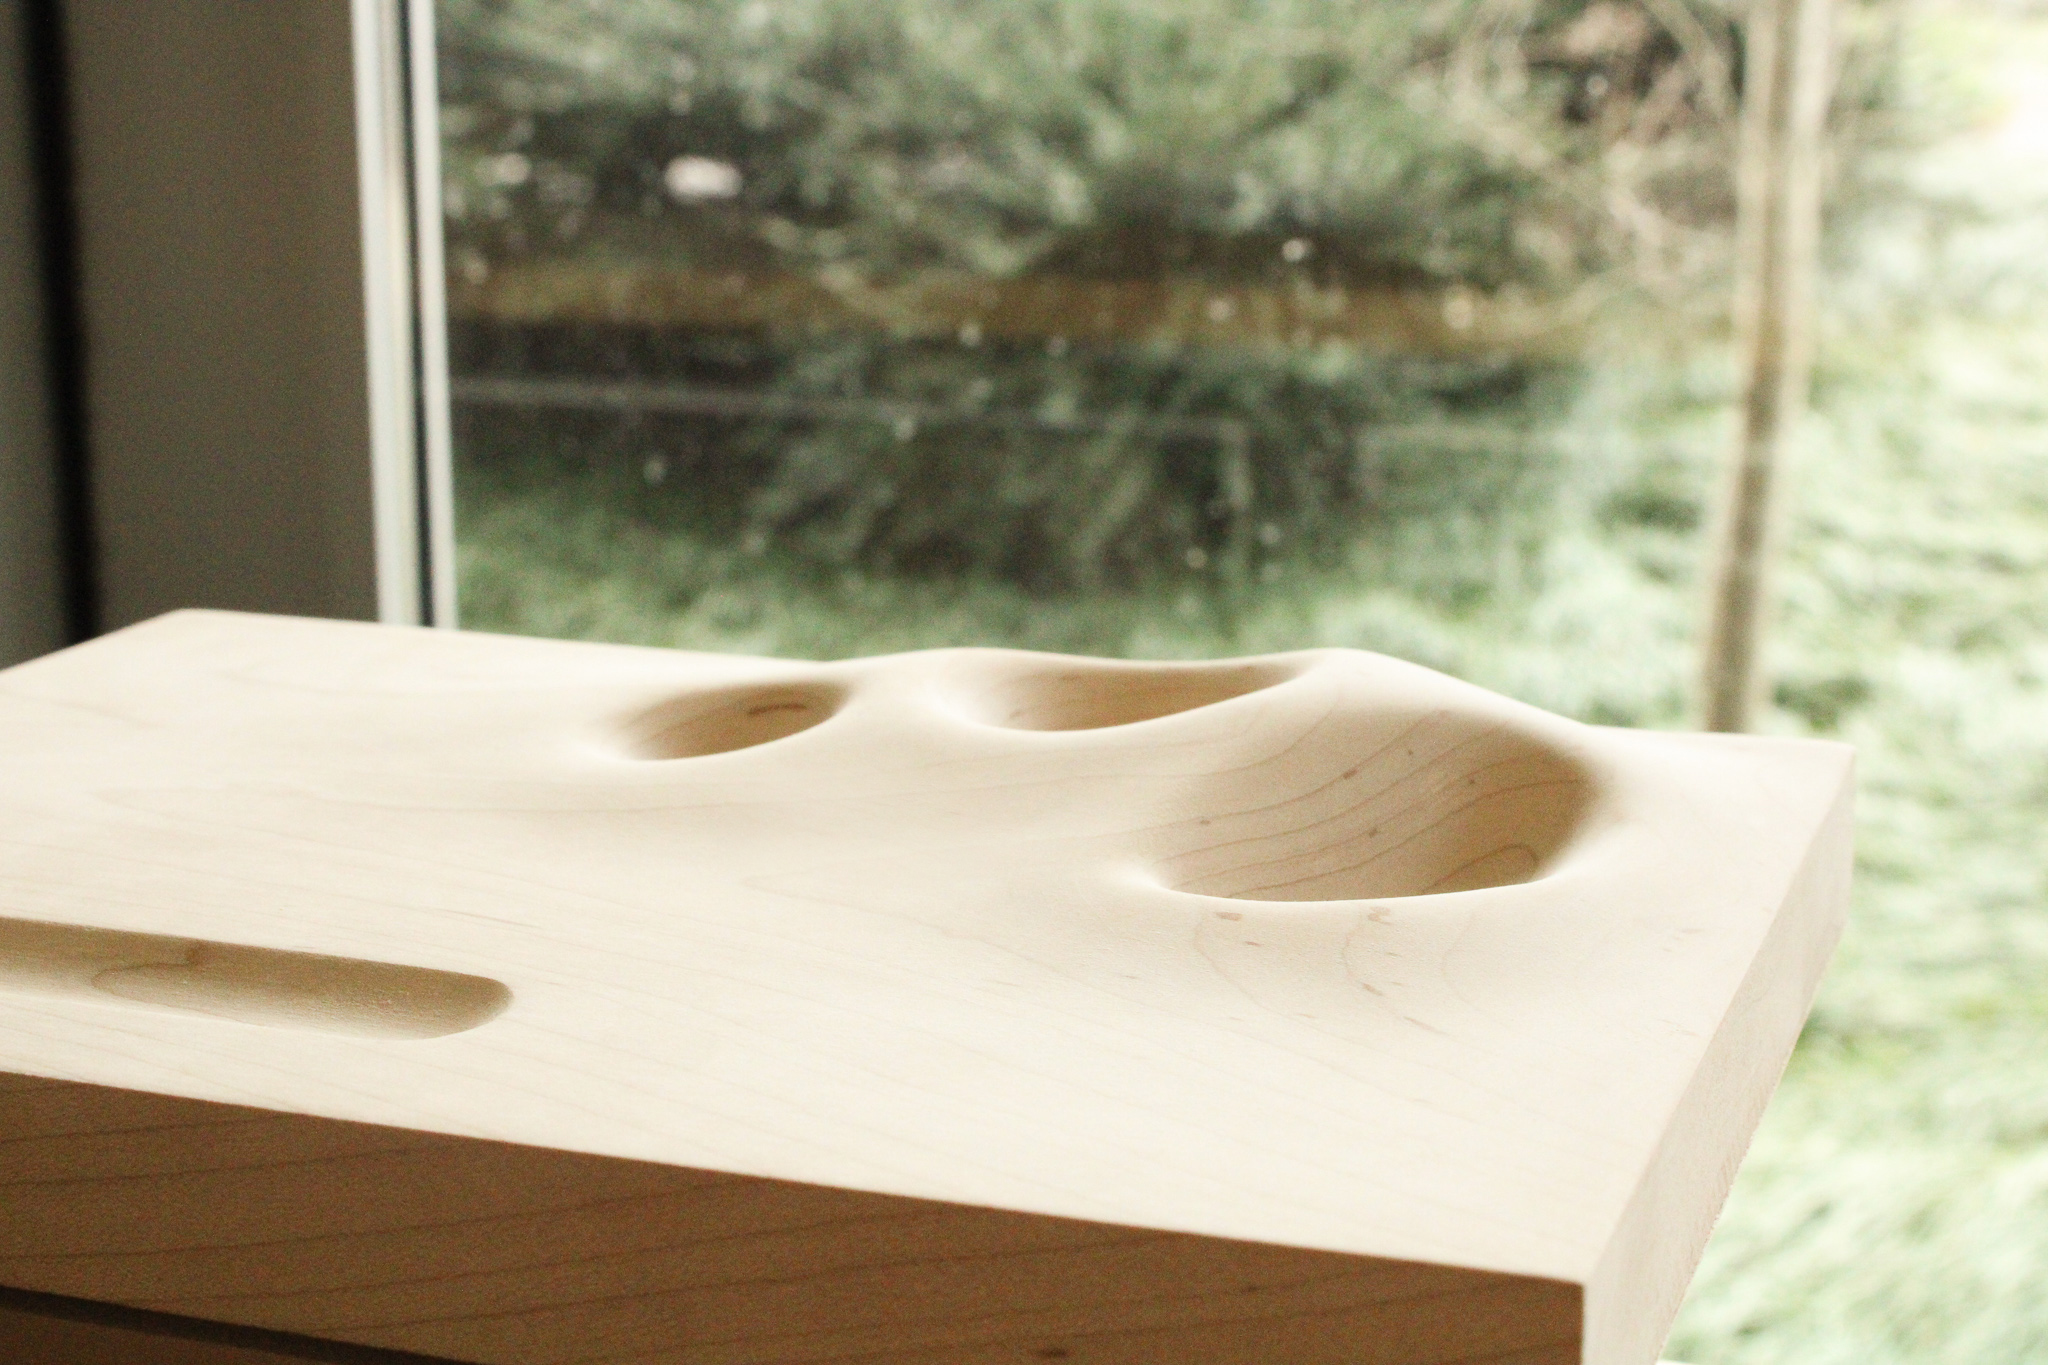
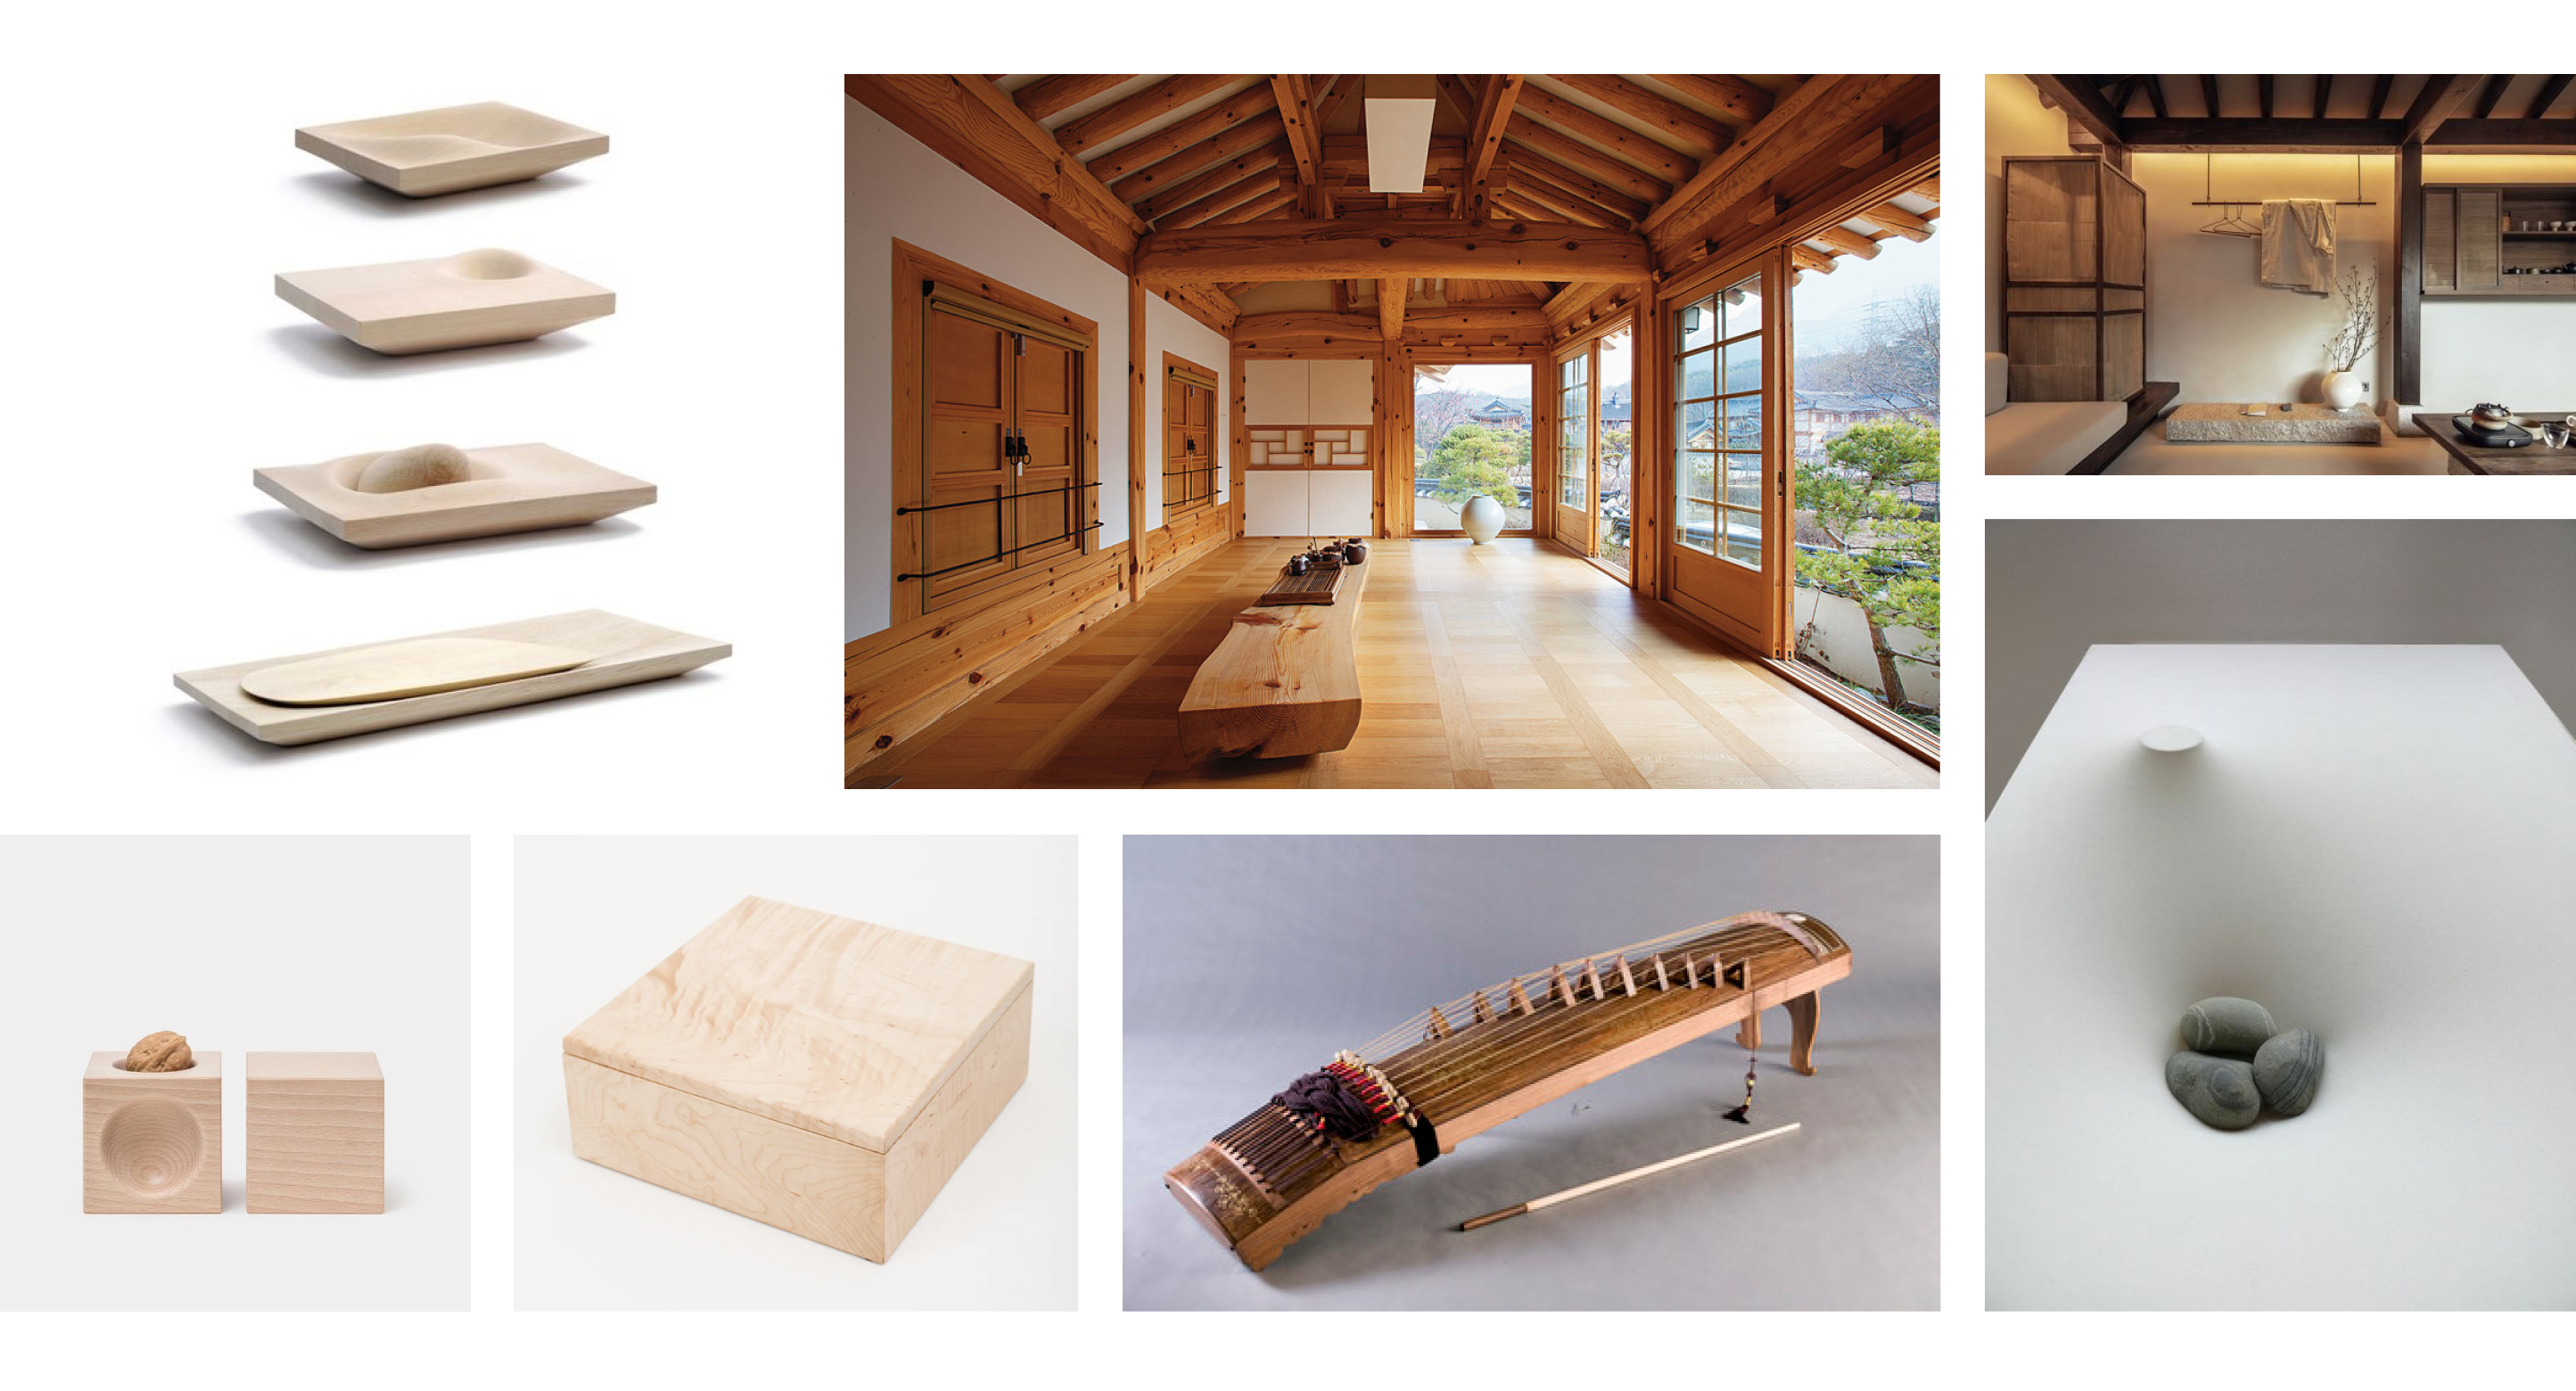
As well as traditional Korean architecture, instruments; the juxtaposition of hard rock maple and soft, rippling recesses:
Sketching

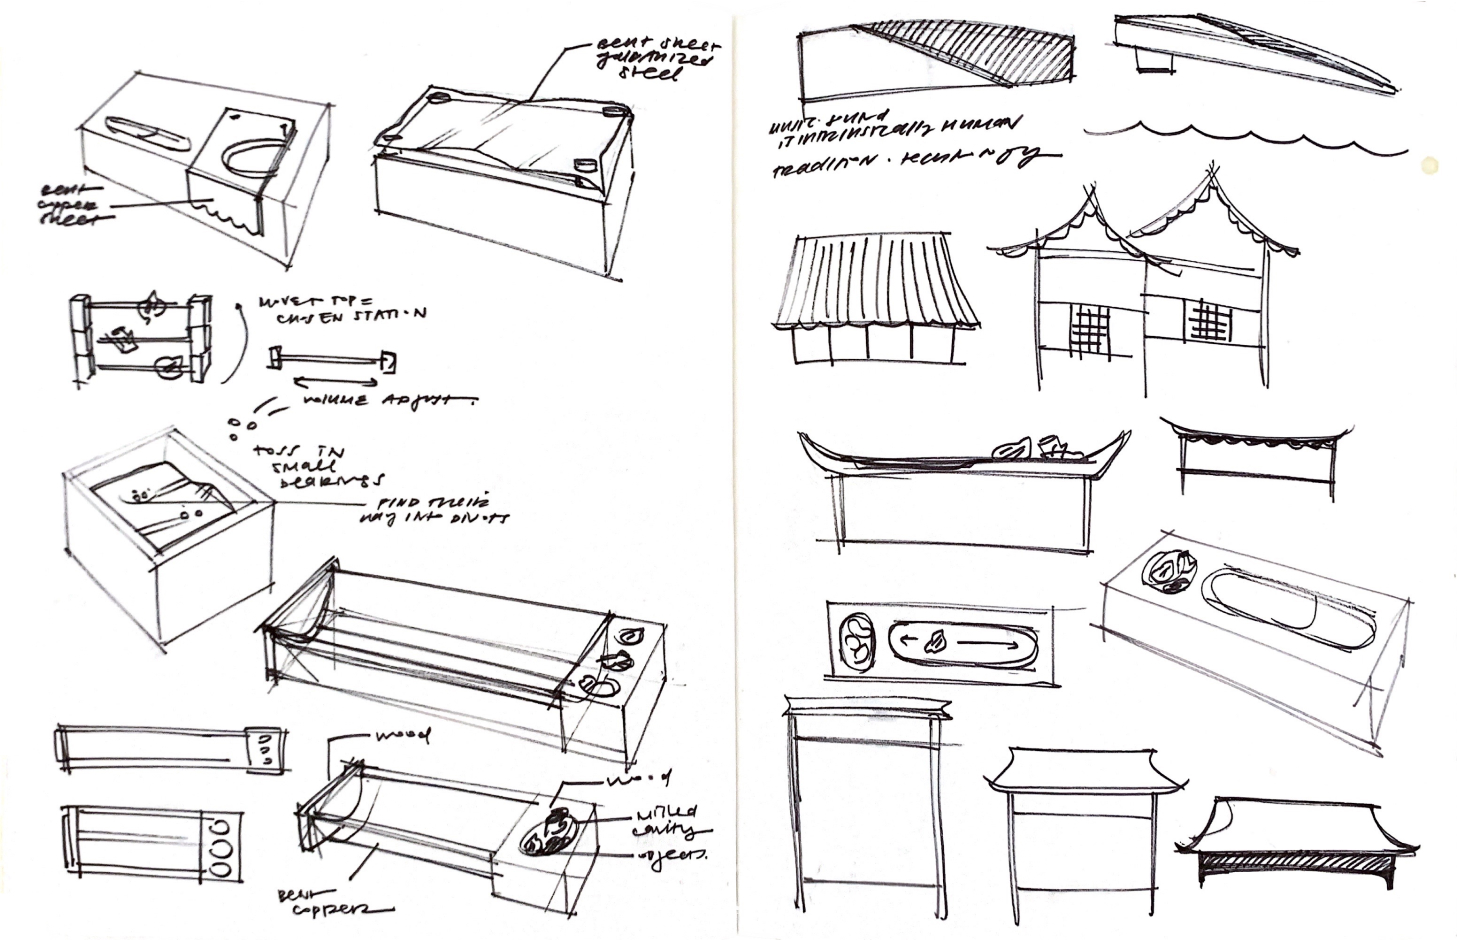
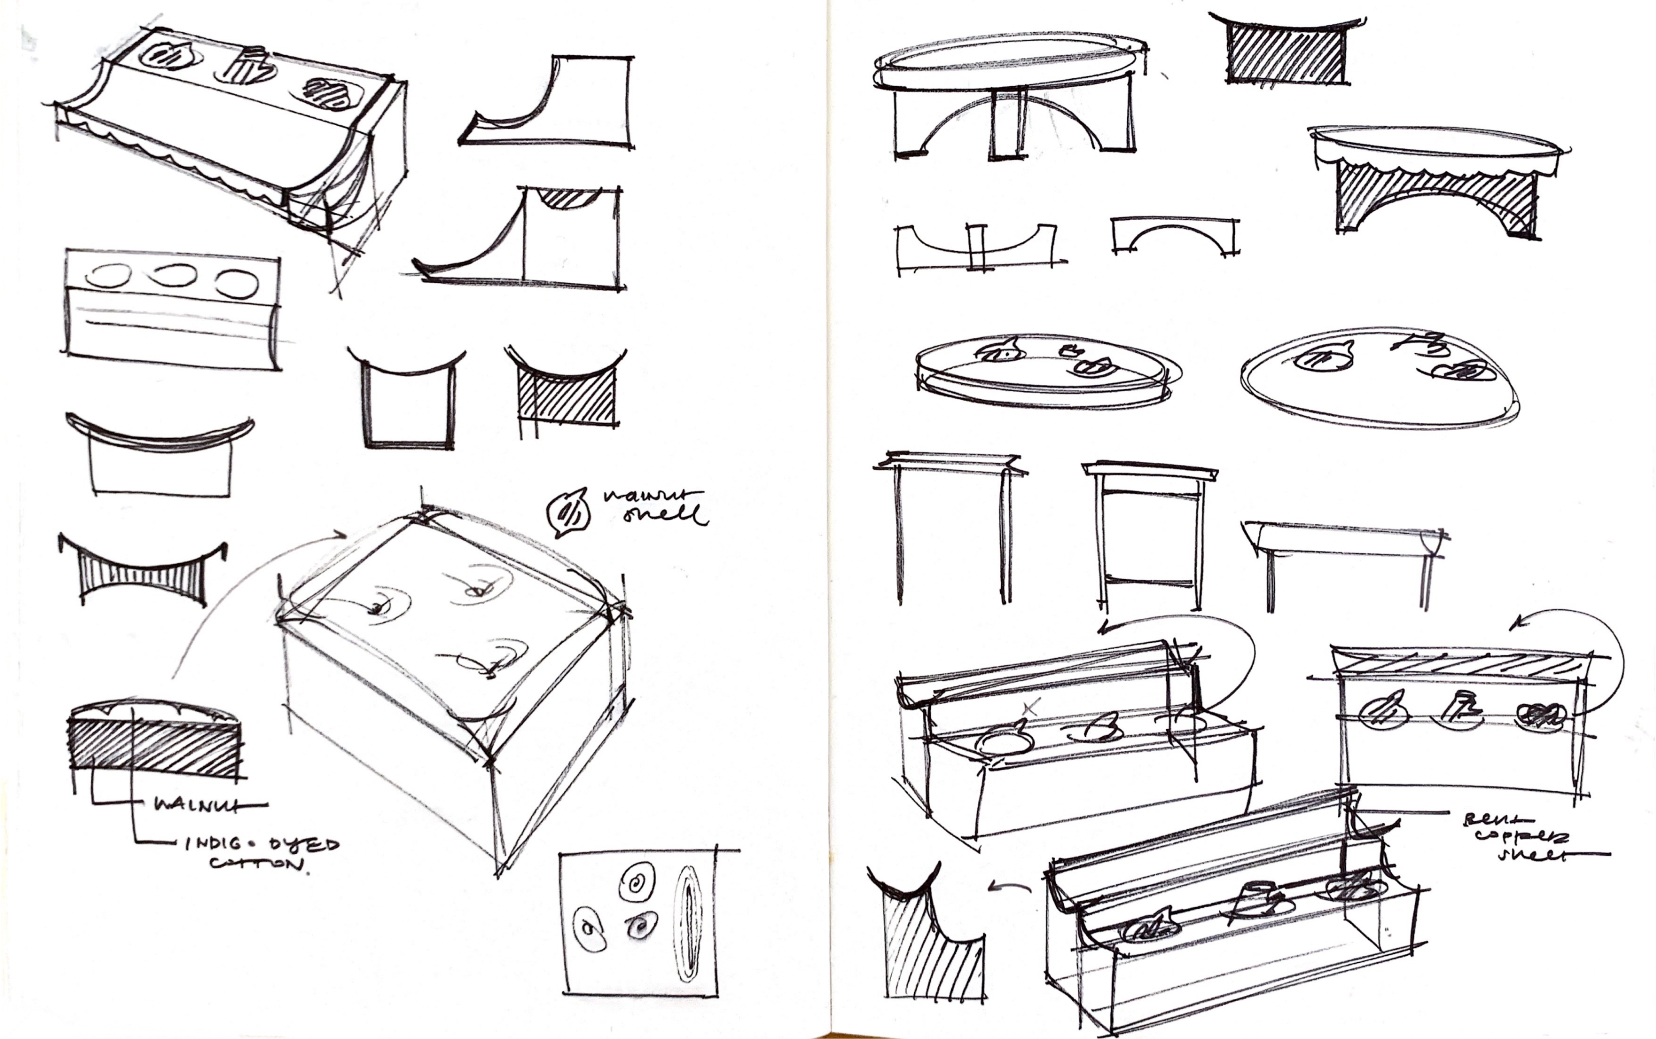
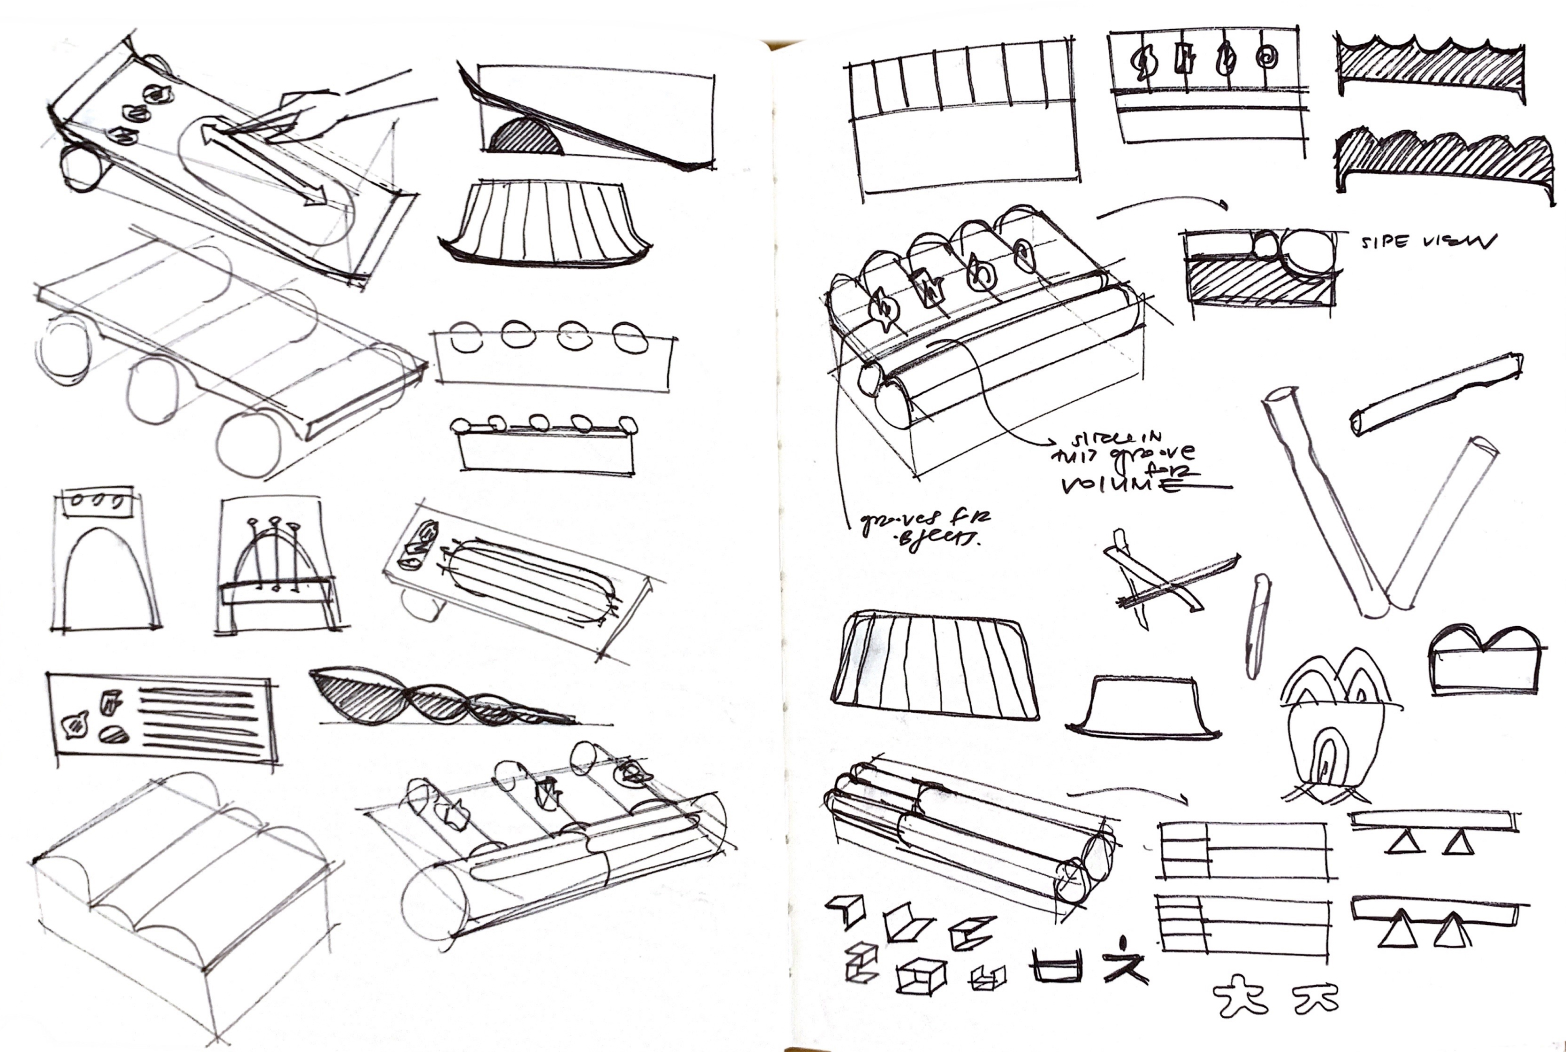
From here, I went through several iterations of designs as I thought through form, hardware, and machining:

Concept Iteration 1

Concept Iteration 2

Preliminary Fabrication Plan
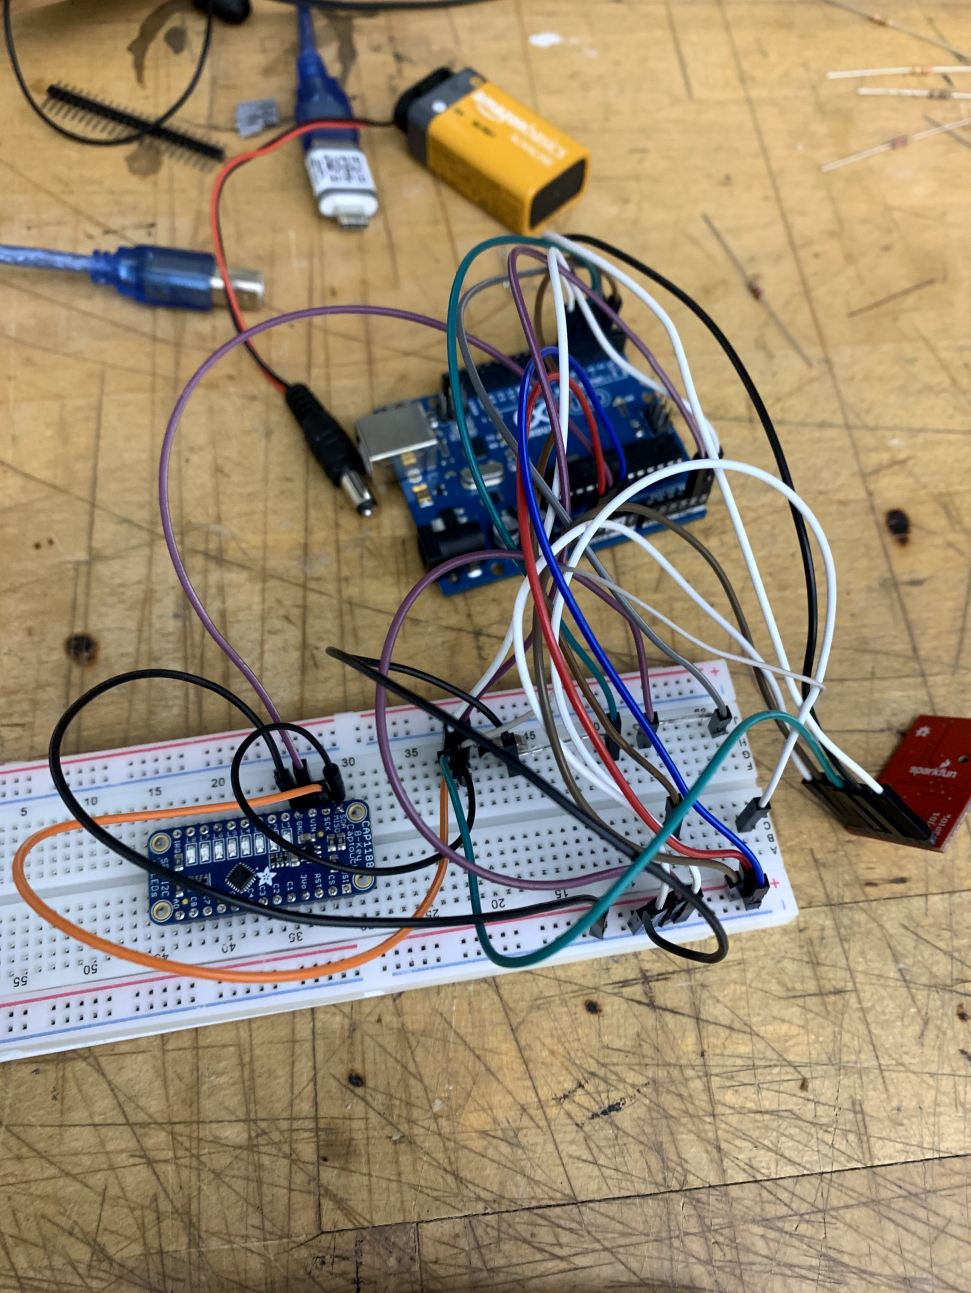
Arduino Prototyping
Initially I planned to use RFID tags and a reader to register the stations and a hall effect sensor (which uses magnetic fields to detect proximity) for the volume. However, testing, cost, and a reevaluation of the interaction led me to use reed (magnetic) switches and a capacitive touch sensor instead.
This part was also necessary to determine what thickness I would need to mill up to from the inside of the radio for the sensors to register, as well as how much space I would need for the internals overall.
This part was also necessary to determine what thickness I would need to mill up to from the inside of the radio for the sensors to register, as well as how much space I would need for the internals overall.
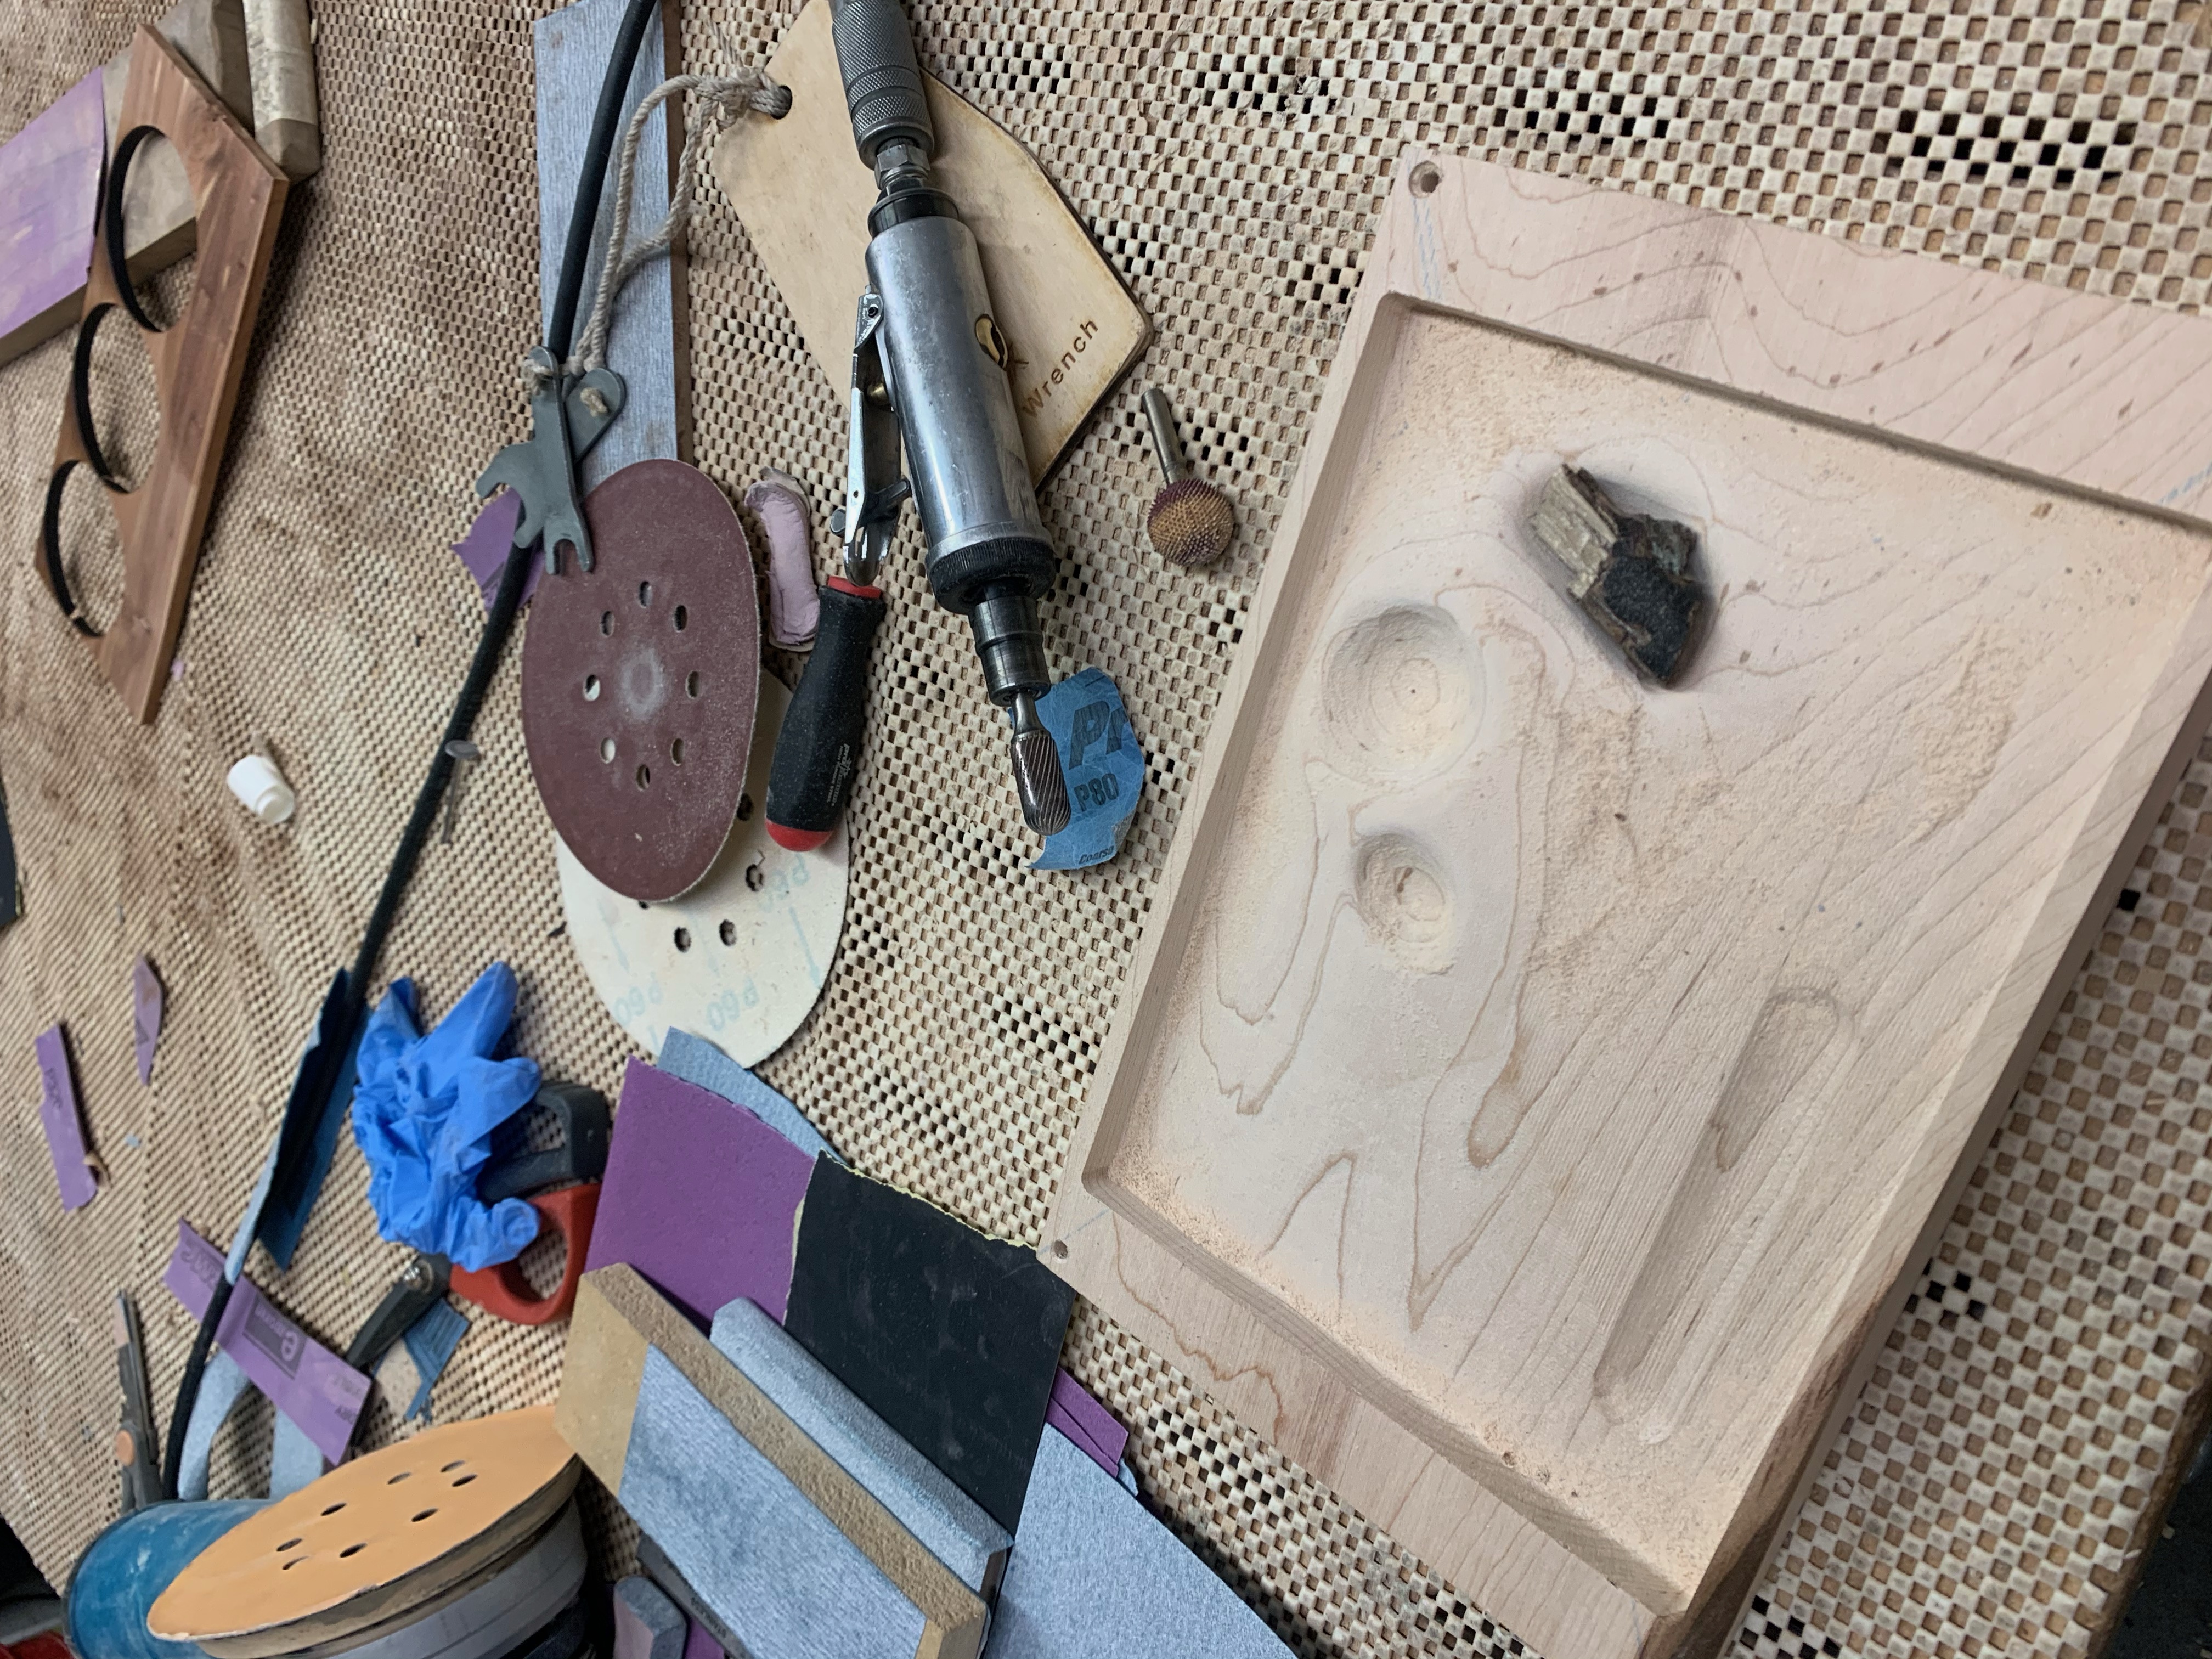
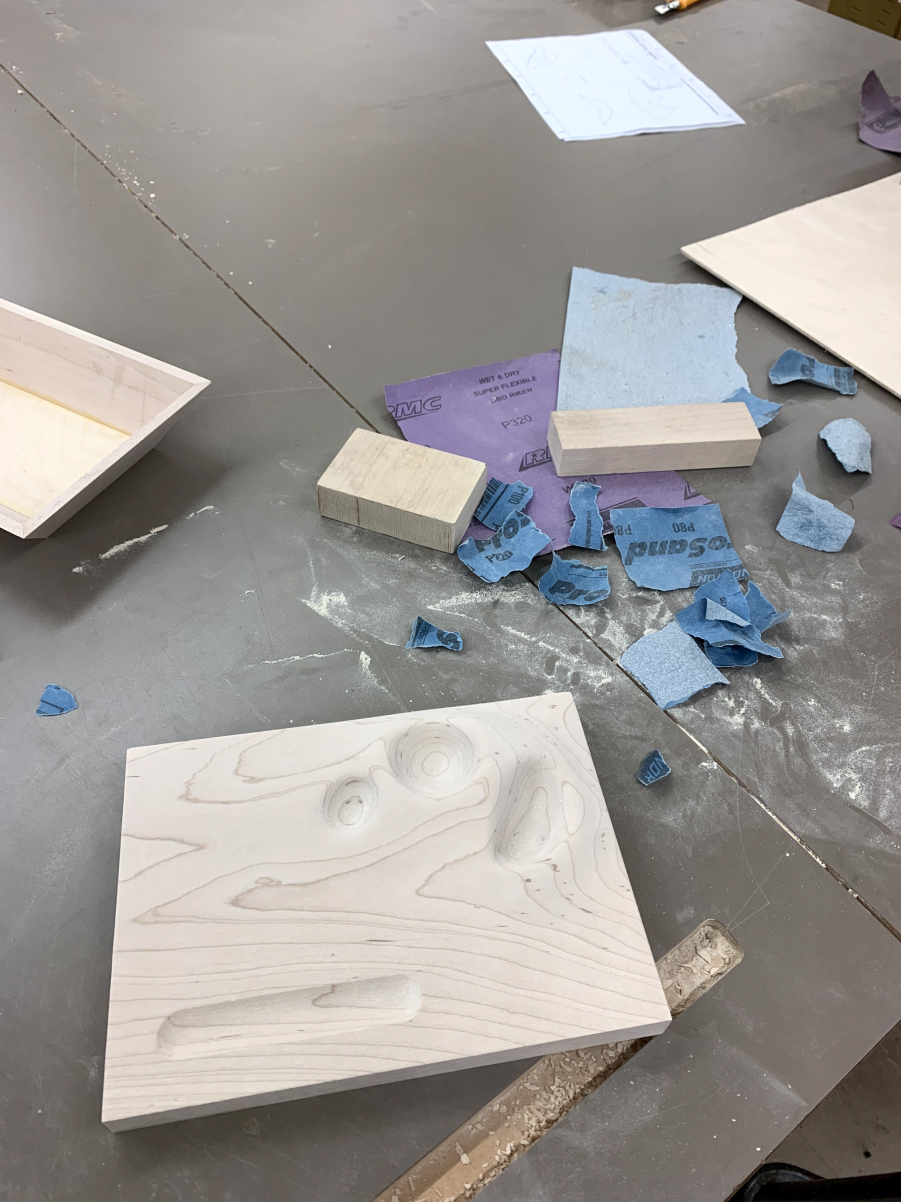
Top
The top surface was modeled using the freeform feature on SolidWorks, then milled on the CNC. I used an air grinder with various bit shapes and sizes to get a better fit around the objects, and hand-sanded to a smooth finish.
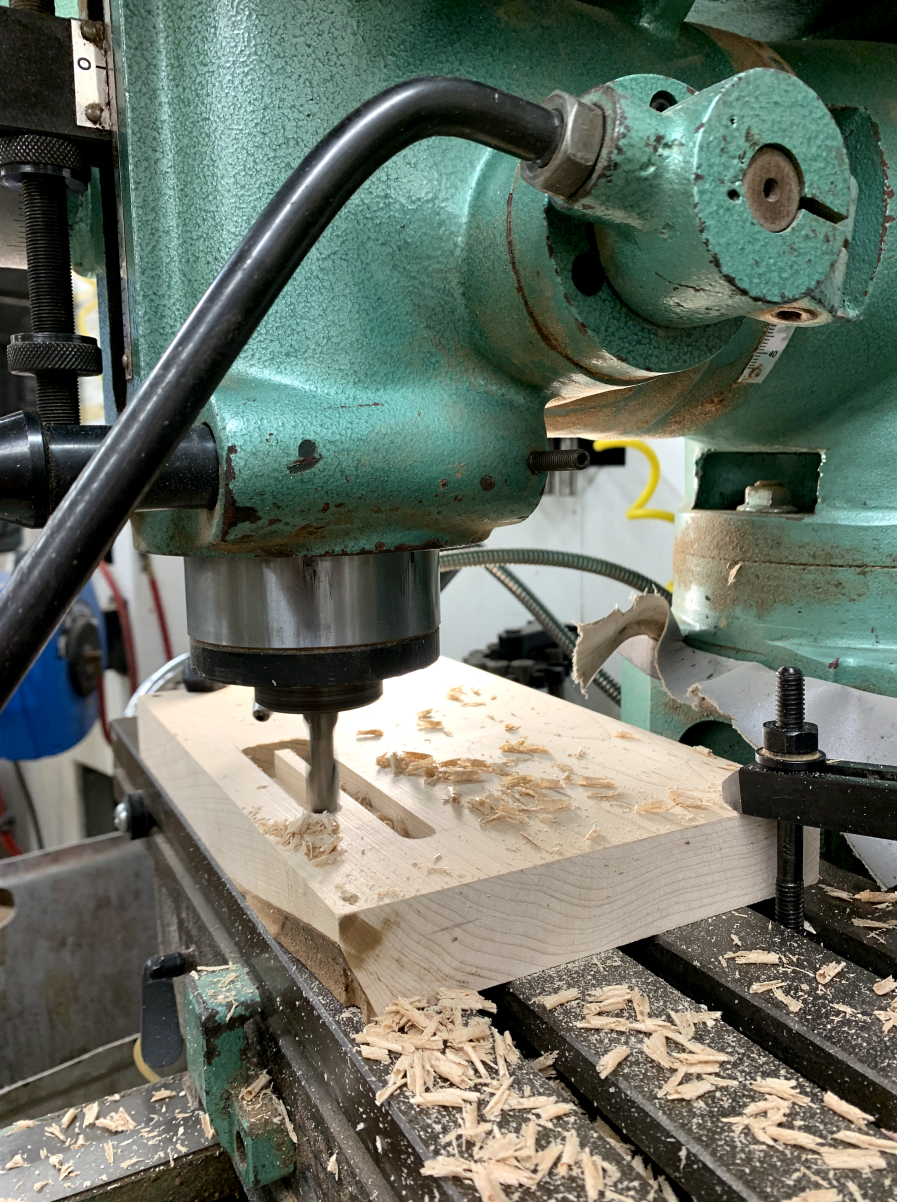
I also used the mill and drill press to create the cavities on the other side where the reed switches and capacitive touch wires would go.
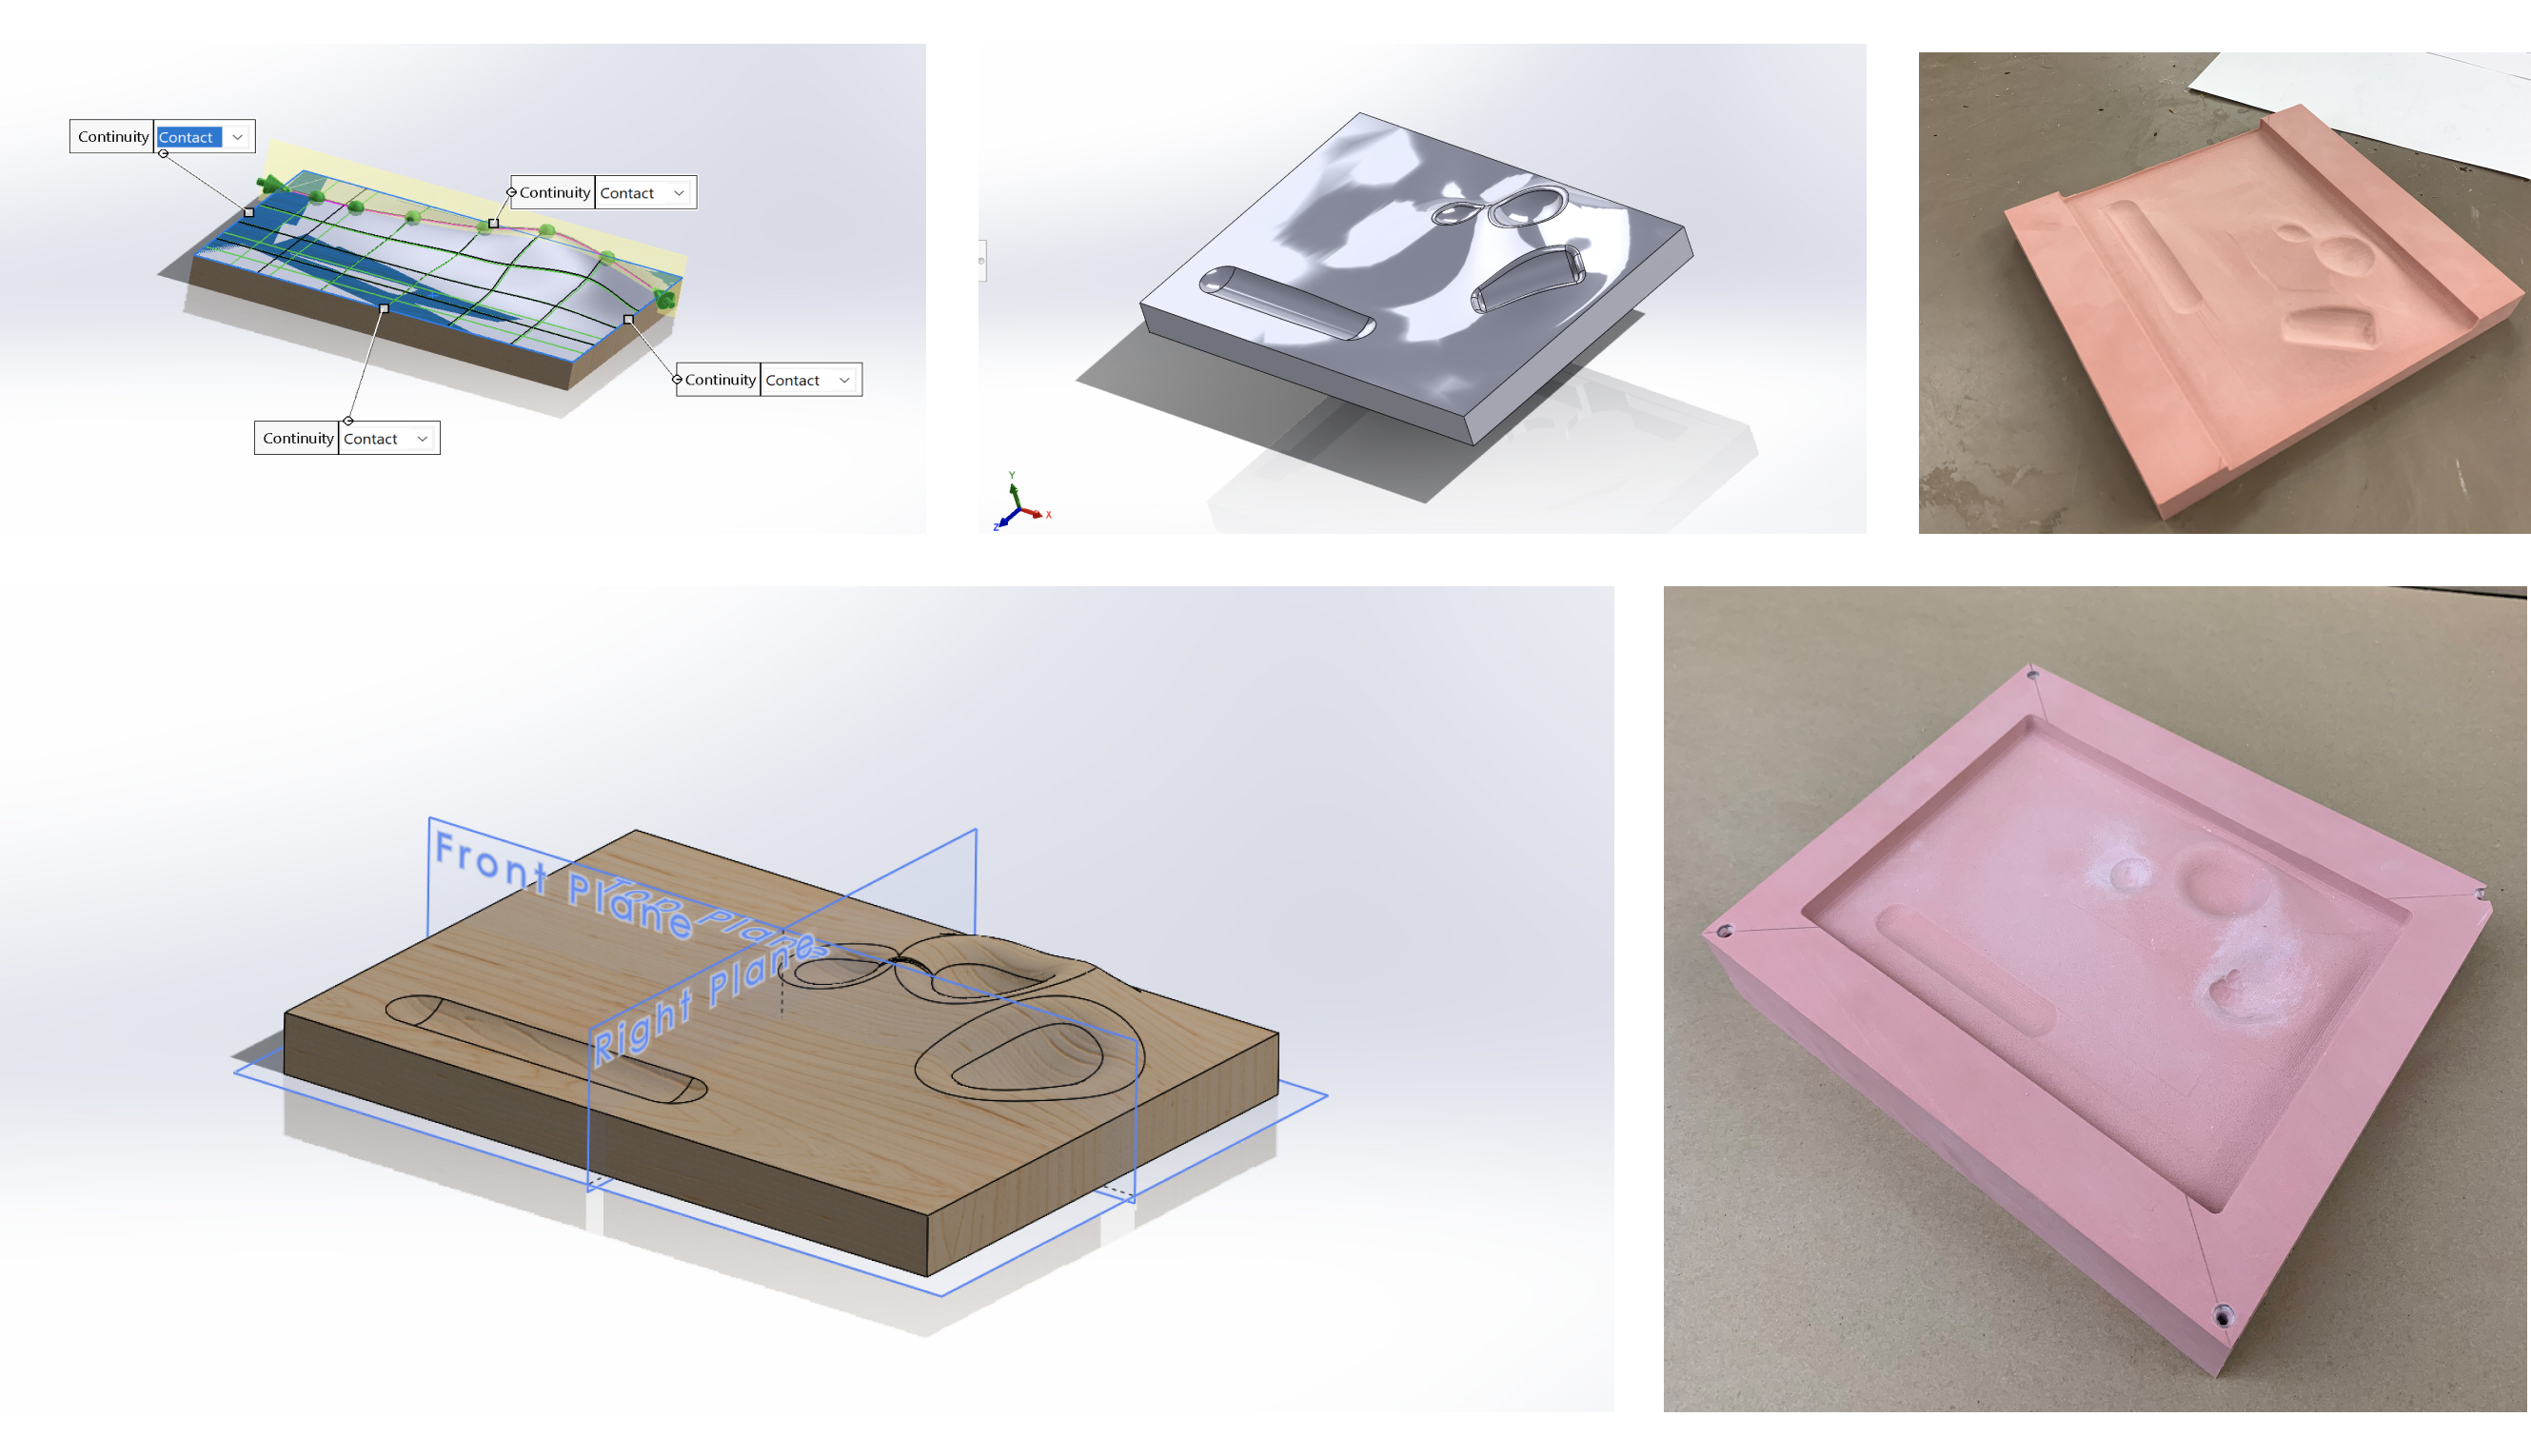
Modeling and tests on high density foam
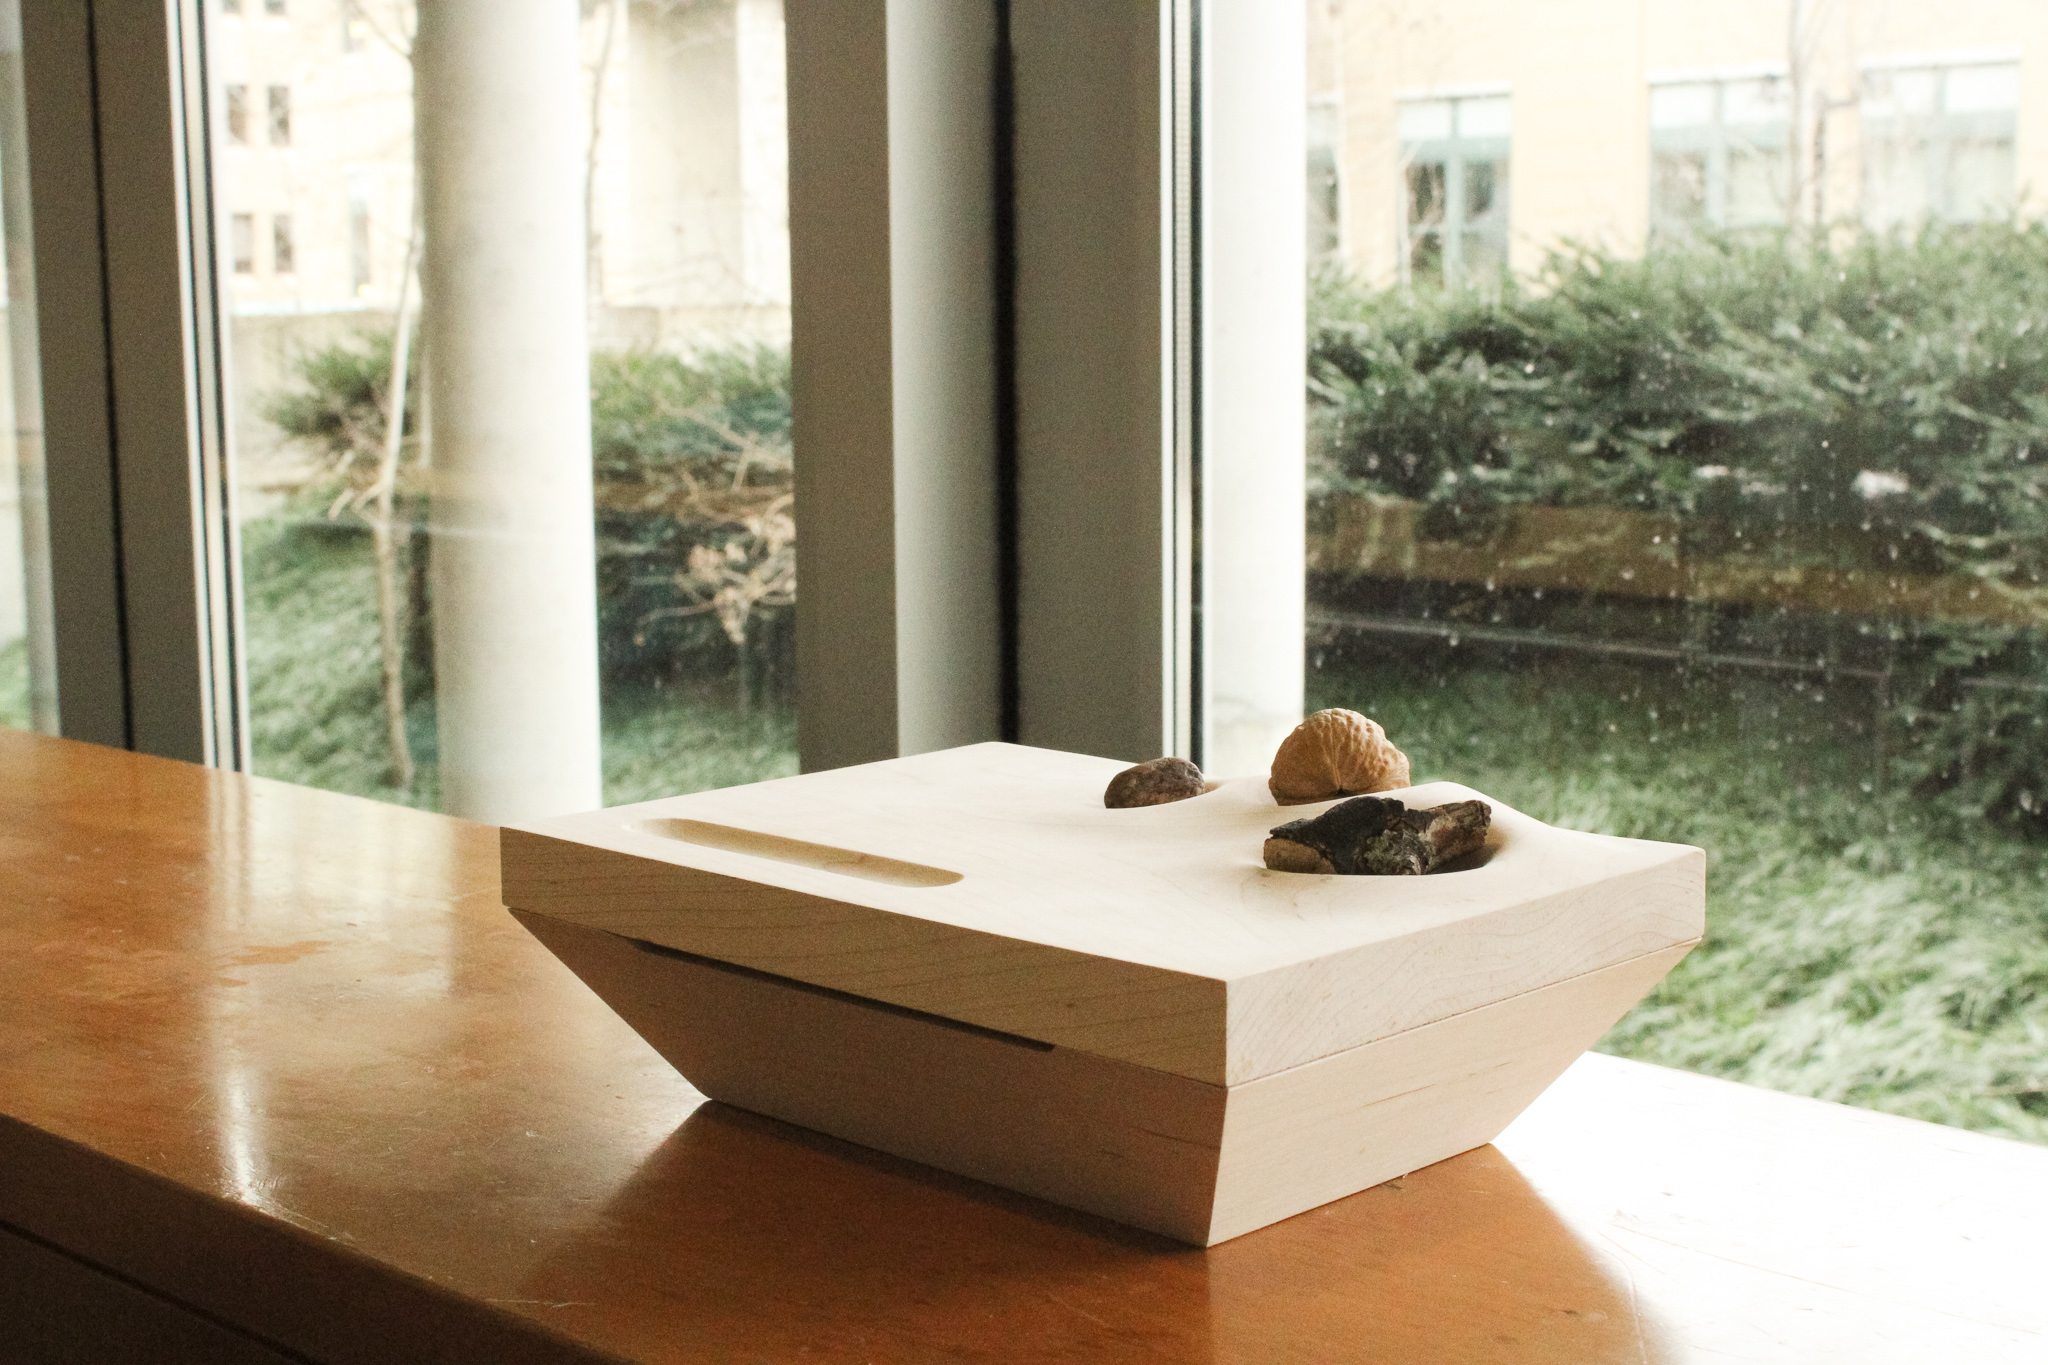
Box
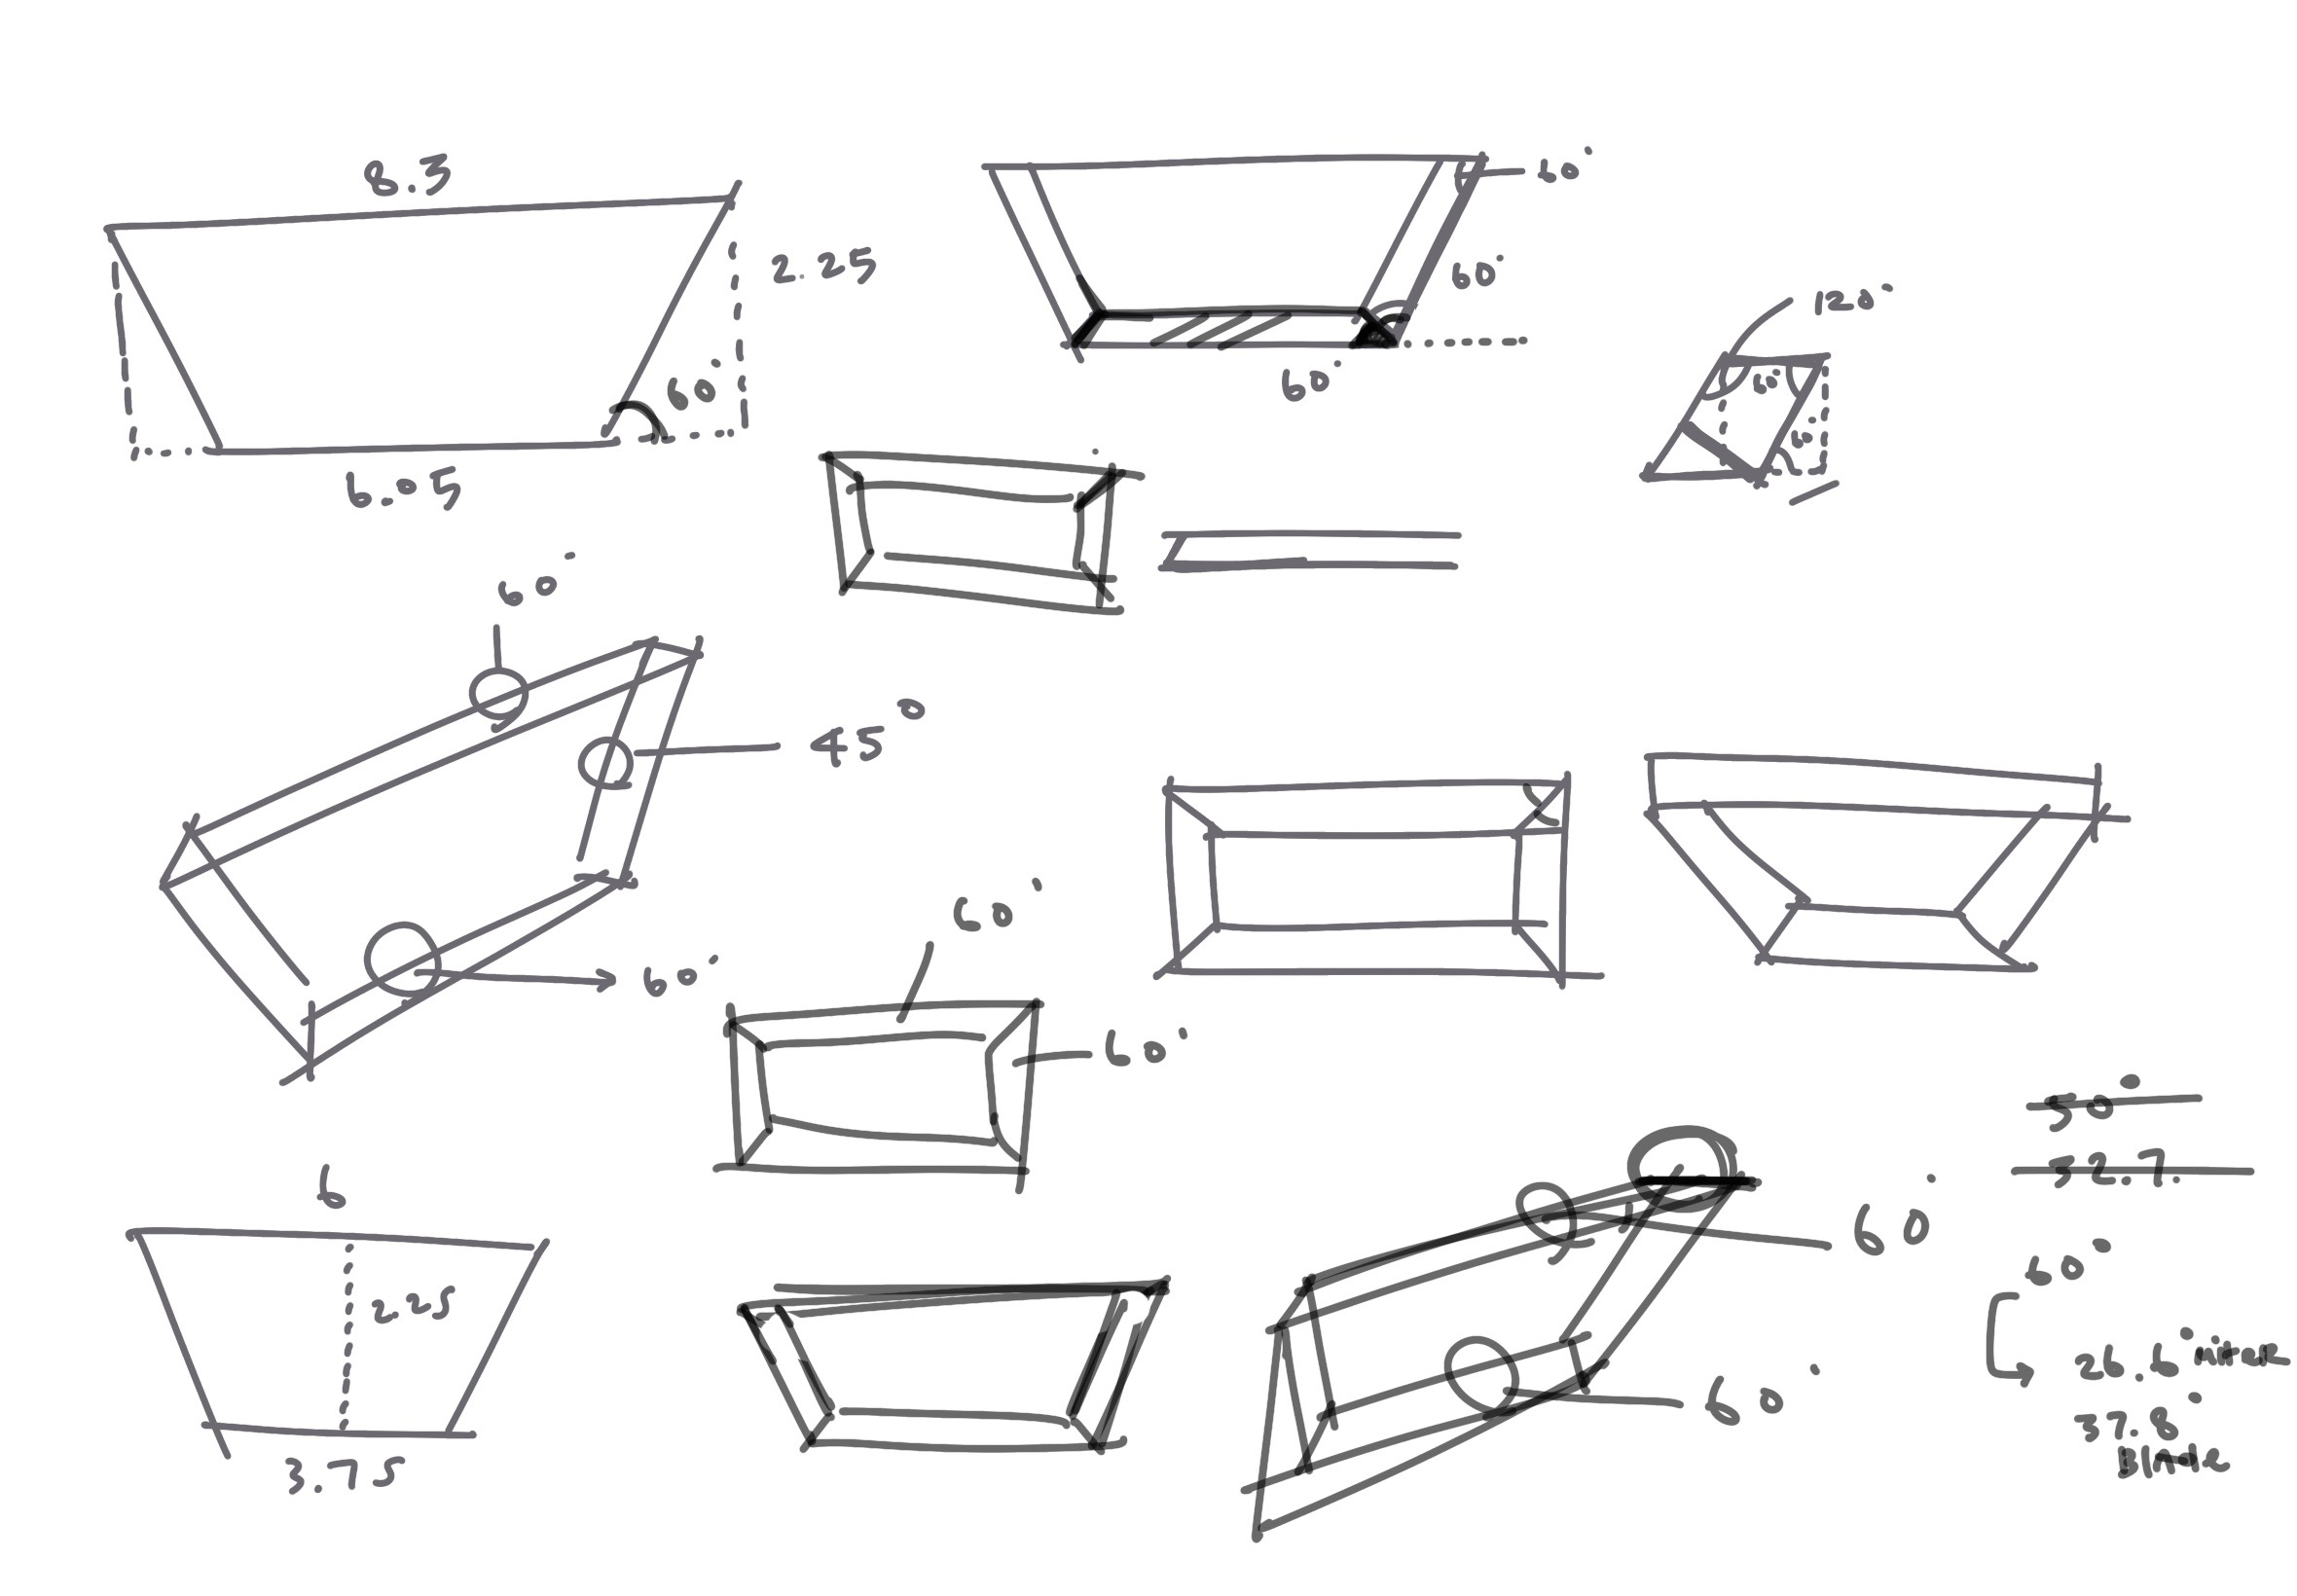
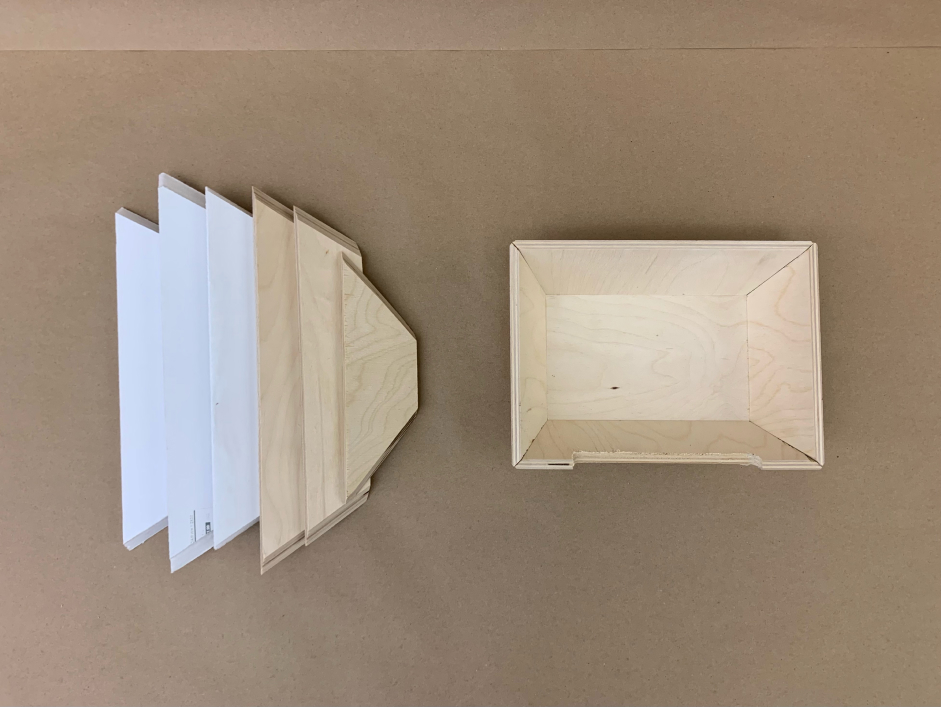
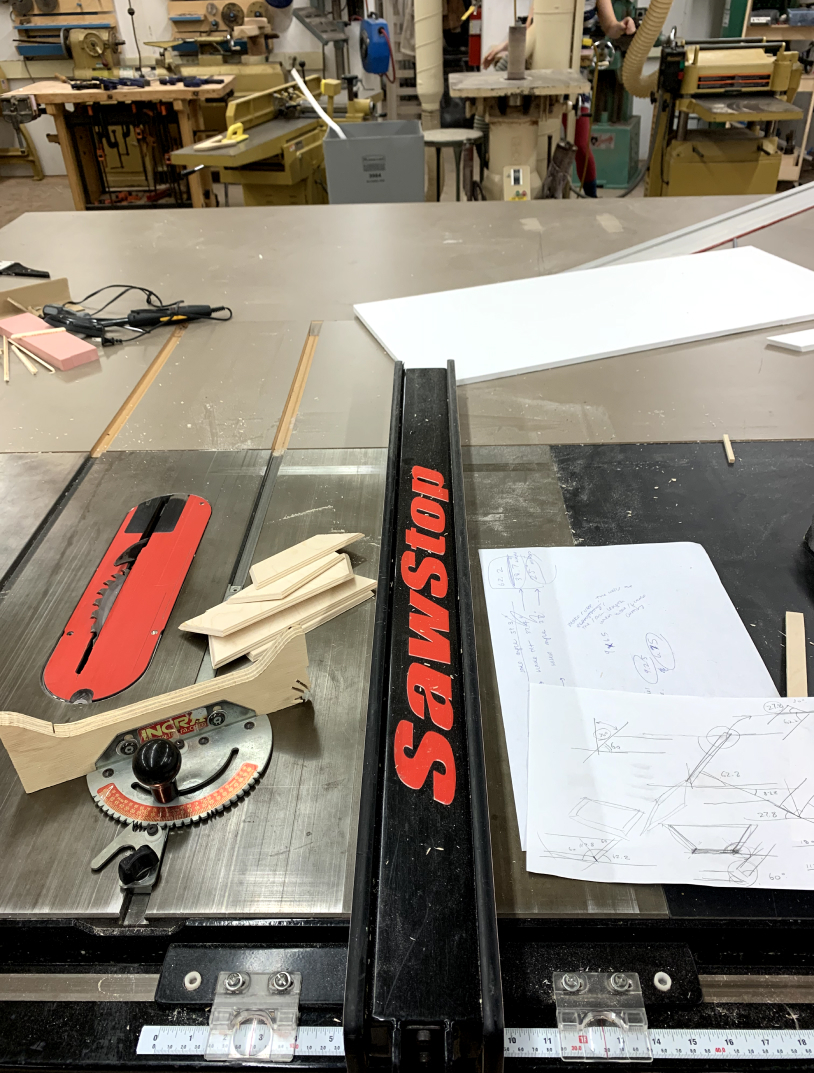
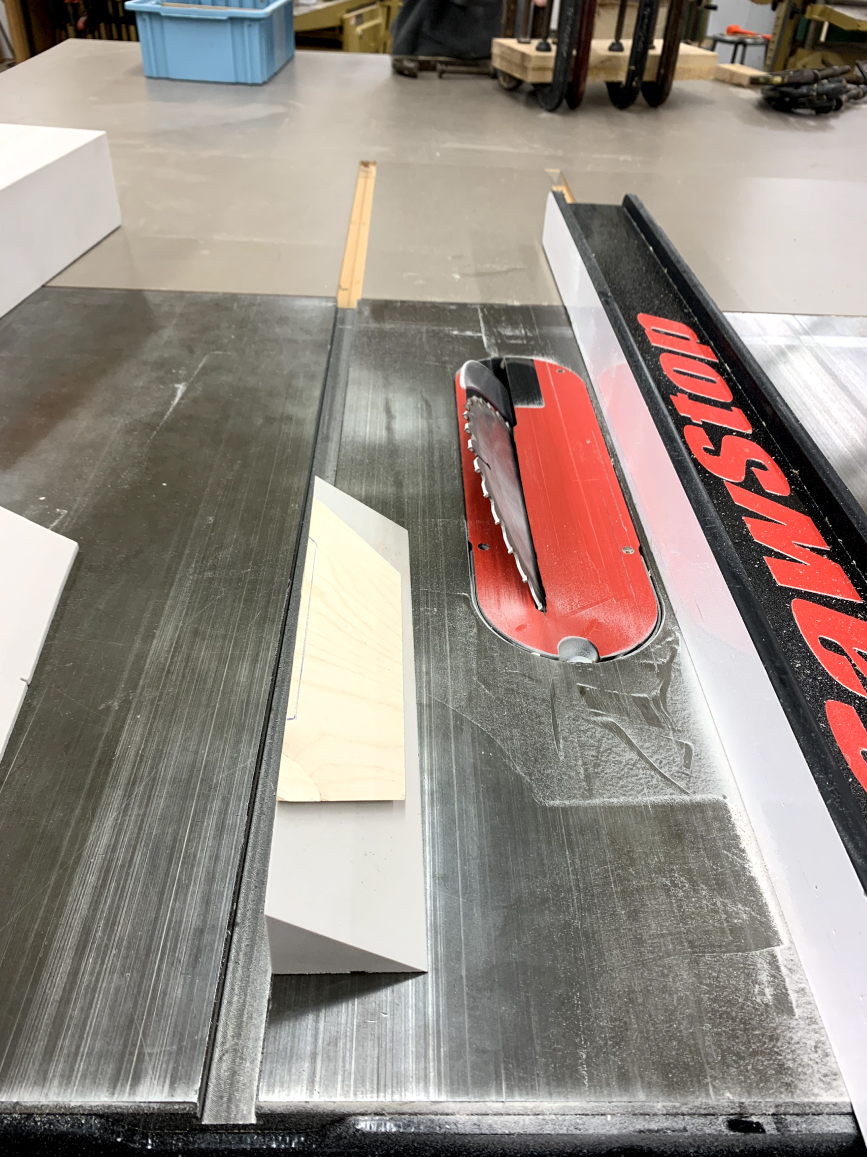
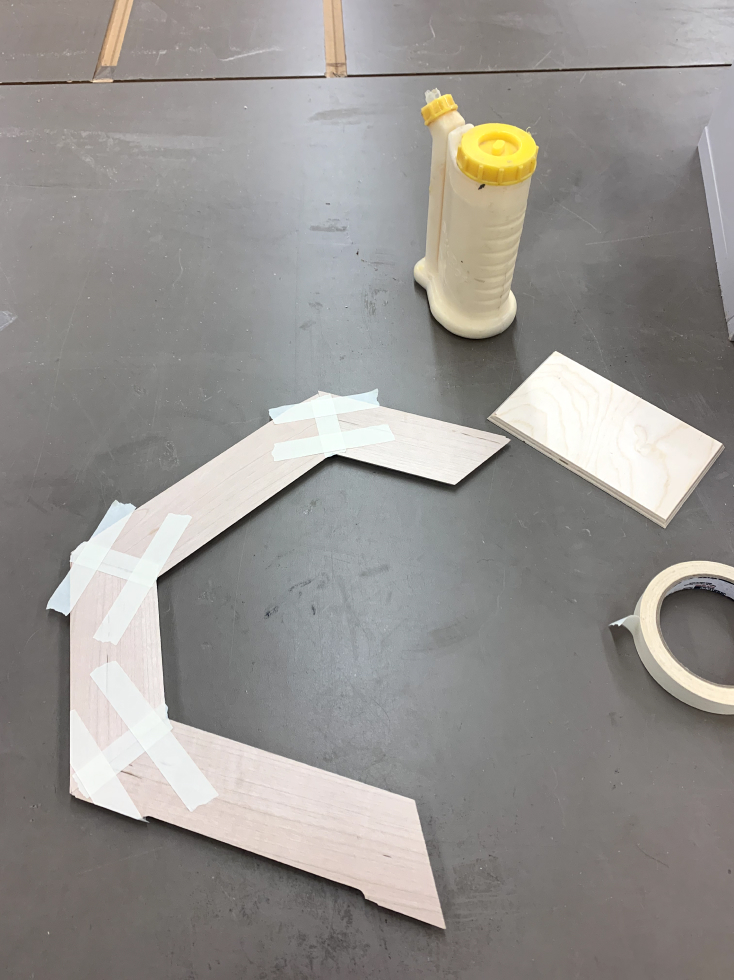
The compound angle miter box was created using tilted blade and miter angles on the table saw. I began by calculating the angles myself and testing them out with plywood and foamcore . . . and then discovered a website that calculates them for you. I made a prototype box with plywood and then made adjustments to achieve the desired proportions with the final maple box.
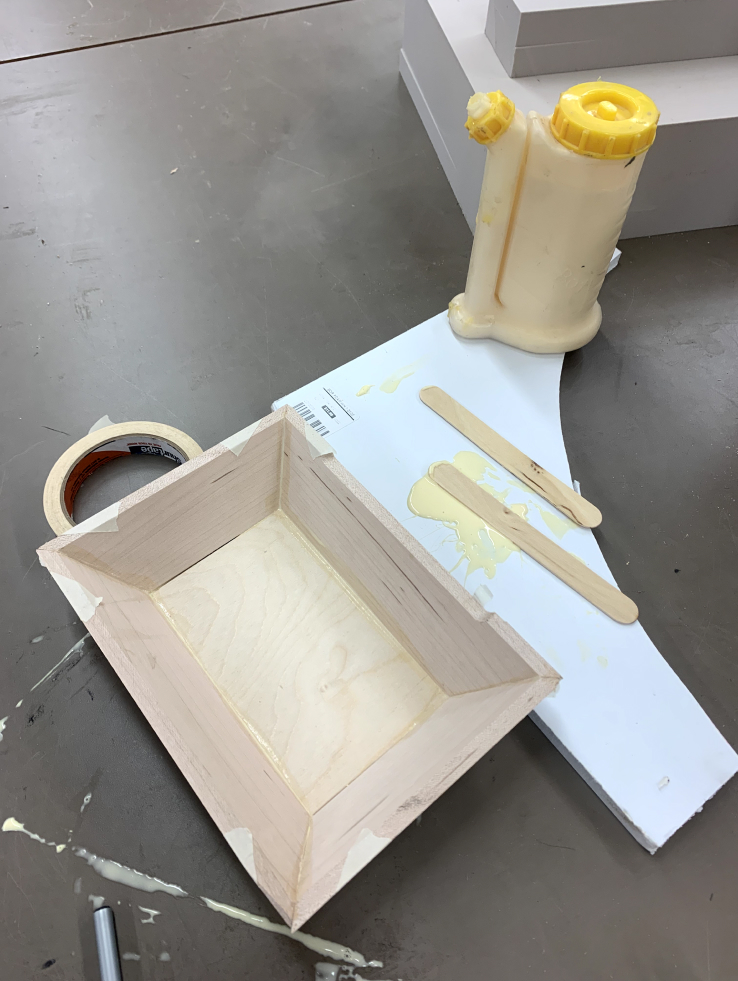
I created a jig congruent to the box angle out of high density foam to mill out the sound hole, then glued the box together.

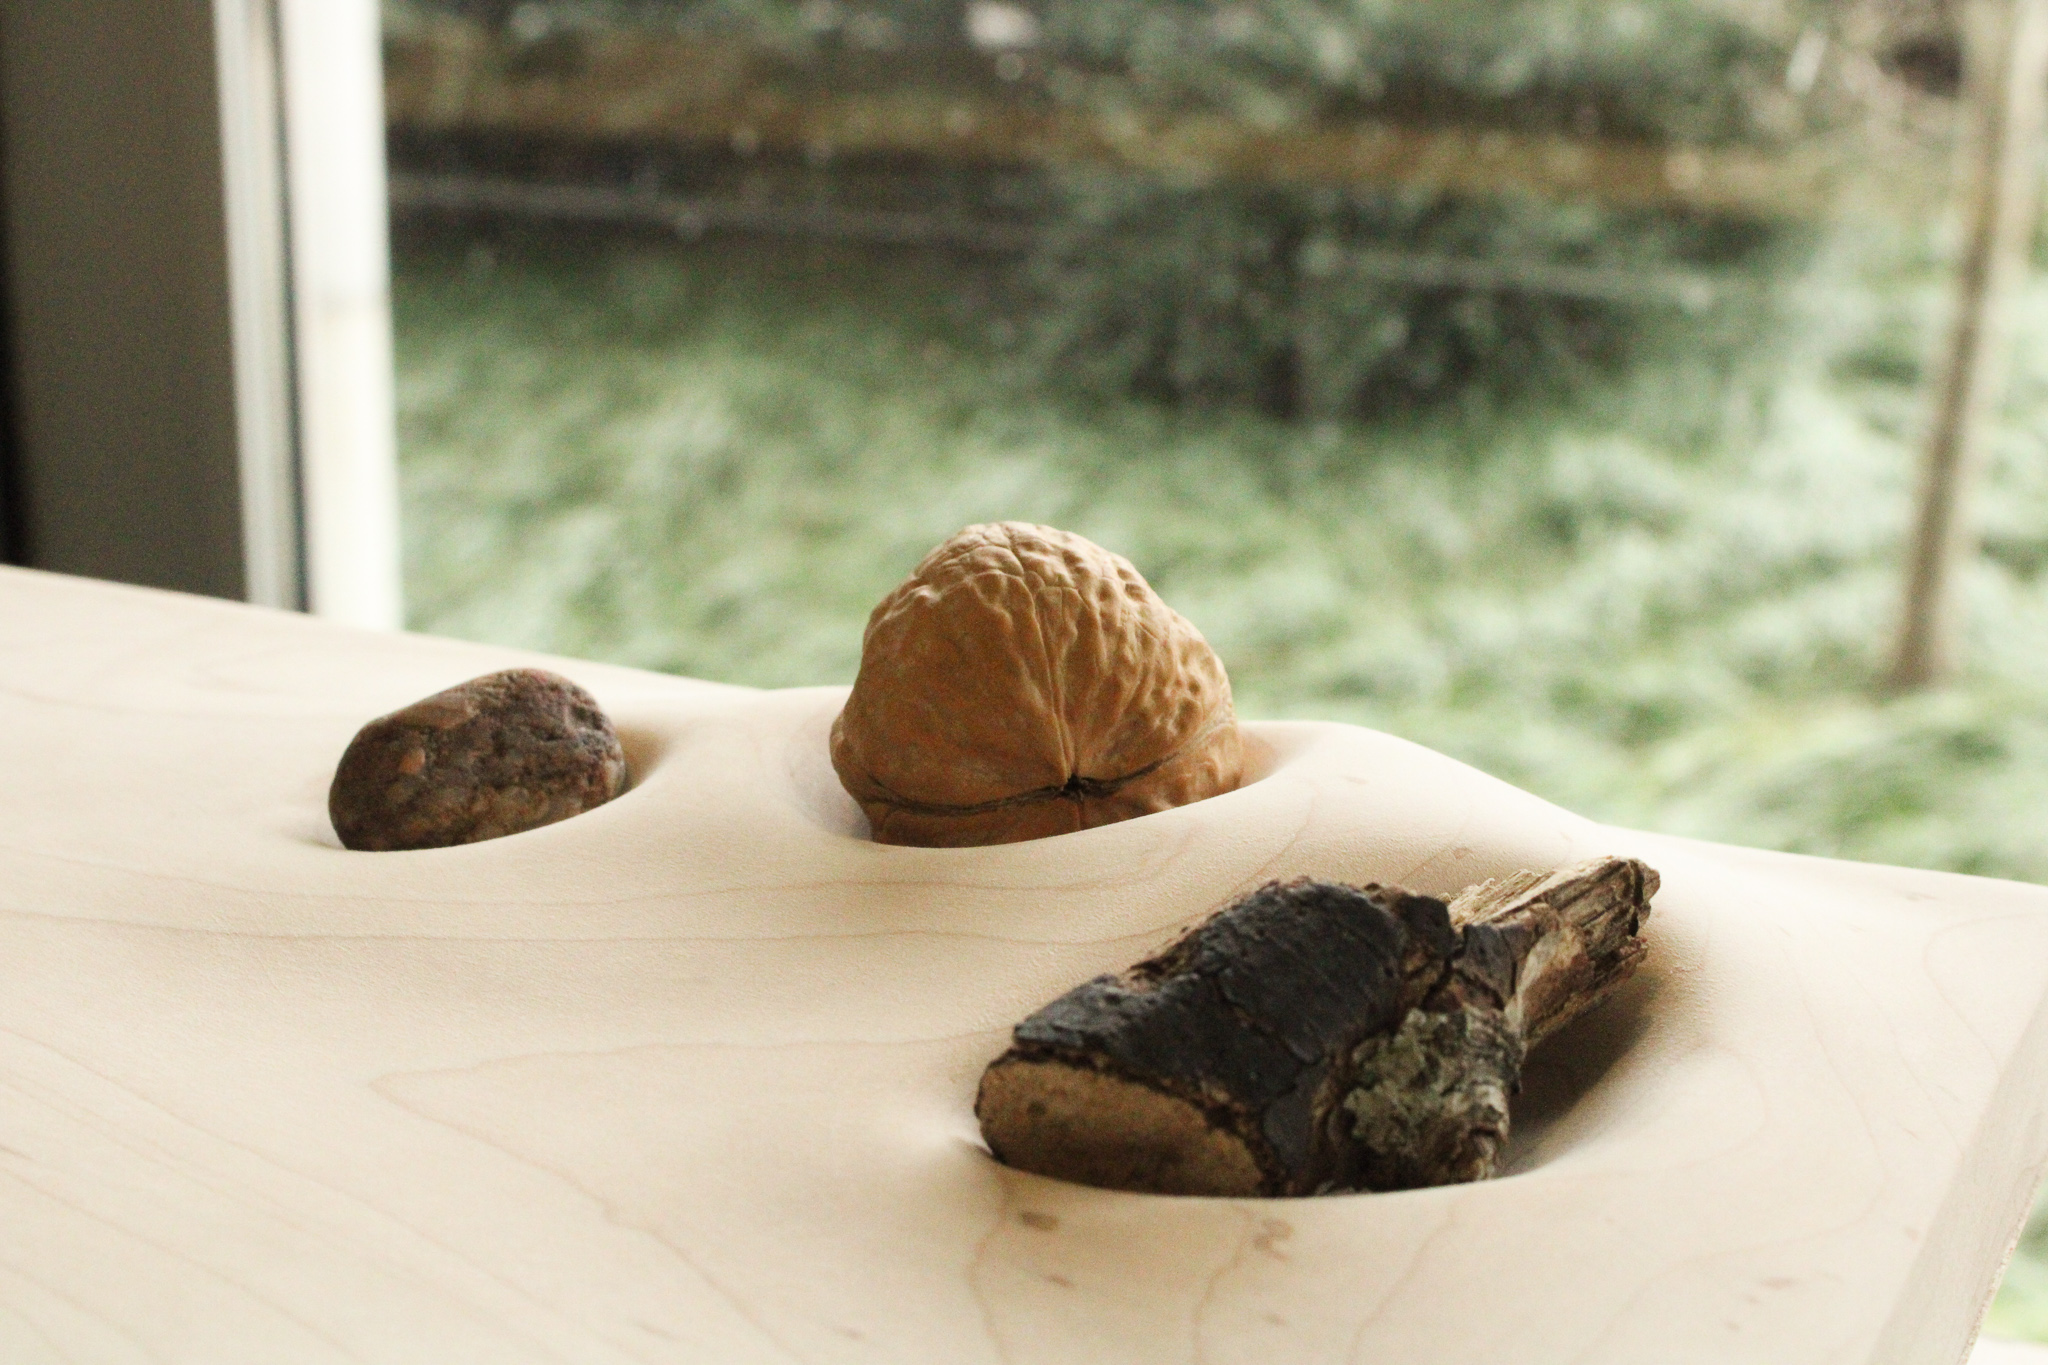
Objects
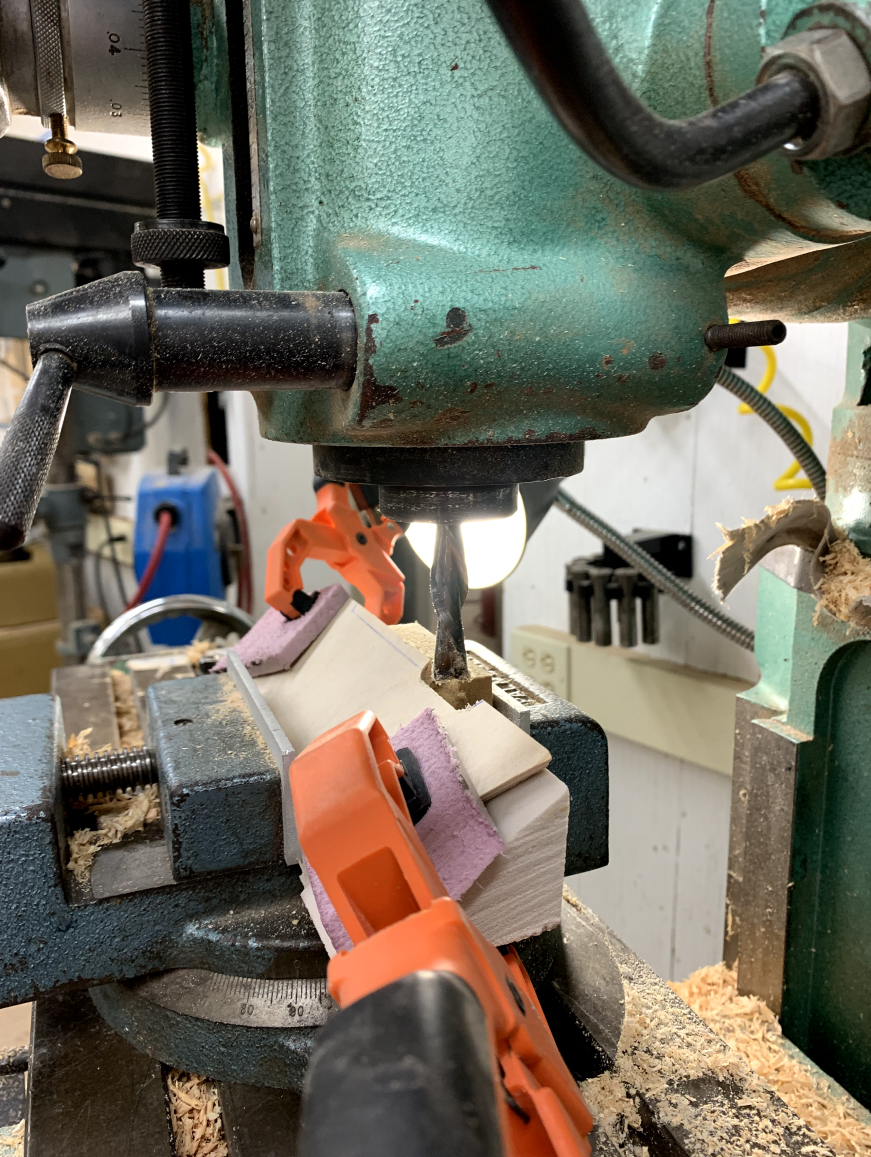
I used the dremmel on the rock and walnut shell and the drill press on the branch cut-off to create the magnet cavities. The magnets were wrapped in conductive fabric to be able to be used with the capacitive touch sensor.