Arctiidae Mirror
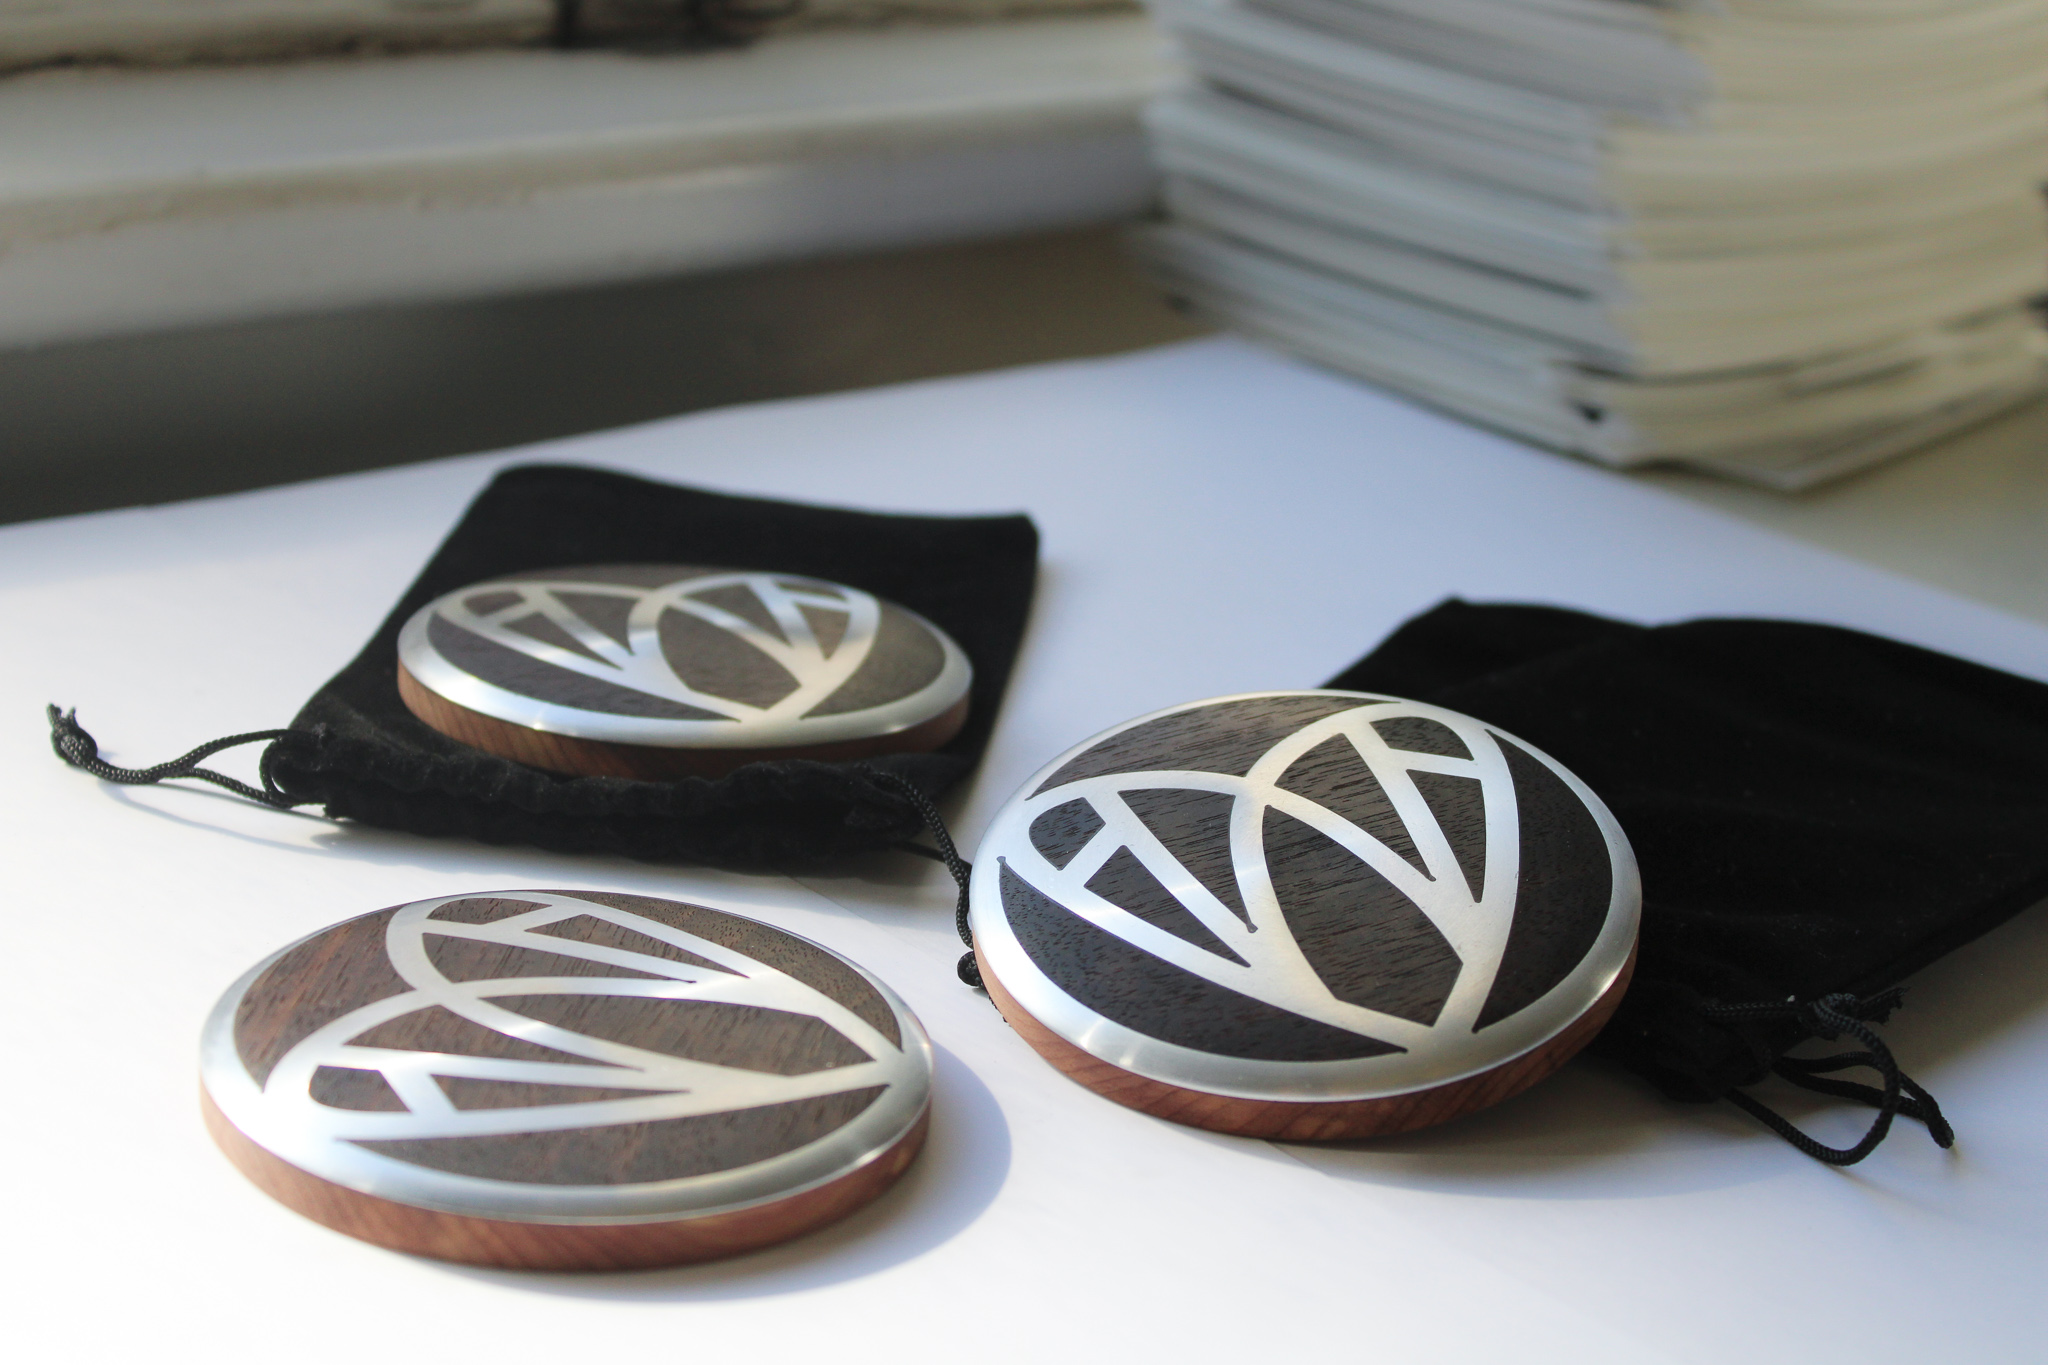
A Polytemporal ObjectPocket mirrors designed to last forever- carrying on the life of the endangered Tiger Moth species by which they are inspired. Three were produced; one to sell, one to gift, and one to keep and pass down.
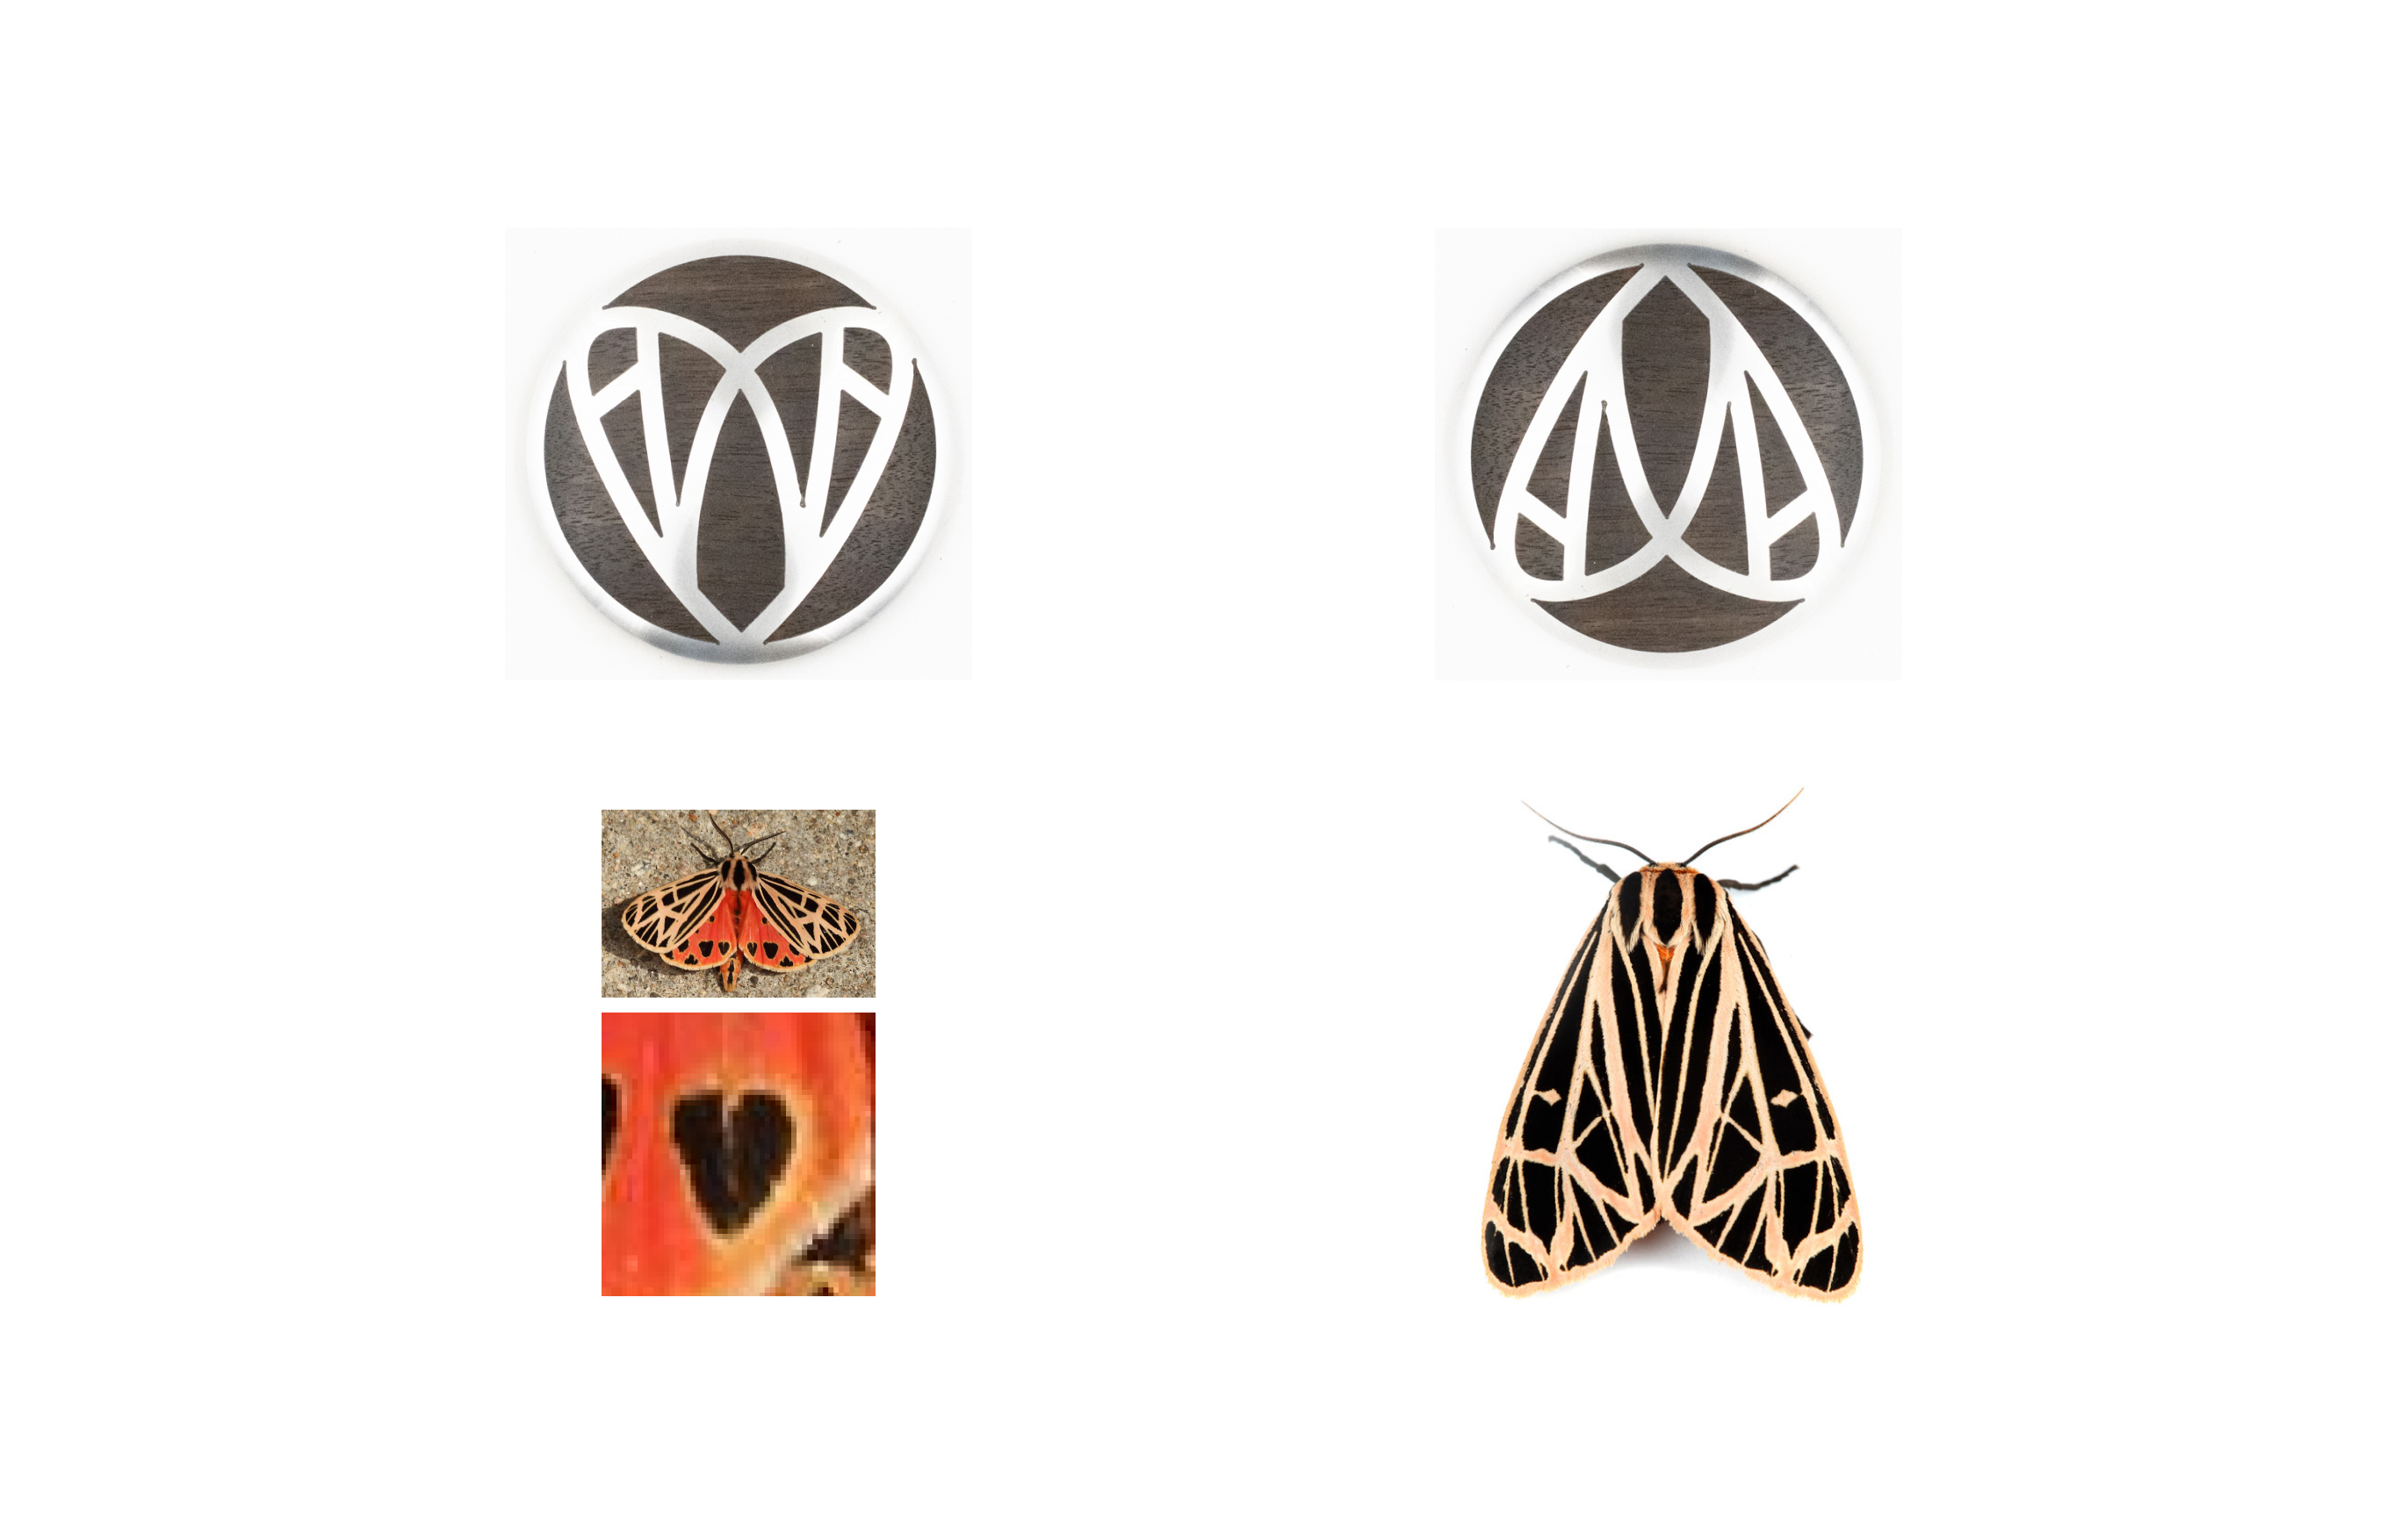
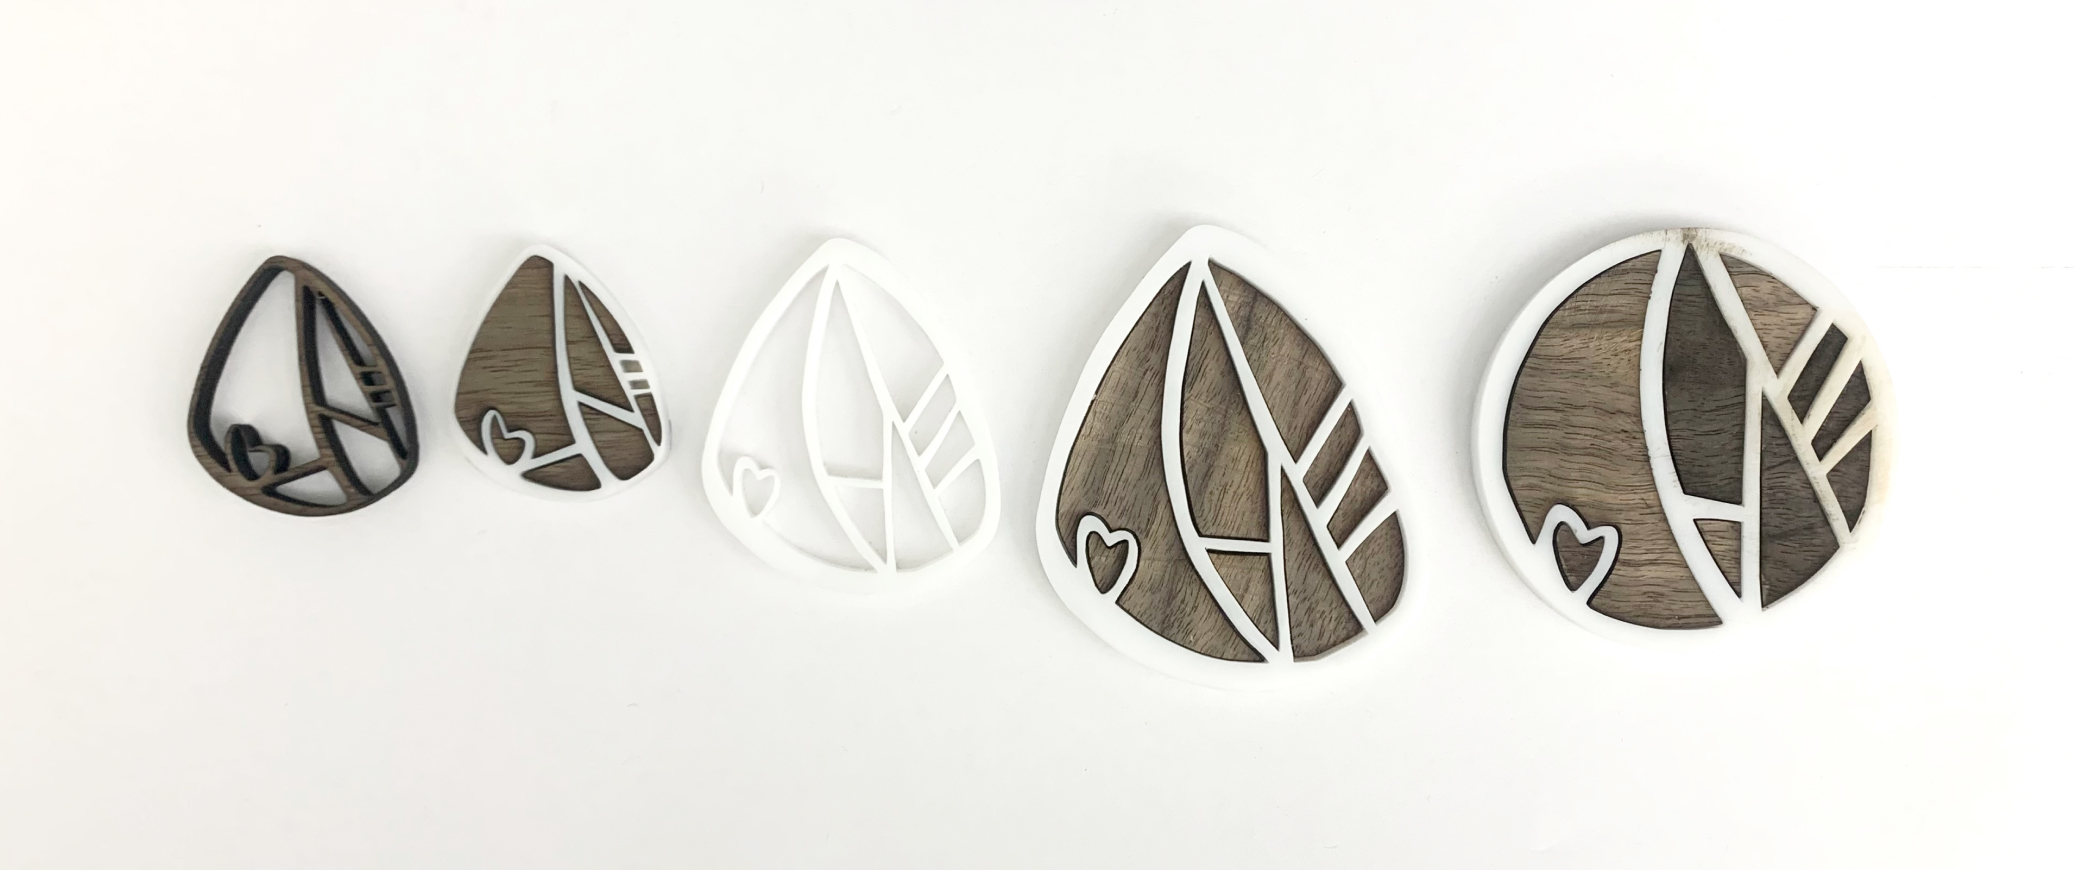
I chose the Tiger Moth for the distinct heart-shaped pattern on its lower wings, which were a surprising graphic element to find in nature. From one side you can see the heart pattern from its wings; from the other, you can see the shape of the moth when its wings are closed.
Sold @ Contemporary Craft’s Annual Live Auction for 165% of its starting bid
Duration
3 Weeks, Fall 2023Course
Experimental FormMaterials
Walnut, Aromatic Cedar, 6061 Aluminum, Epoxy, Round Mirrors, Rust Stain, Danish OilTools
Water-Jet Cutter, Laser-Cutter, Planer, Horizontal Drum Sander, Oscillating Spindle Sander, Drill Sander, Disc Sander, SandpaperMetal-Working
Wood-Working
Rapid Prototyping
Design for Production

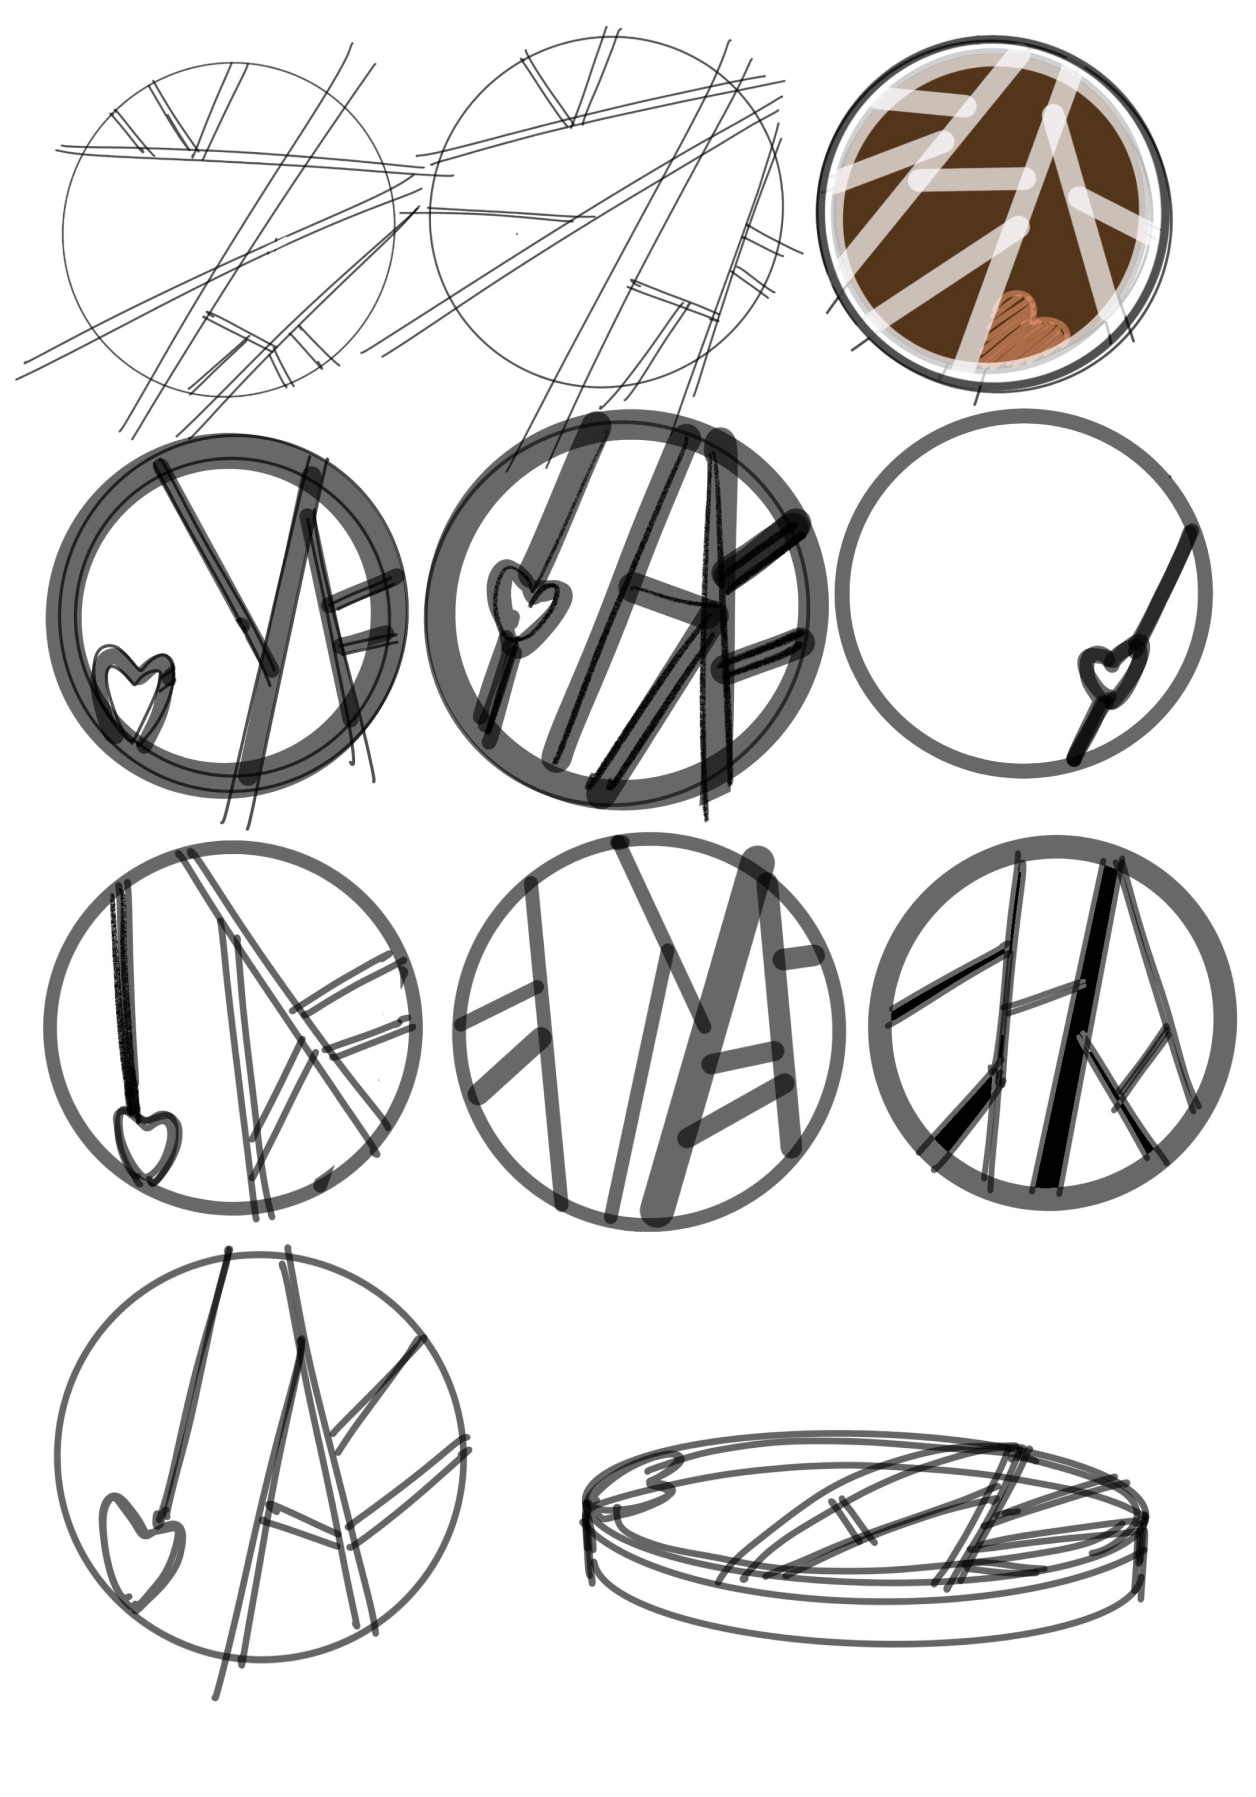
Sketching and Early Prototyping
I considered making other objects such as a bowls or necklaces. Because I had been drawn to the Tiger Moth for such a graphic element, I chose a thin, round mirror as the simple form would allow emphasis of a 2-dimensional design.
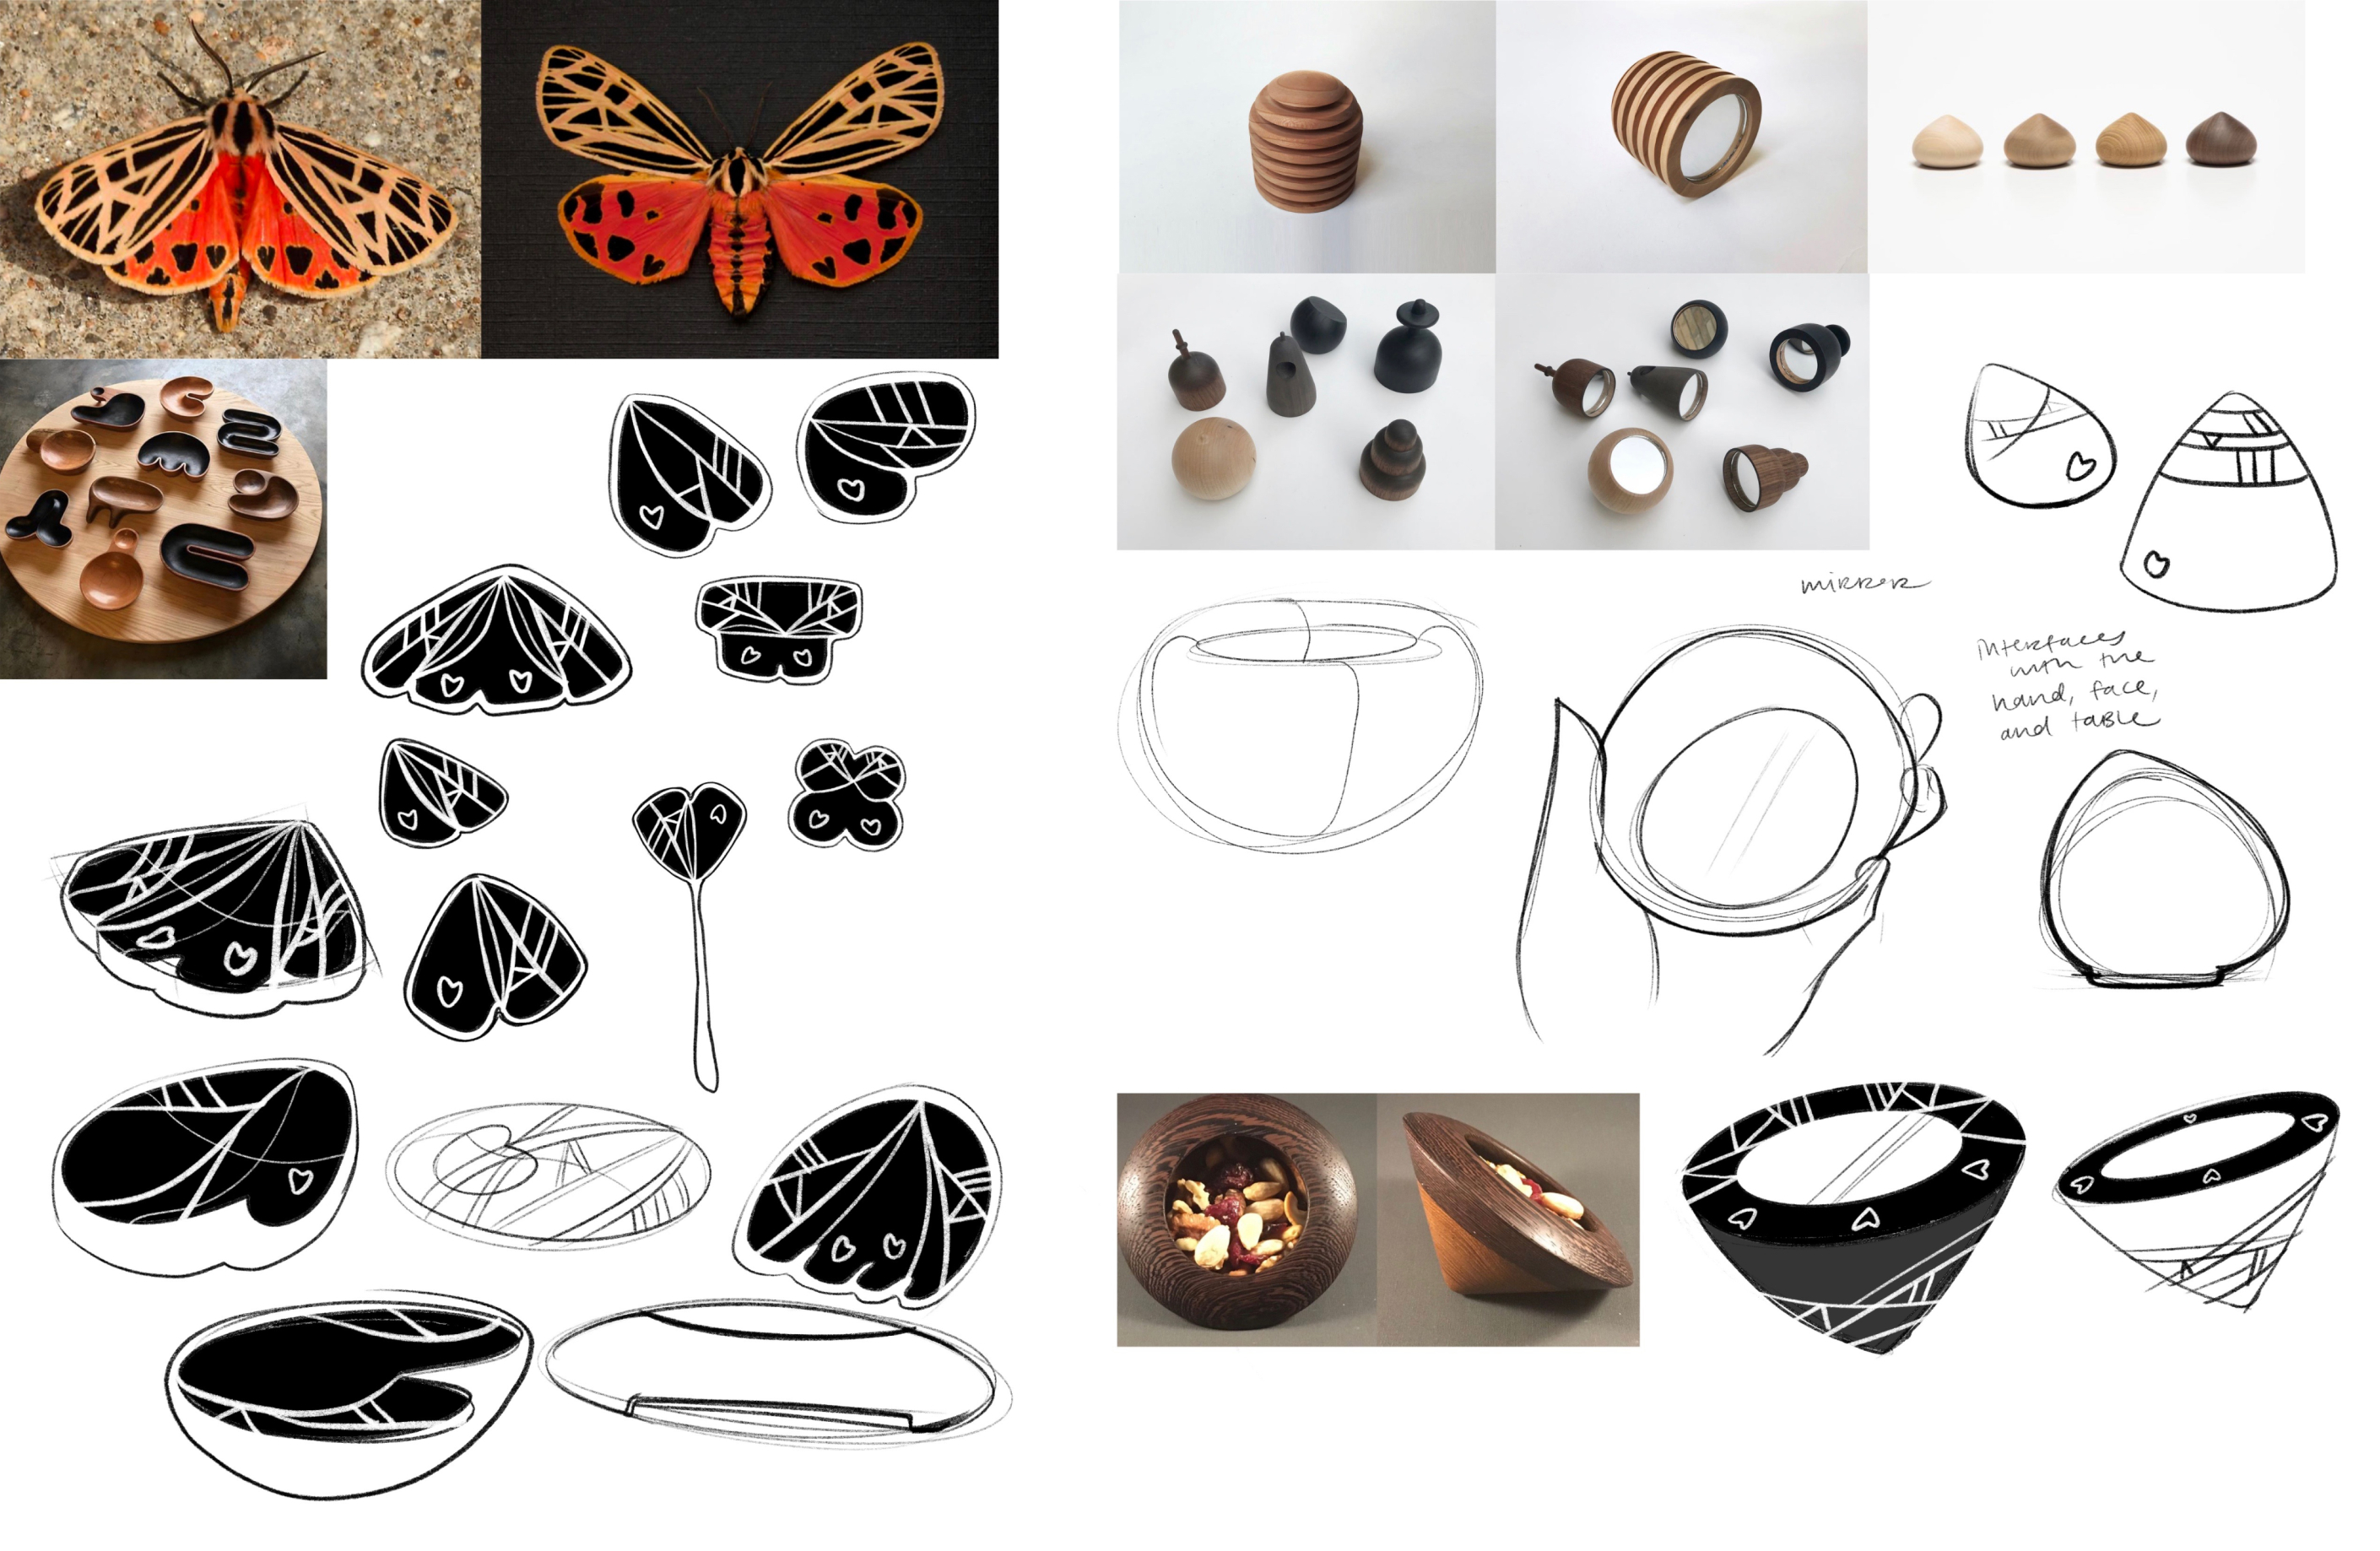

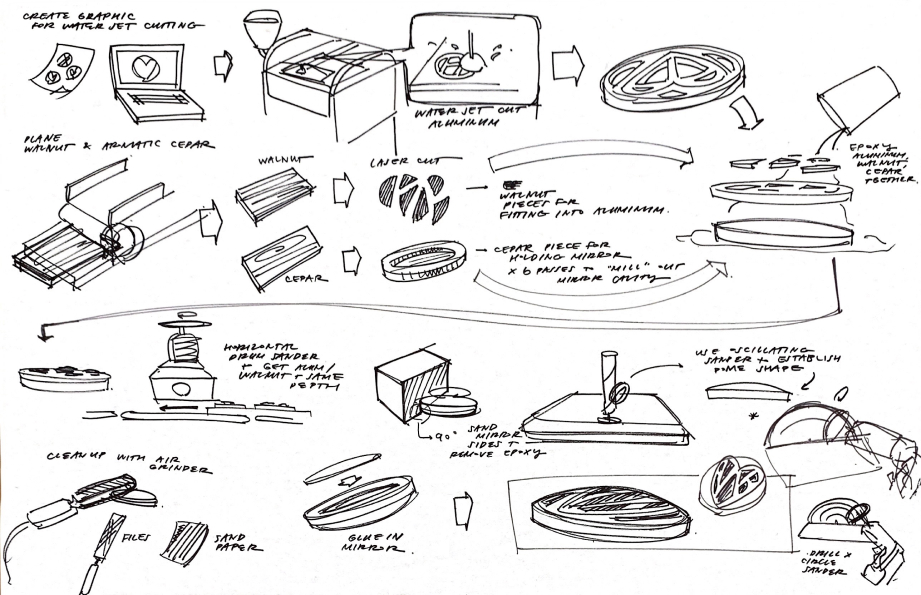
Final Concept and Preliminary Fabrication Plan

Finalizing the Graphic
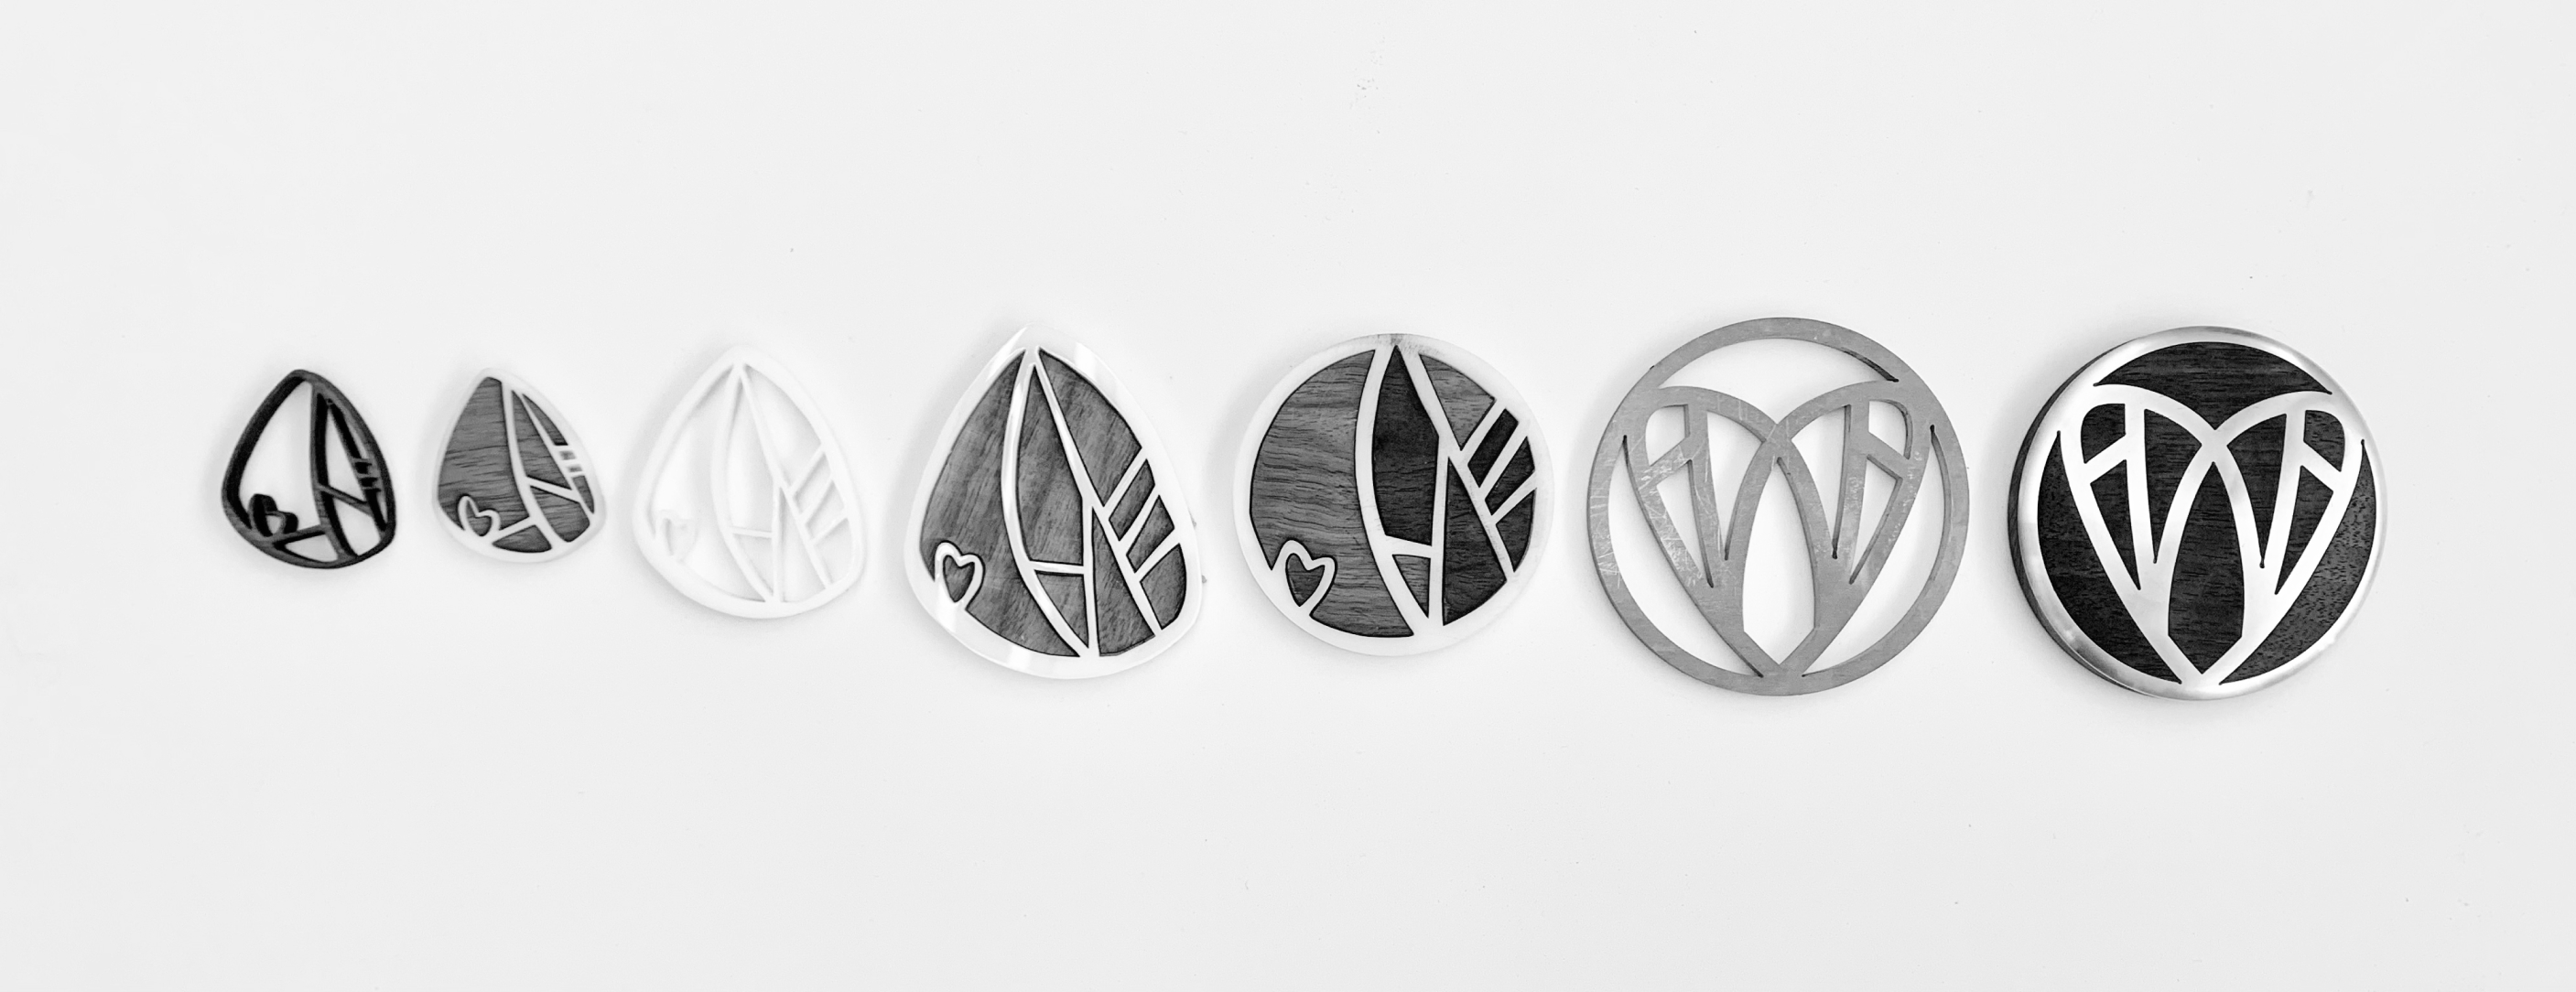
I explored between the spectrum of organic/hand-drawn/abstracted and literal/vectorized. I decided on a simpler graphic because I felt it would be more timeless, universal, and better highlight the materiality of the object.


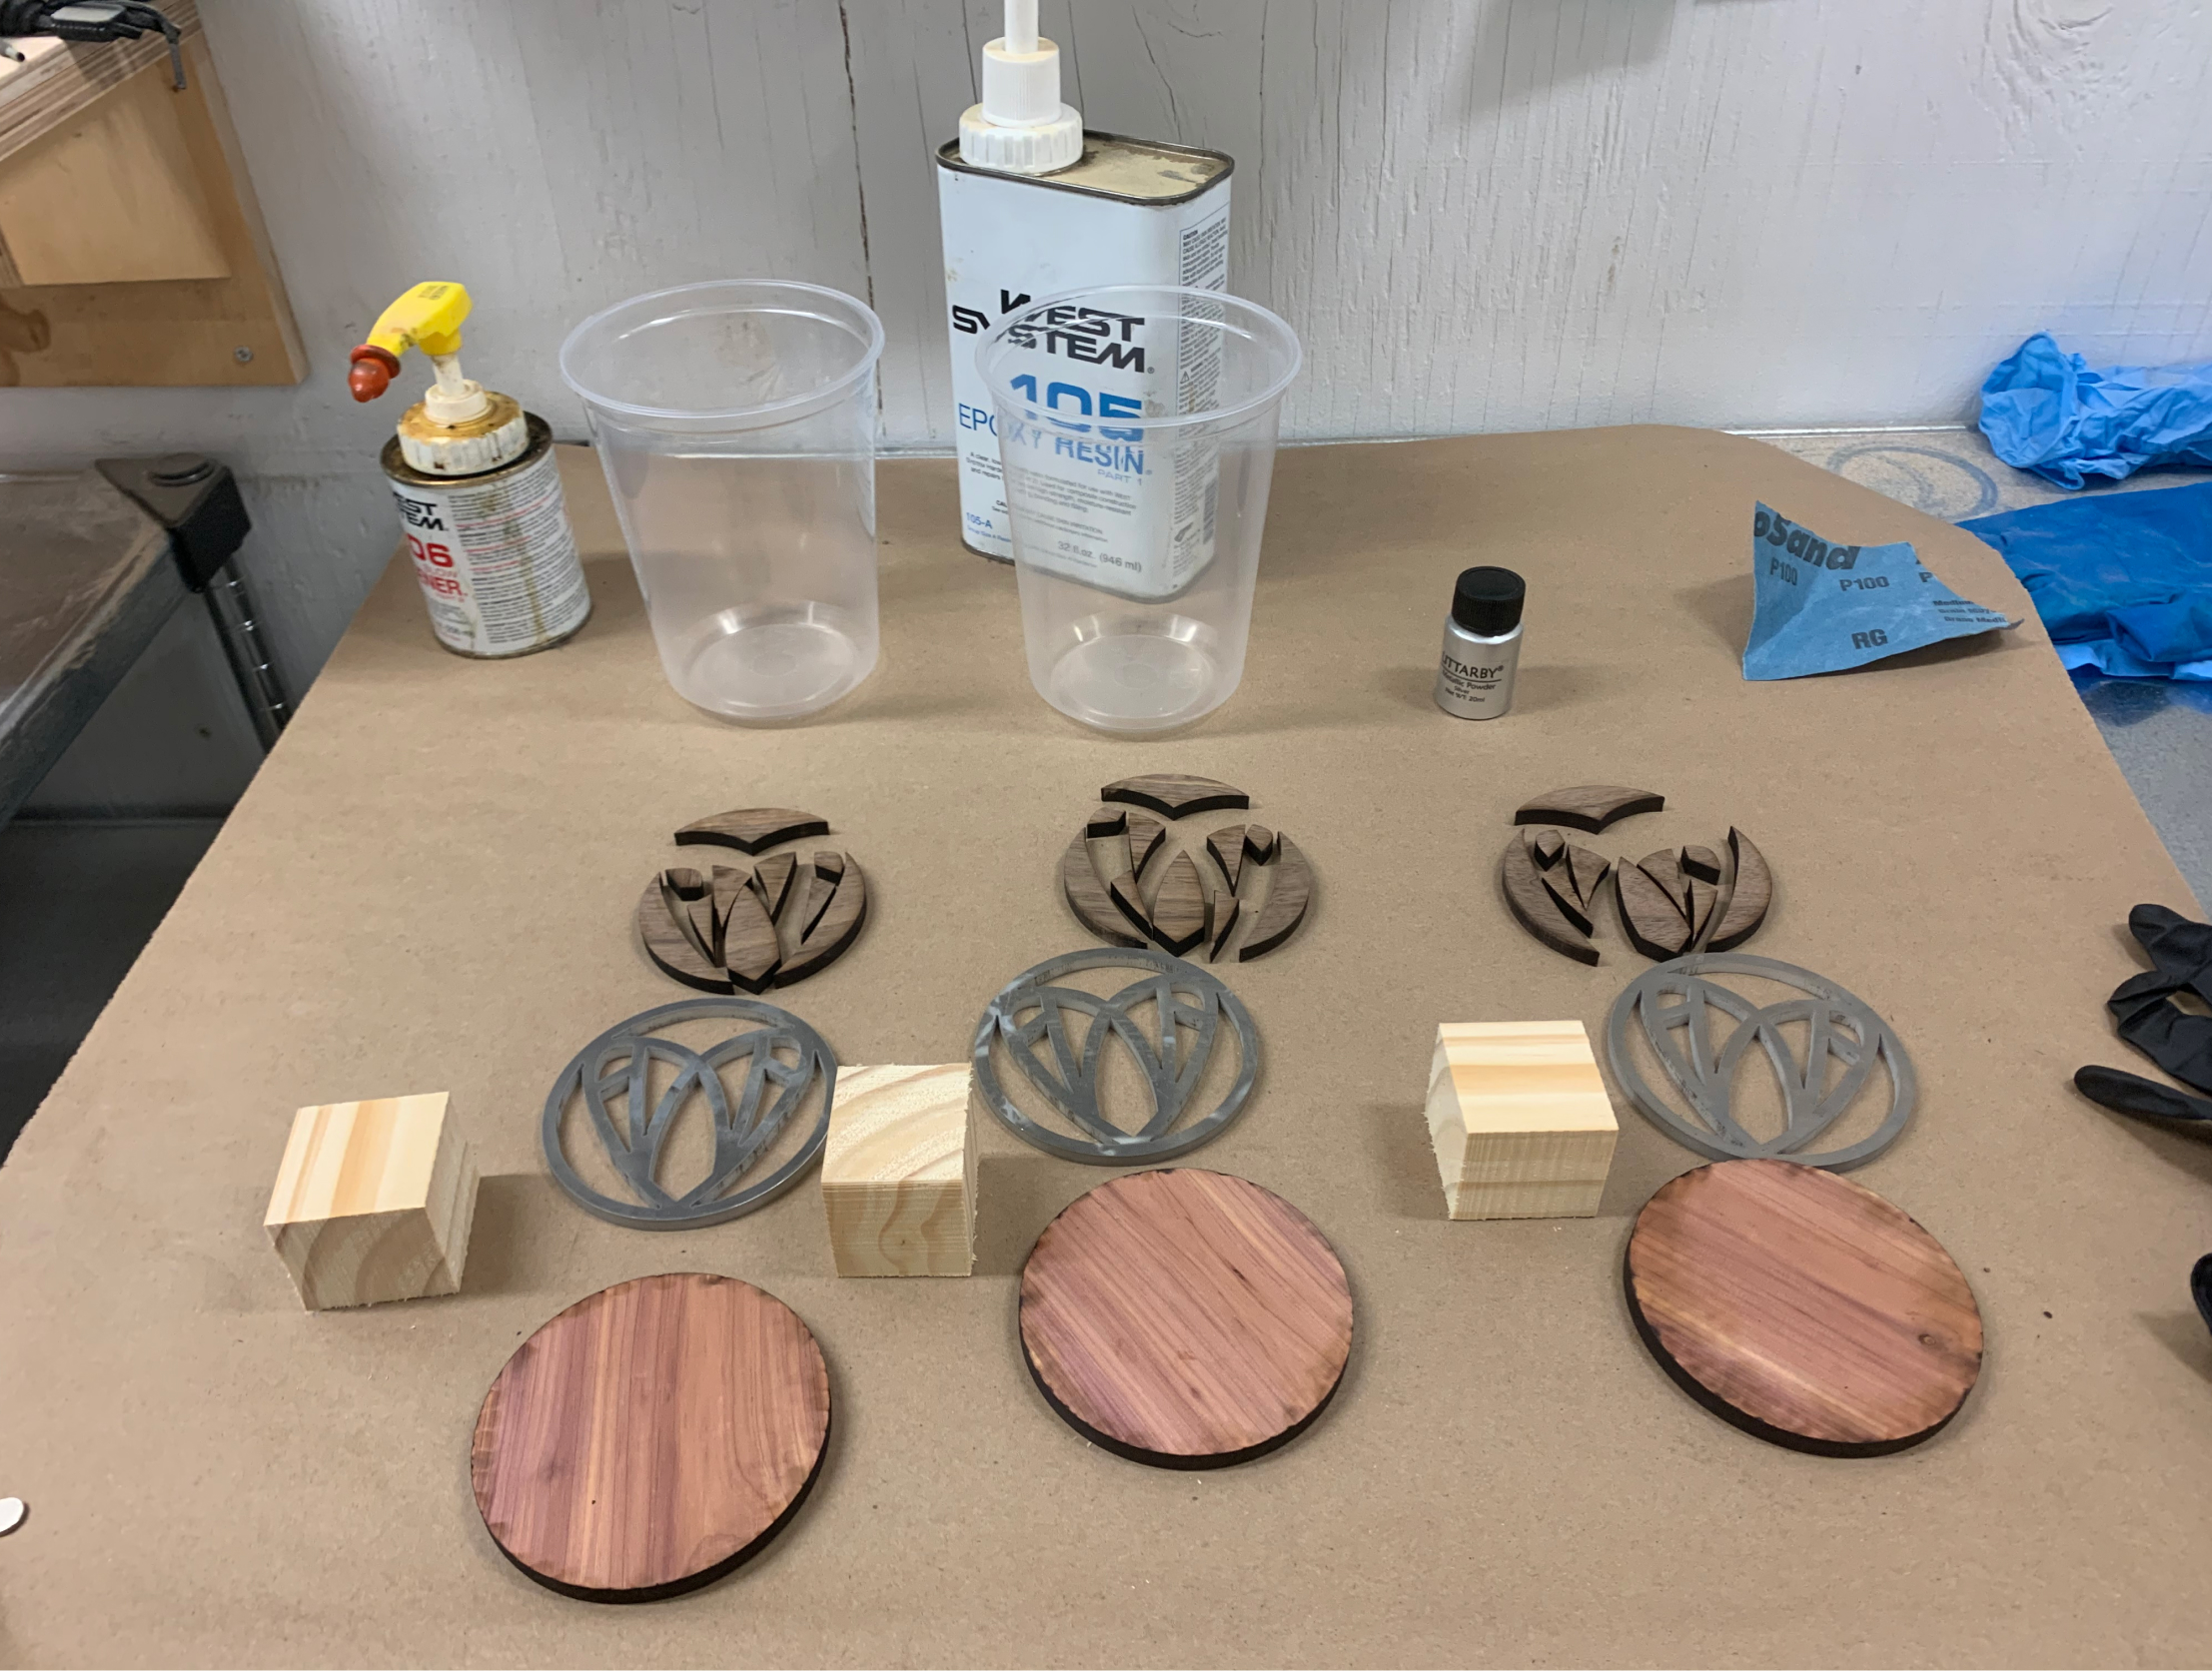
Laser and Water-Jet Cutting
I learned to use the water-jet cutter for the first time to get my aluminum pieces.
After joining and planing the walnut and aromatic cedar down to the desired depths, I tested different scales of my Illustrator graphic on the walnut to see which fit best into the aluminum (between 100% and 101% scale, I found that 100.7% had the best fit.)
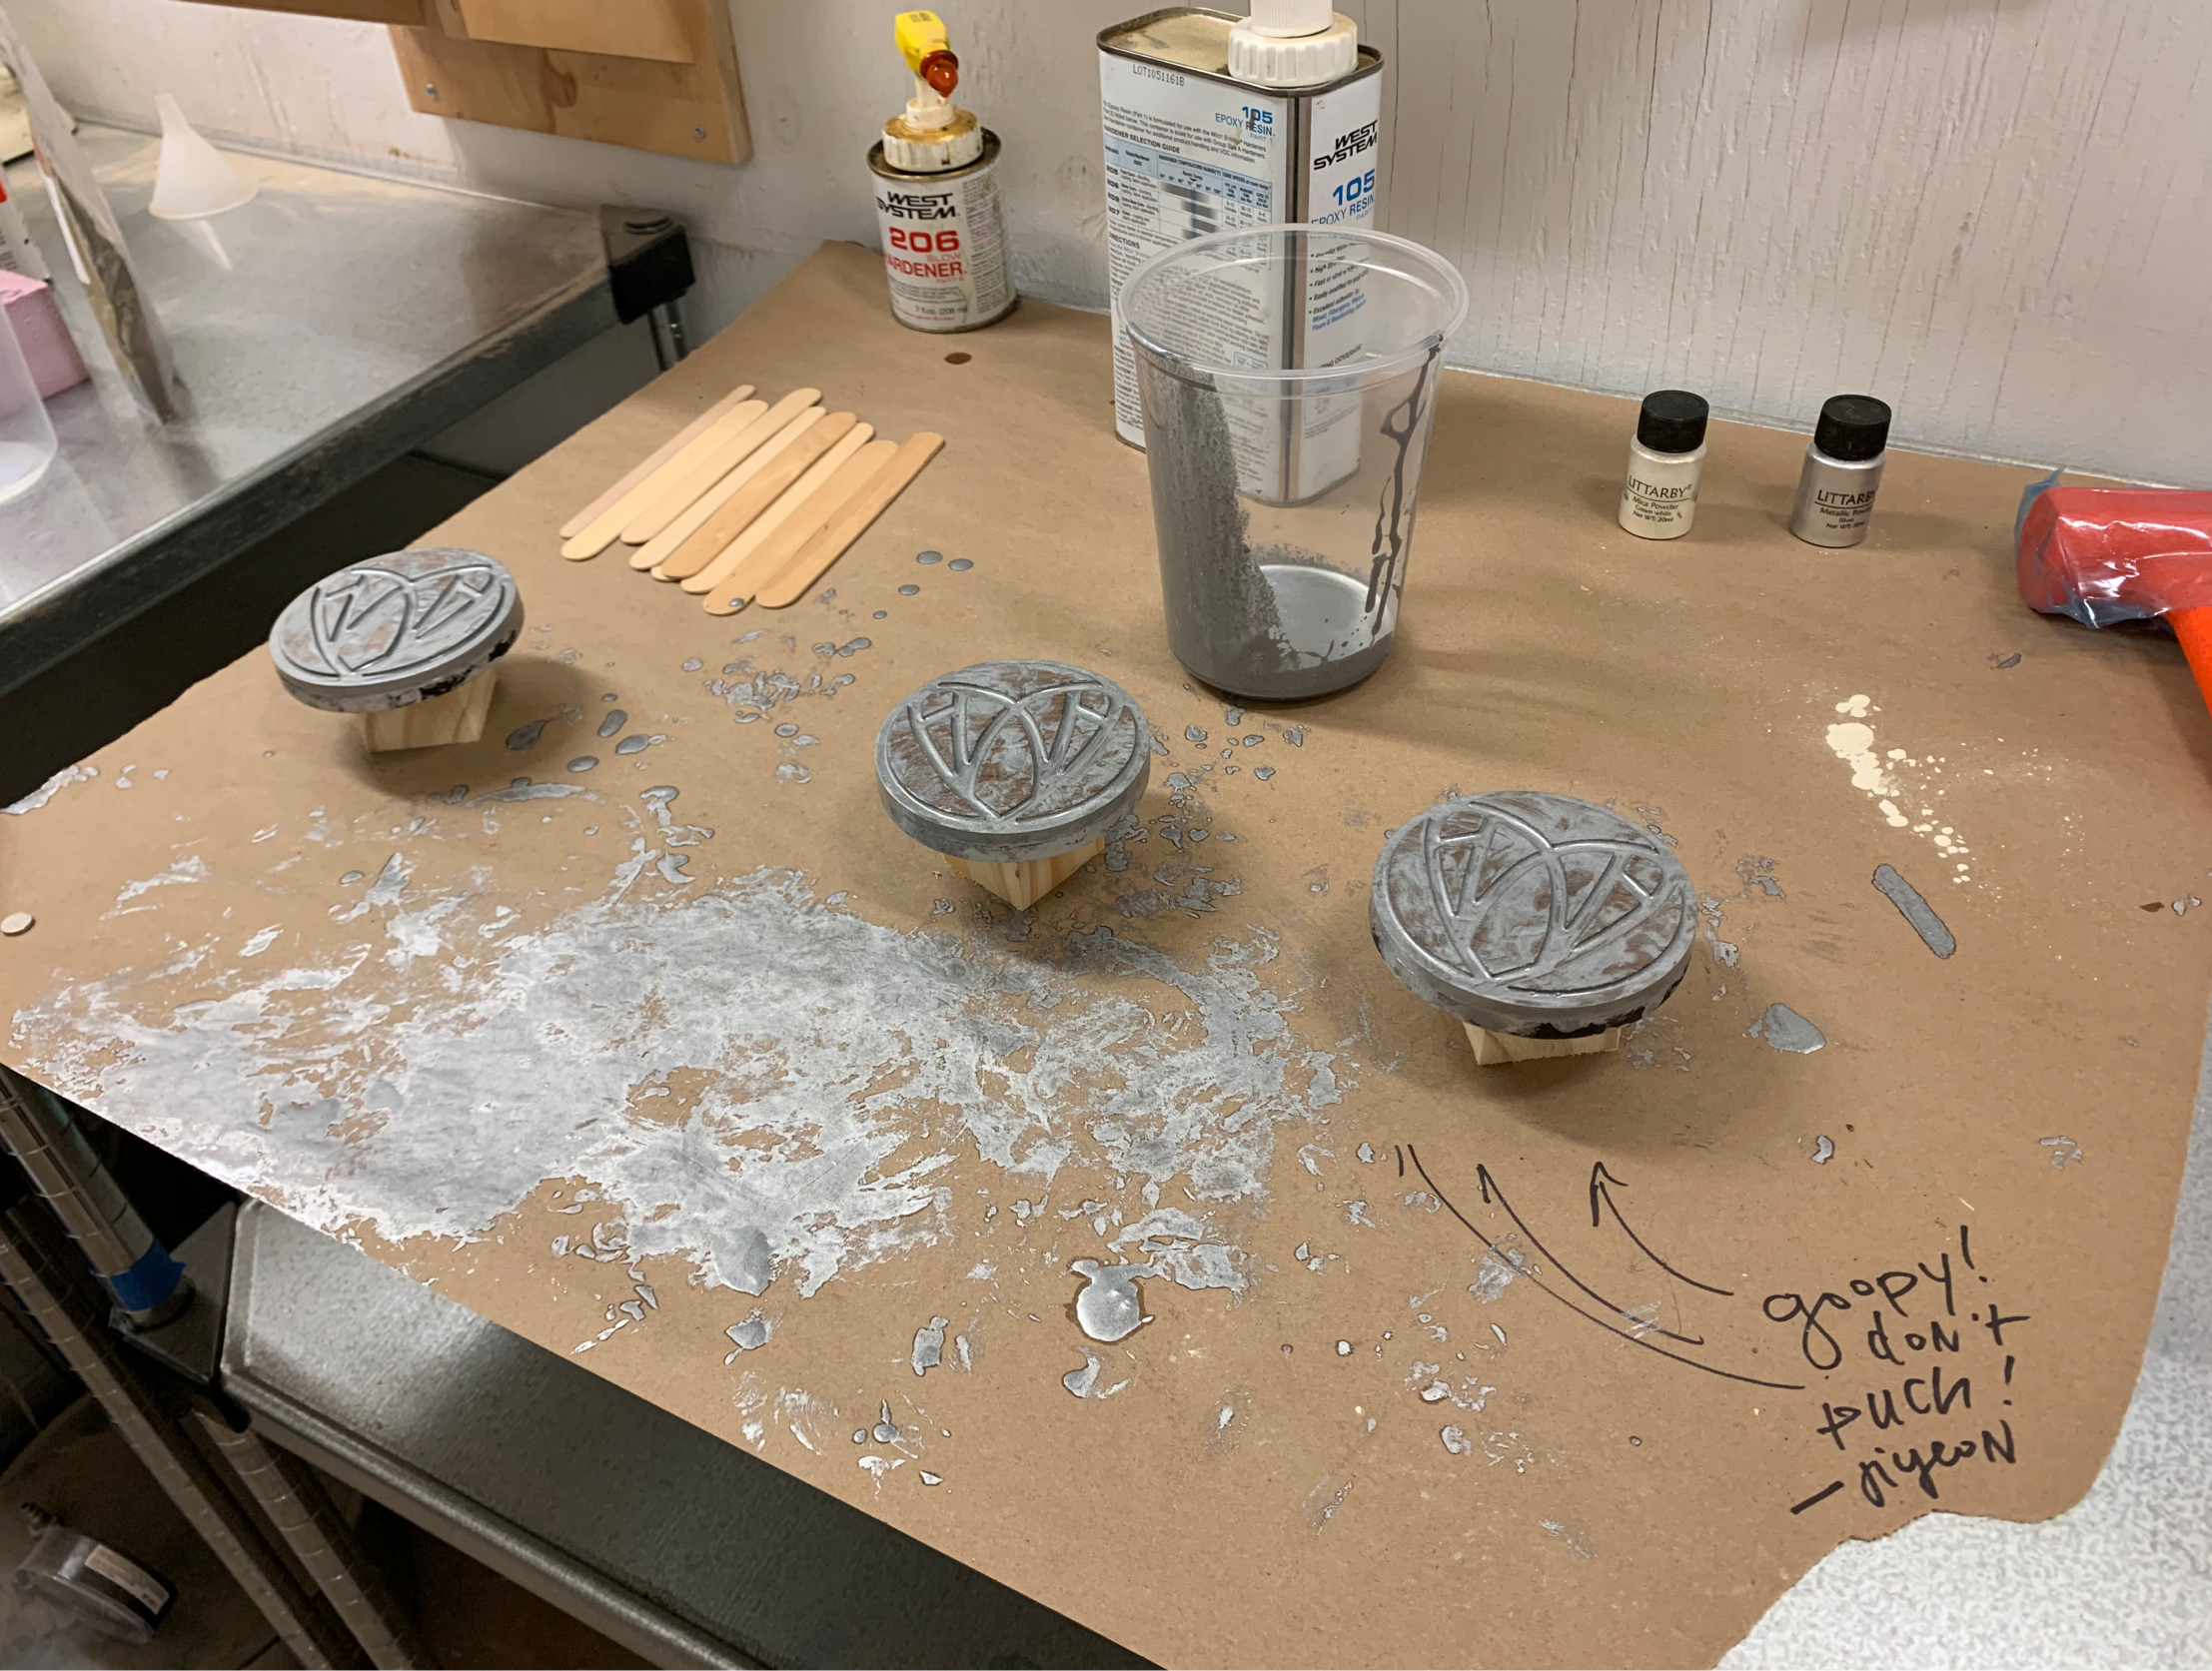
After gathering all the different components, I epoxied everything together with some silver pigment to help fill in any remaining gaps between the aluminum.


Shaping, Method 1
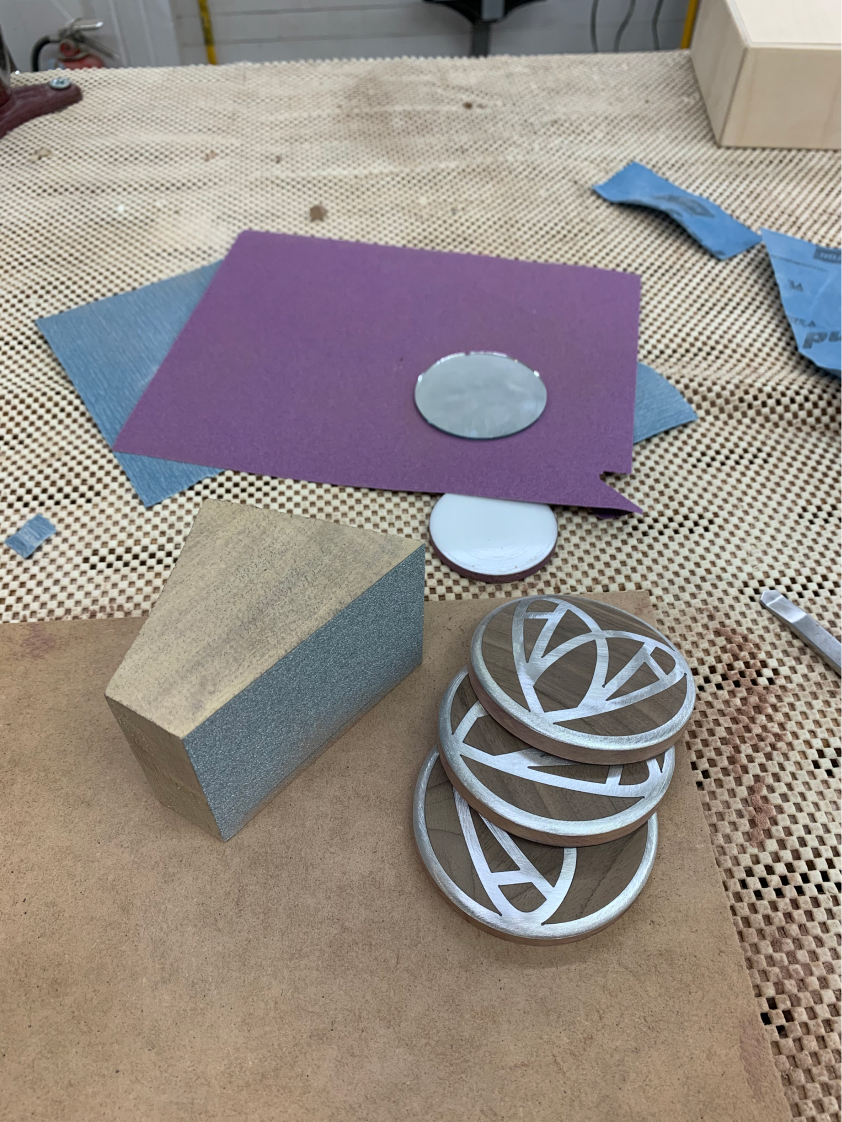
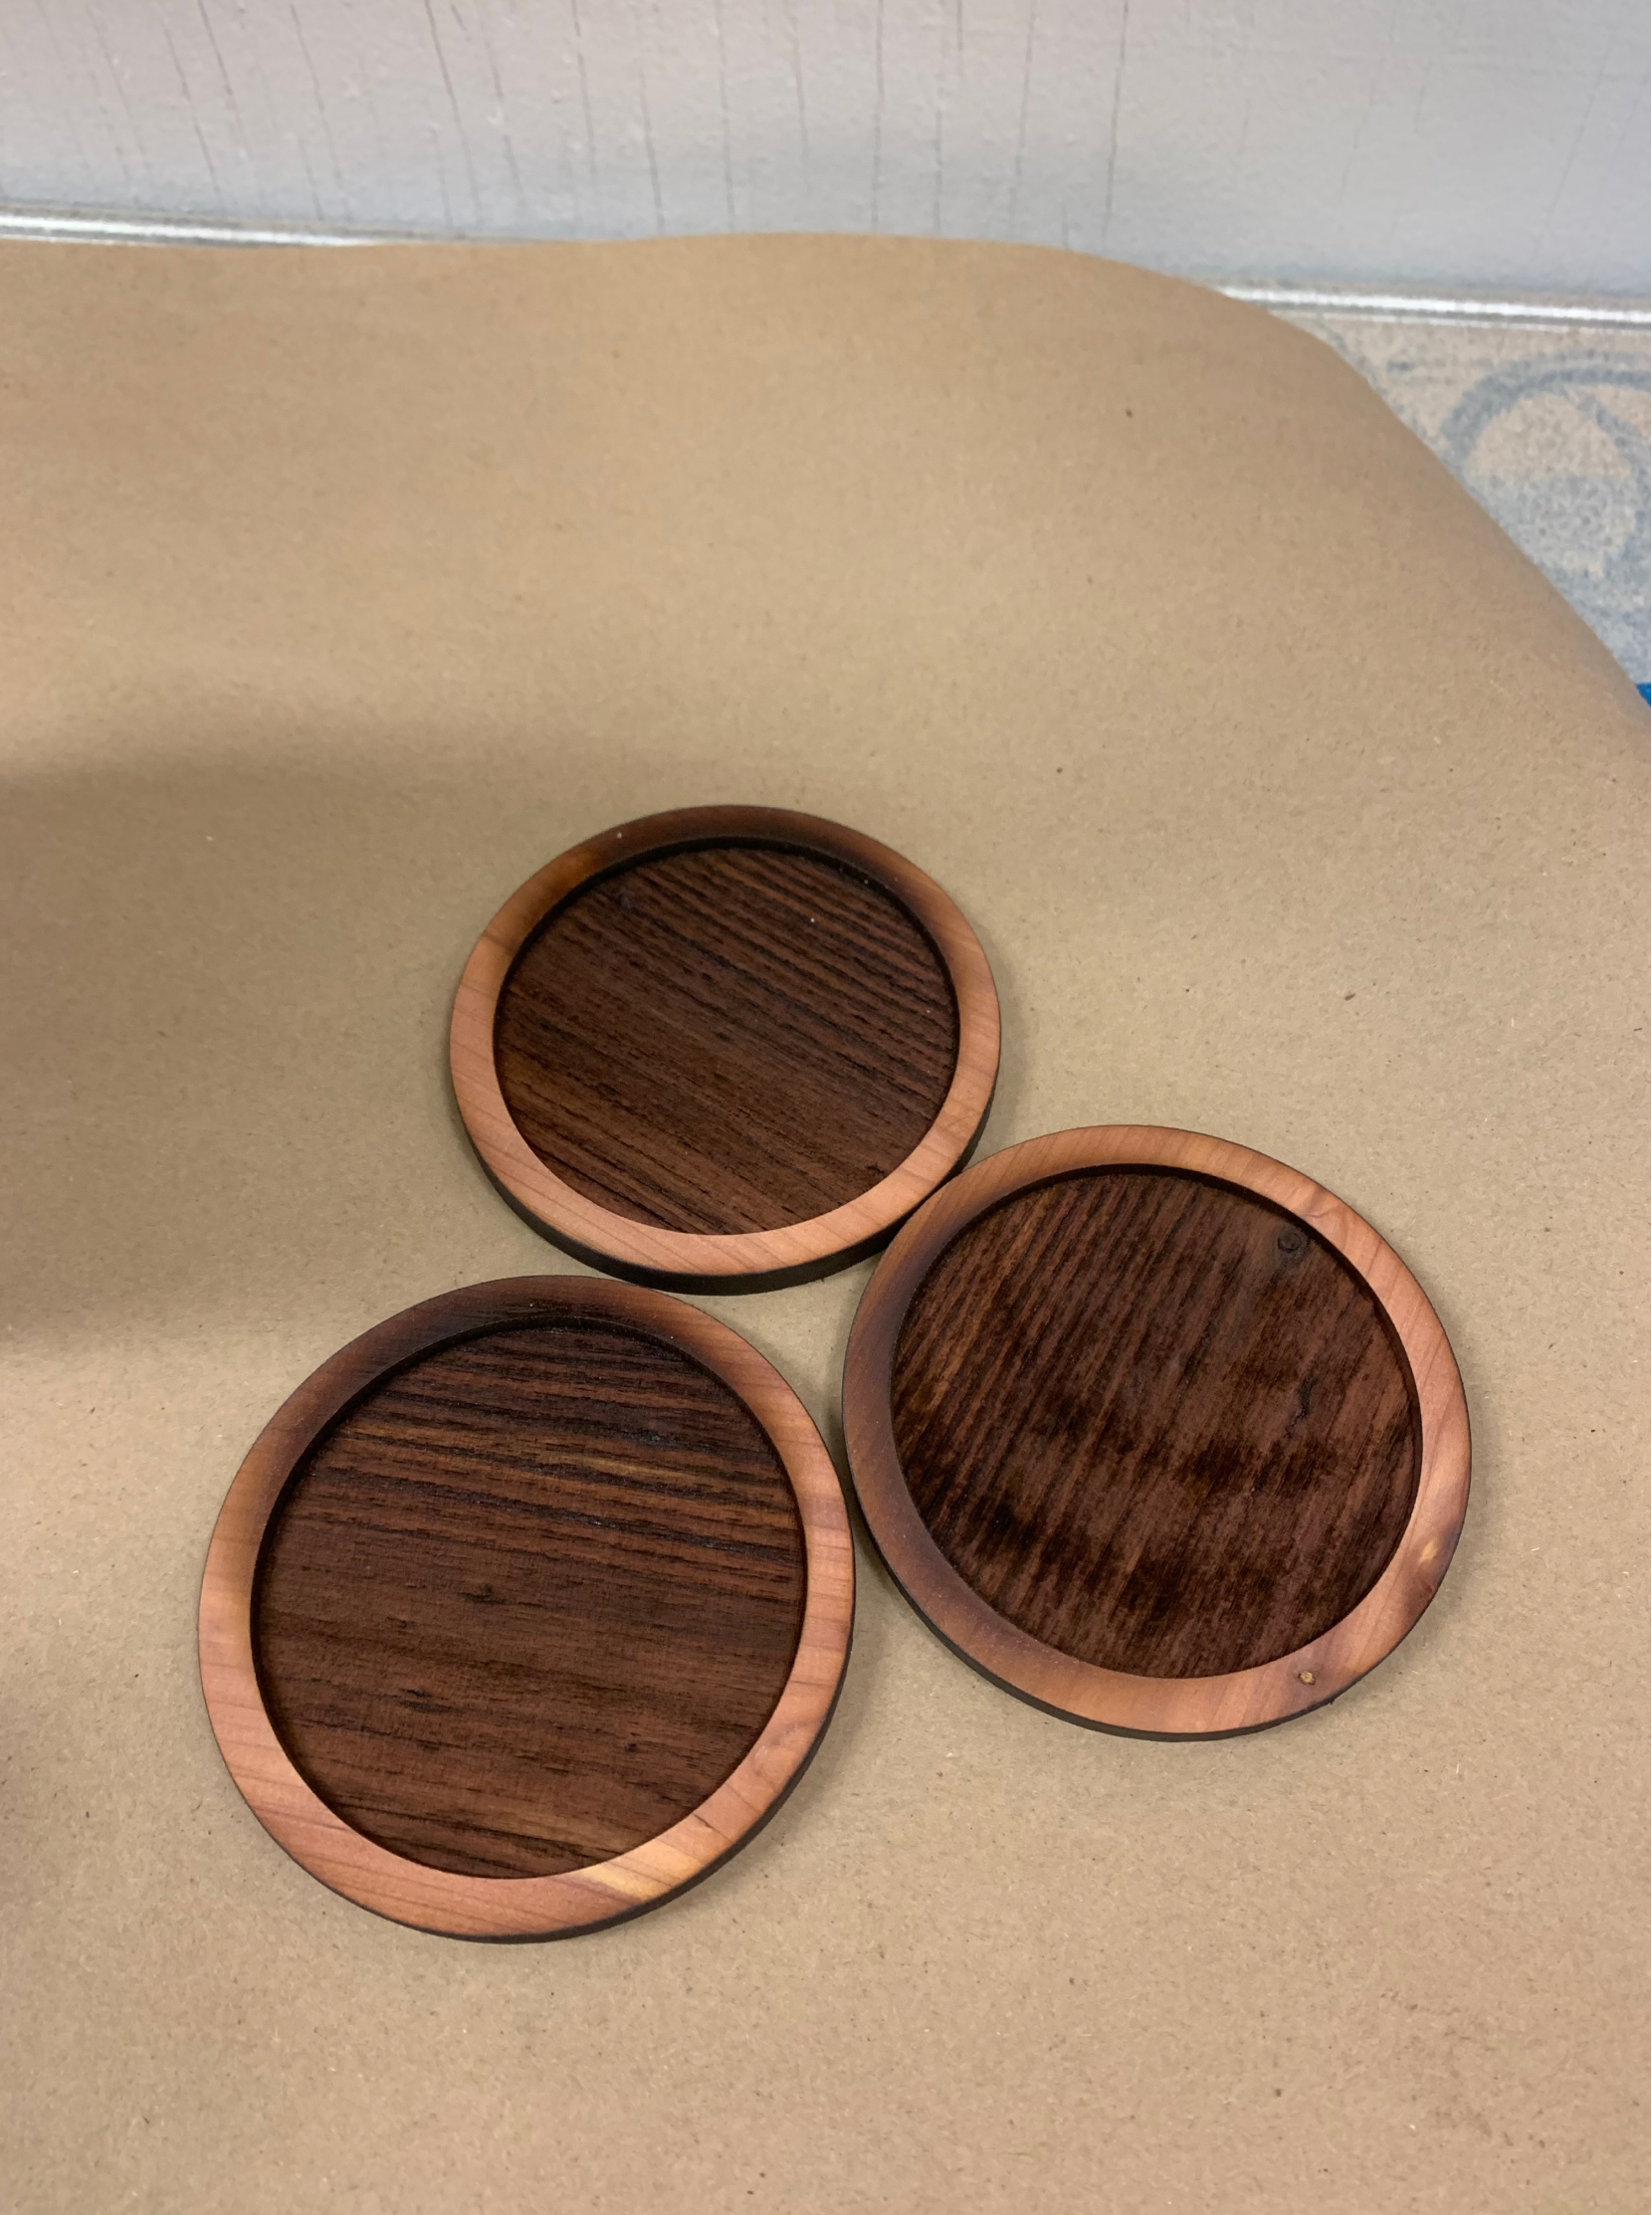
After getting the walnut and aluminum down to the same depth and removing the excess epoxy on the horizontal drum sander, I began dome-ing the object on the oscillating spindle sander, rotating the mirror as evenly as possible to sand down the edge.

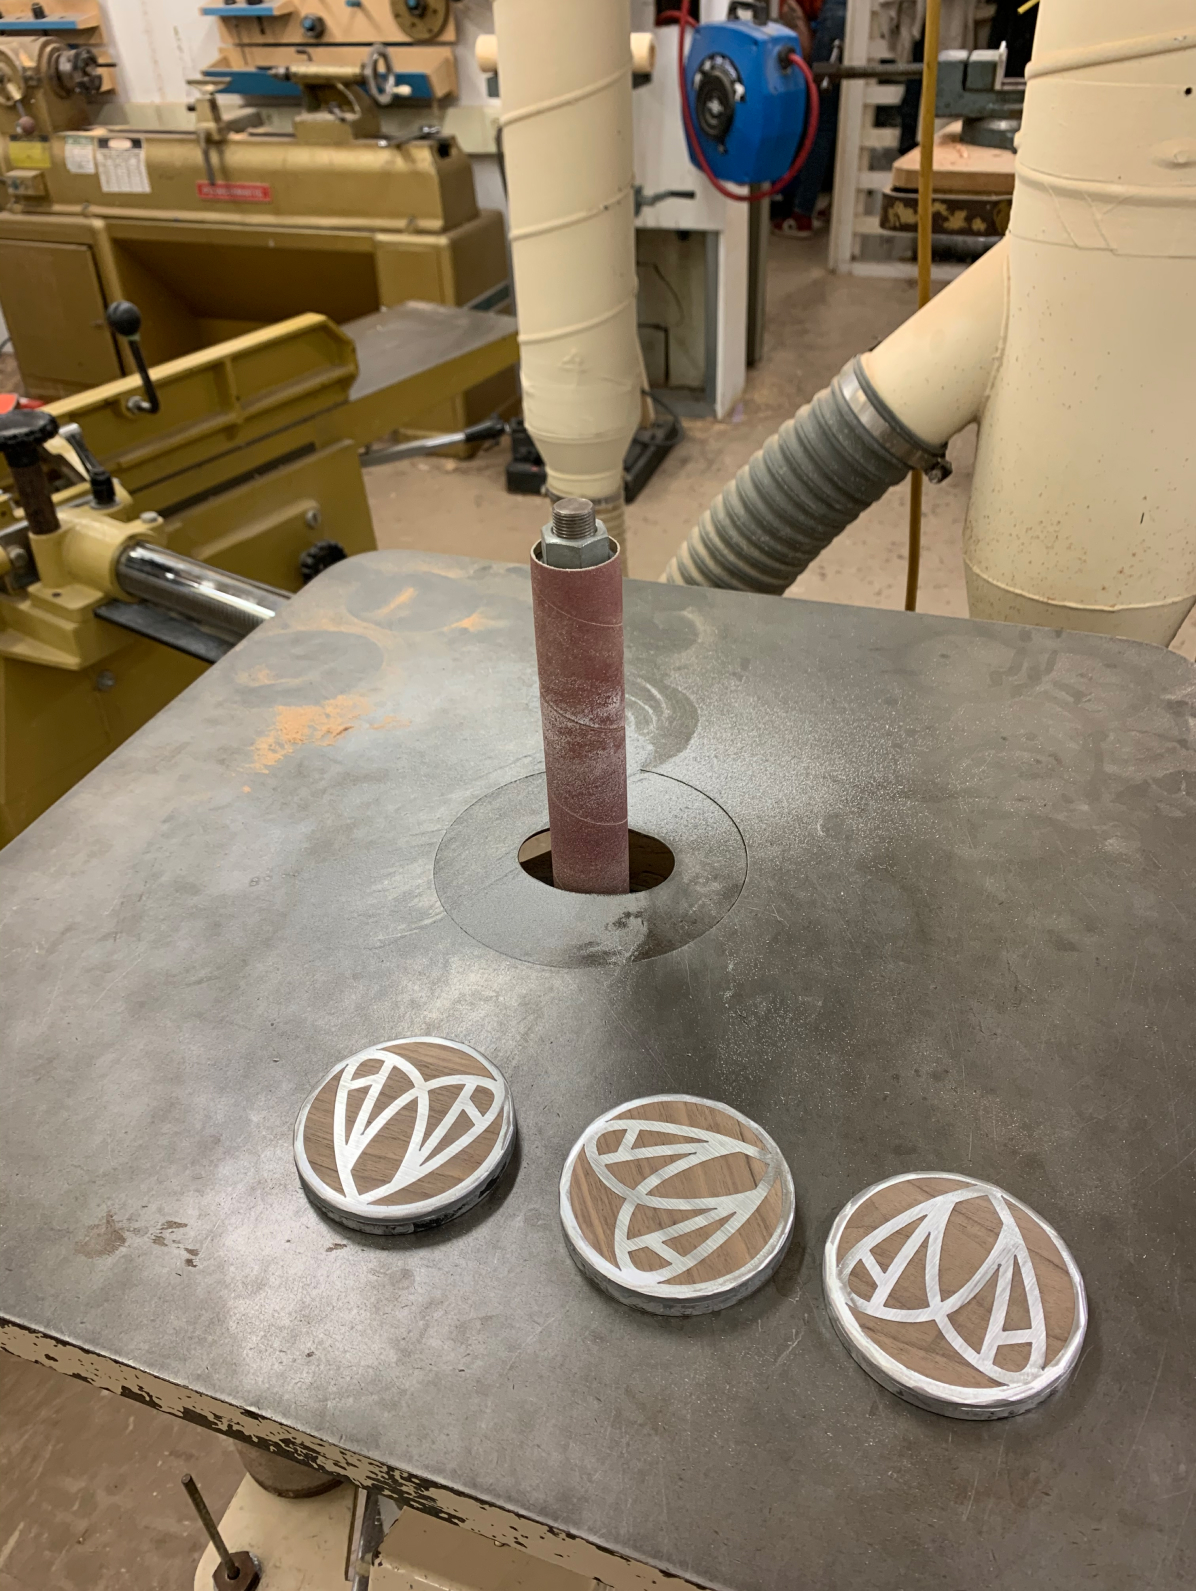
Shaping, Method 2
However, this process was slow, difficult to streamline, and had a large margin for human inconsistency. After another look at my fabrication plan, we developed a work-around fabrication method of spinning the mirrors themselves using drill sanding bits on the disc sander.
“Hacking” the machinery and tools and combining them in an unconventional way to achieve a unique making process was one of the most memorable and valuable parts of this project!
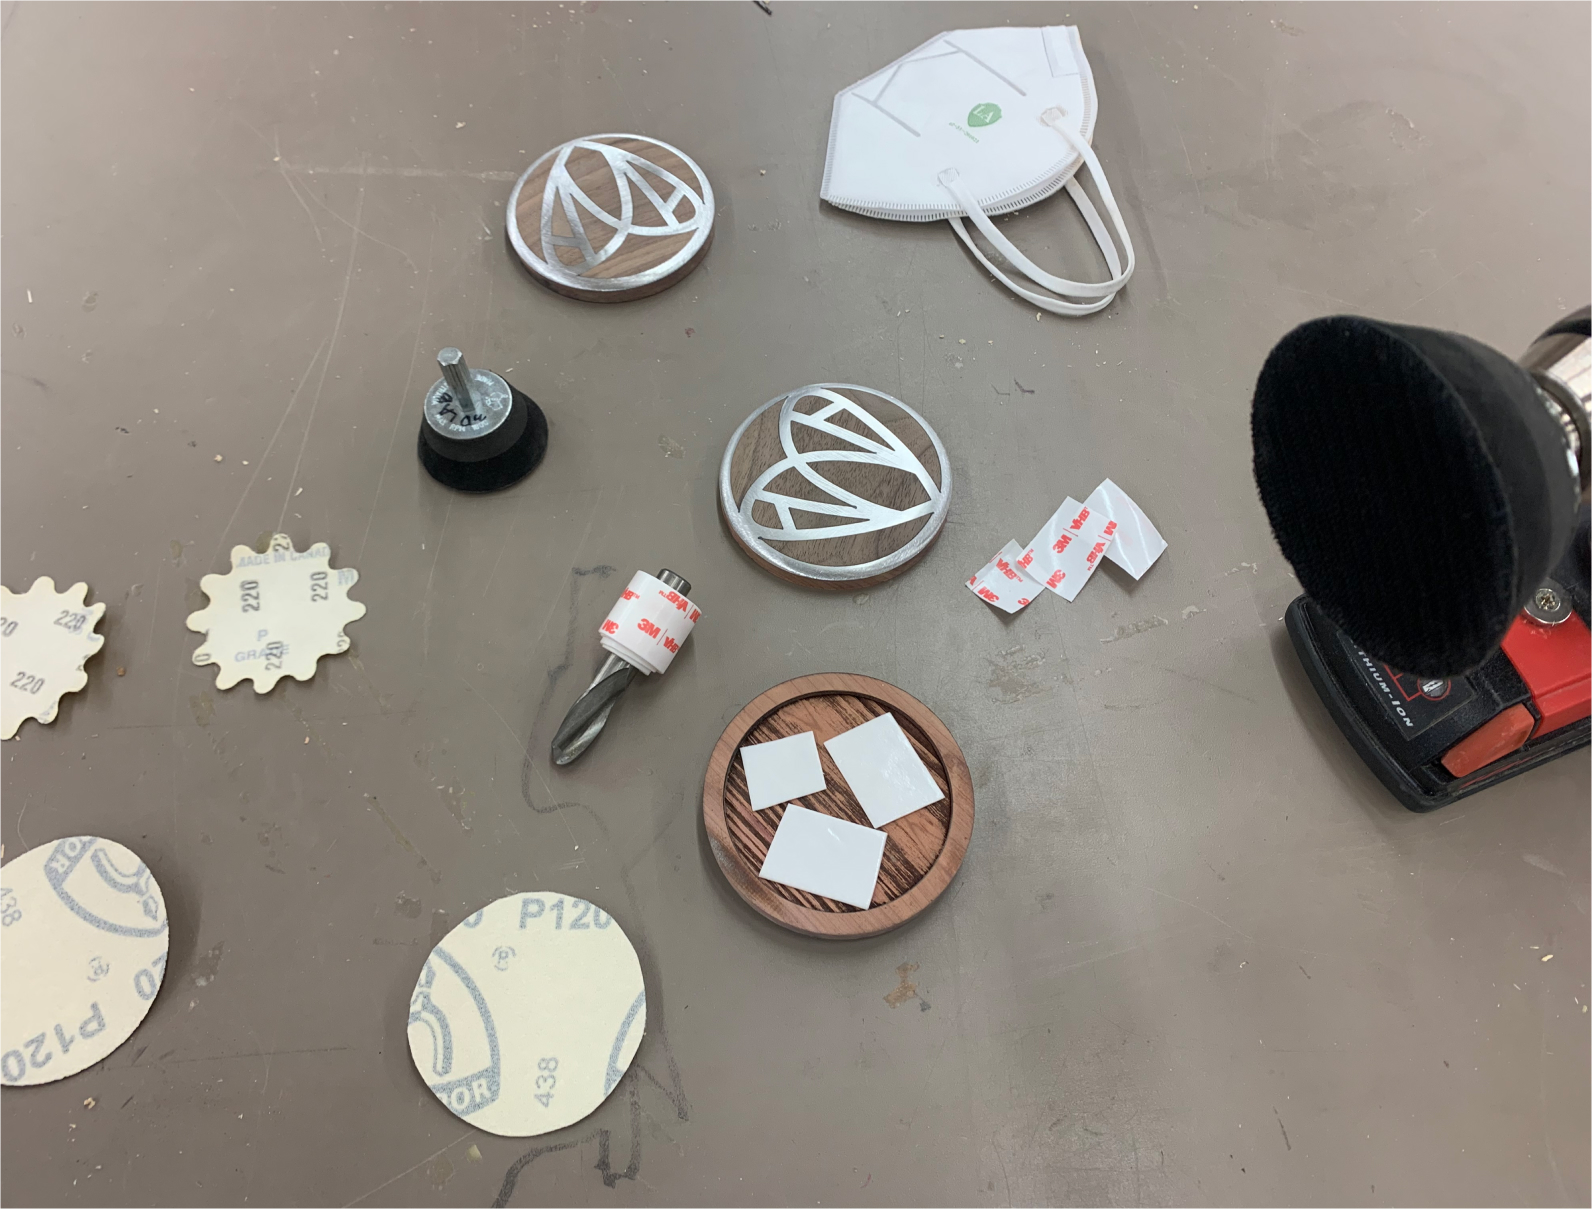

Sanding, Finishing, Assembly
I created jigs to sand off any remaining epoxy and to fit the mirror rounds; and rotationally sanded the aluminum to get the final polish.
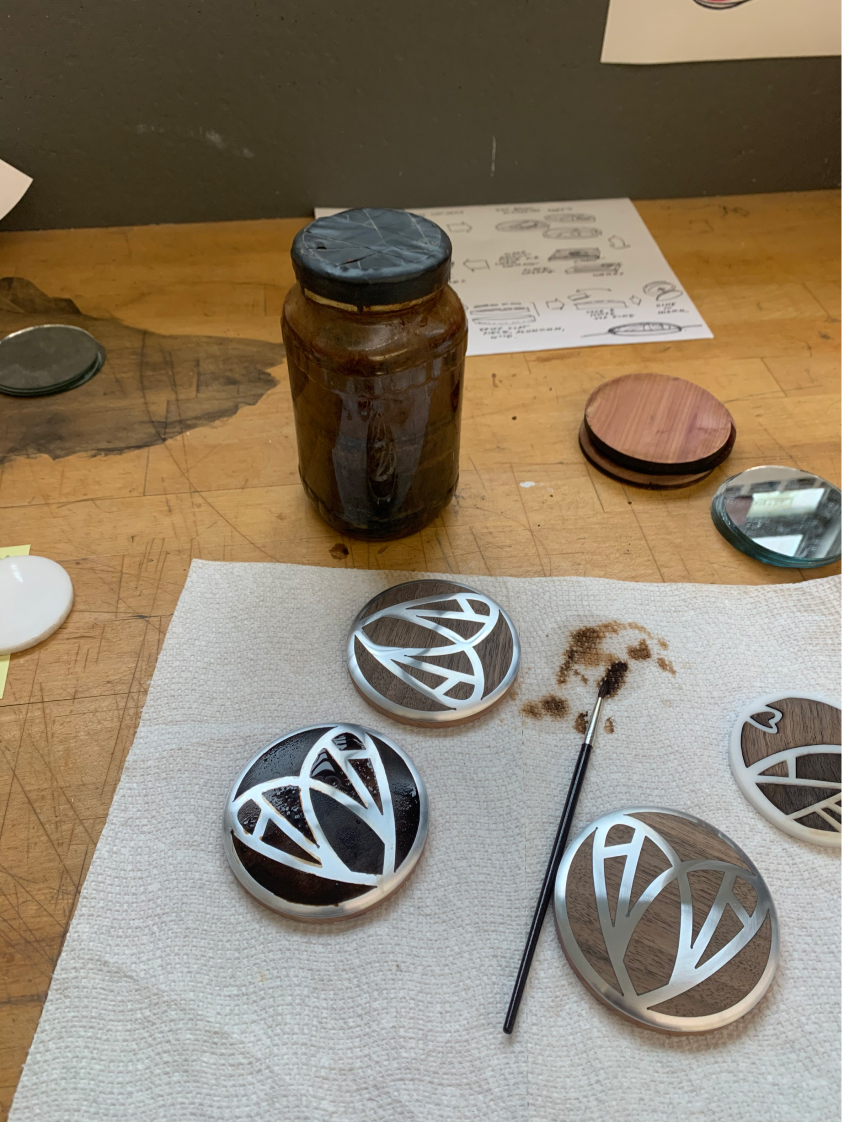
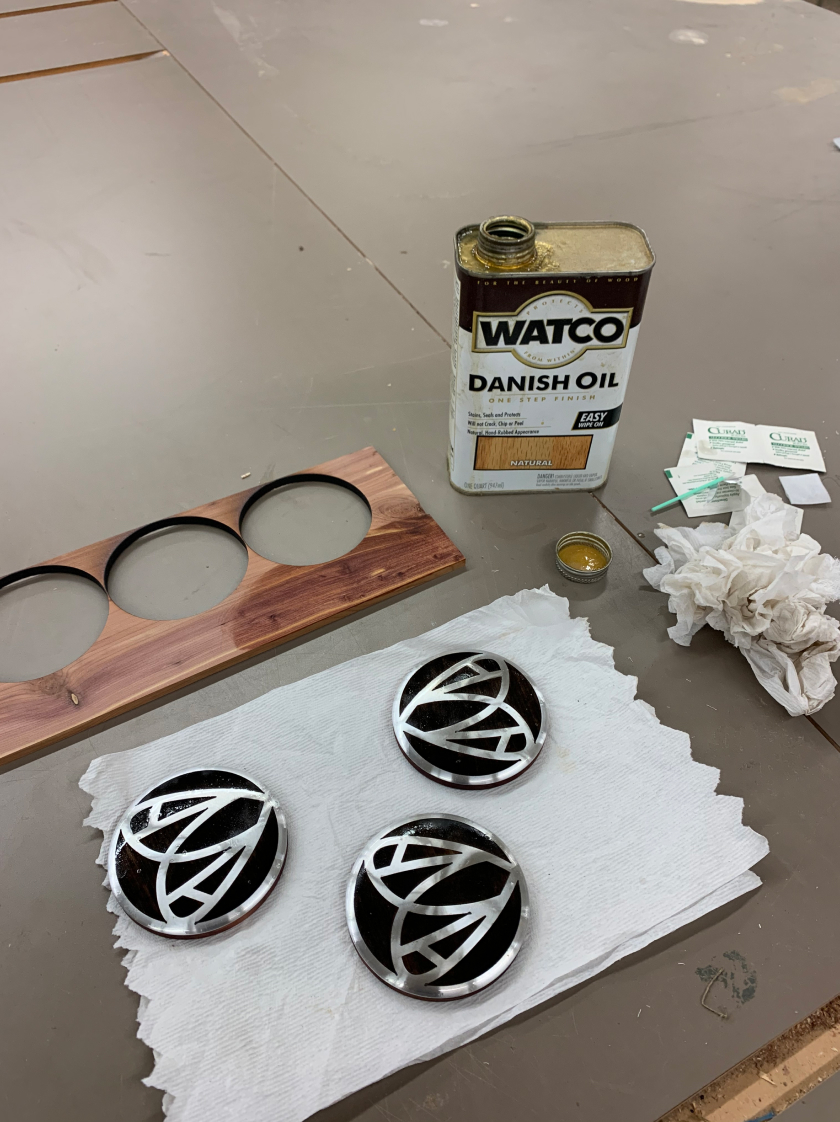
The walnut was stained using rust water, and I oiled everything together before gluing in the mirrors.